
A gravel driveway can look rugged and welcoming, but potholes quickly turn that smooth entrance into a rough, muddy obstacle course. Effective repairs require more than pouring loose stone into each depression. You need to remove unstable material, break up compacted edges, rebuild weak areas, and correct the drainage problem that caused the damage. The right method depends on the pothole depth, driveway slope, soil condition, traffic load, and available equipment. These 20 How To Fix Potholes In Gravel Driveway Ideas cover simple hand repairs, deeper base reconstruction, grading methods, drainage upgrades, and long-term prevention. Each solution helps create a smoother surface that fits naturally with the surrounding yard and home. Explore the practical steps in these 20 How To Fix Potholes In Gravel Driveway Ideas.

1. Find The Cause Of Gravel Driveway Potholes
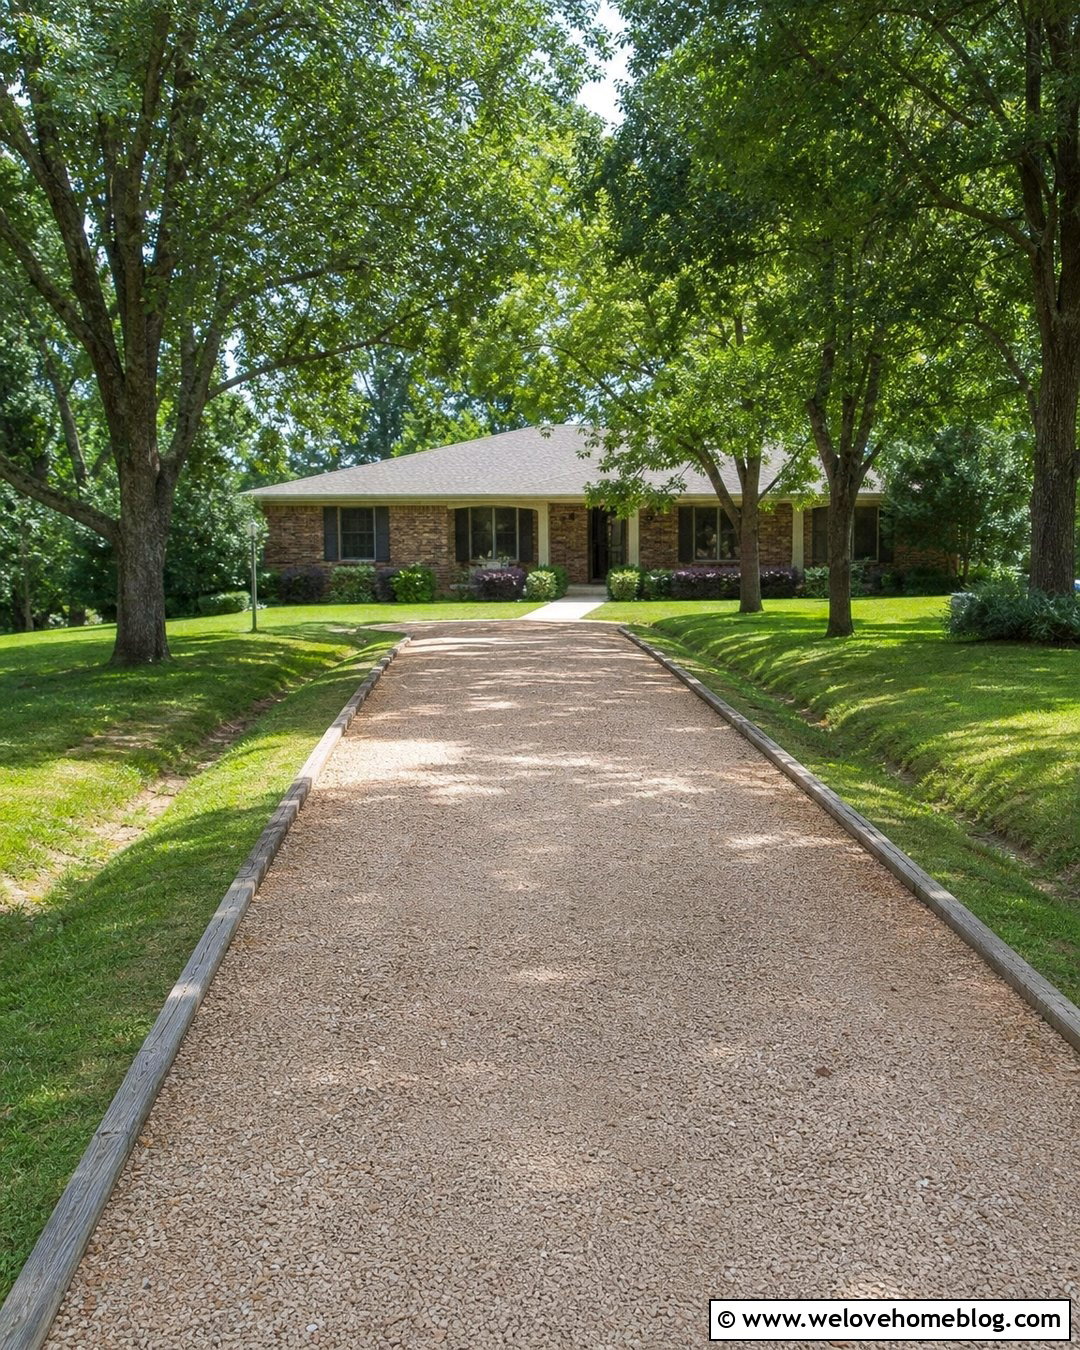
Before moving any gravel, study what happens during and after rainfall. Standing water, concentrated roof runoff, heavy traffic, weak soil, and poor grading can all contribute to recurring depressions. Potholes often develop when moisture weakens the underlying material and vehicle tires push surface gravel away. Freeze-and-thaw cycles may make the problem worse in colder regions. () Mark every damaged spot, then look for puddles, muddy edges, low wheel tracks, and channels where water crosses the driveway. Also check whether downspouts discharge nearby. This inspection helps you choose between a basic surface patch and a deeper repair. Correcting the underlying cause first gives the finished gravel driveway a cleaner appearance and reduces the chance of repairing the same hole again.
2. Fix Small Gravel Driveway Potholes By Hand
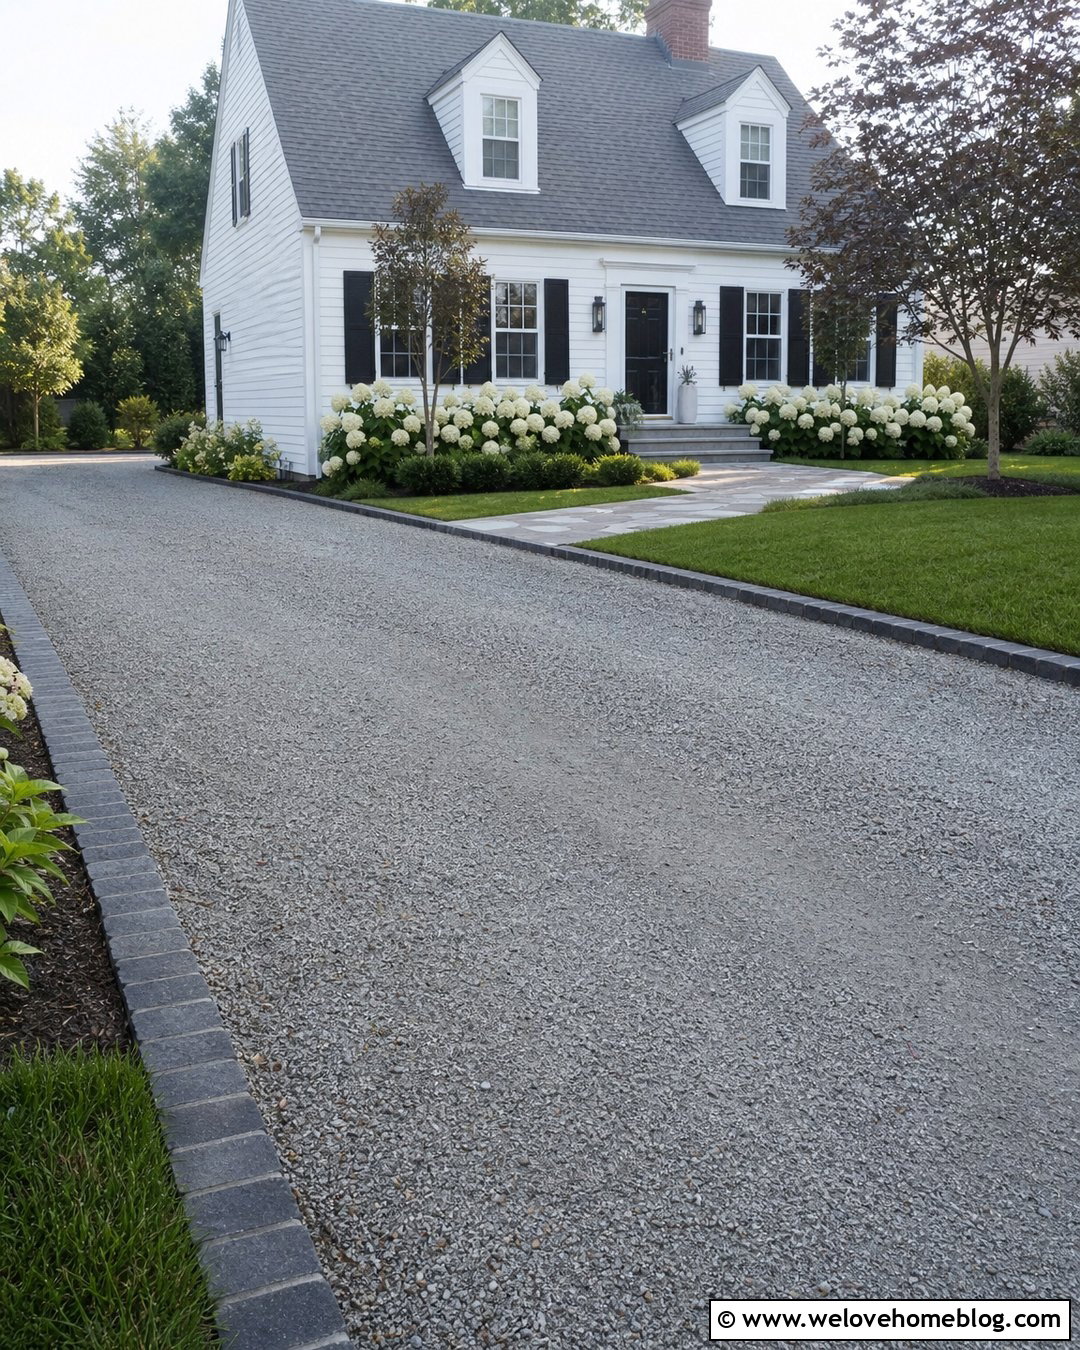
A shallow pothole can usually be repaired with a shovel, steel rake, hand tamper, and matching crushed gravel. Start by removing leaves, mud, loose stones, and unstable material. Loosen the hardened bottom and edges without digging into a solid base. Add fresh gravel in small amounts, spreading it several inches beyond the depression so the patch blends into the driveway. Compact the material firmly from the outside toward the center. Add another layer if the gravel settles below the surrounding surface. A light spray of water can help settle dusty aggregate, but excessive water may create mud or wash away fines. () Finish by raking the repaired area into the driveway’s existing crown or cross slope.
3. Break Up Compacted Gravel Pothole Edges
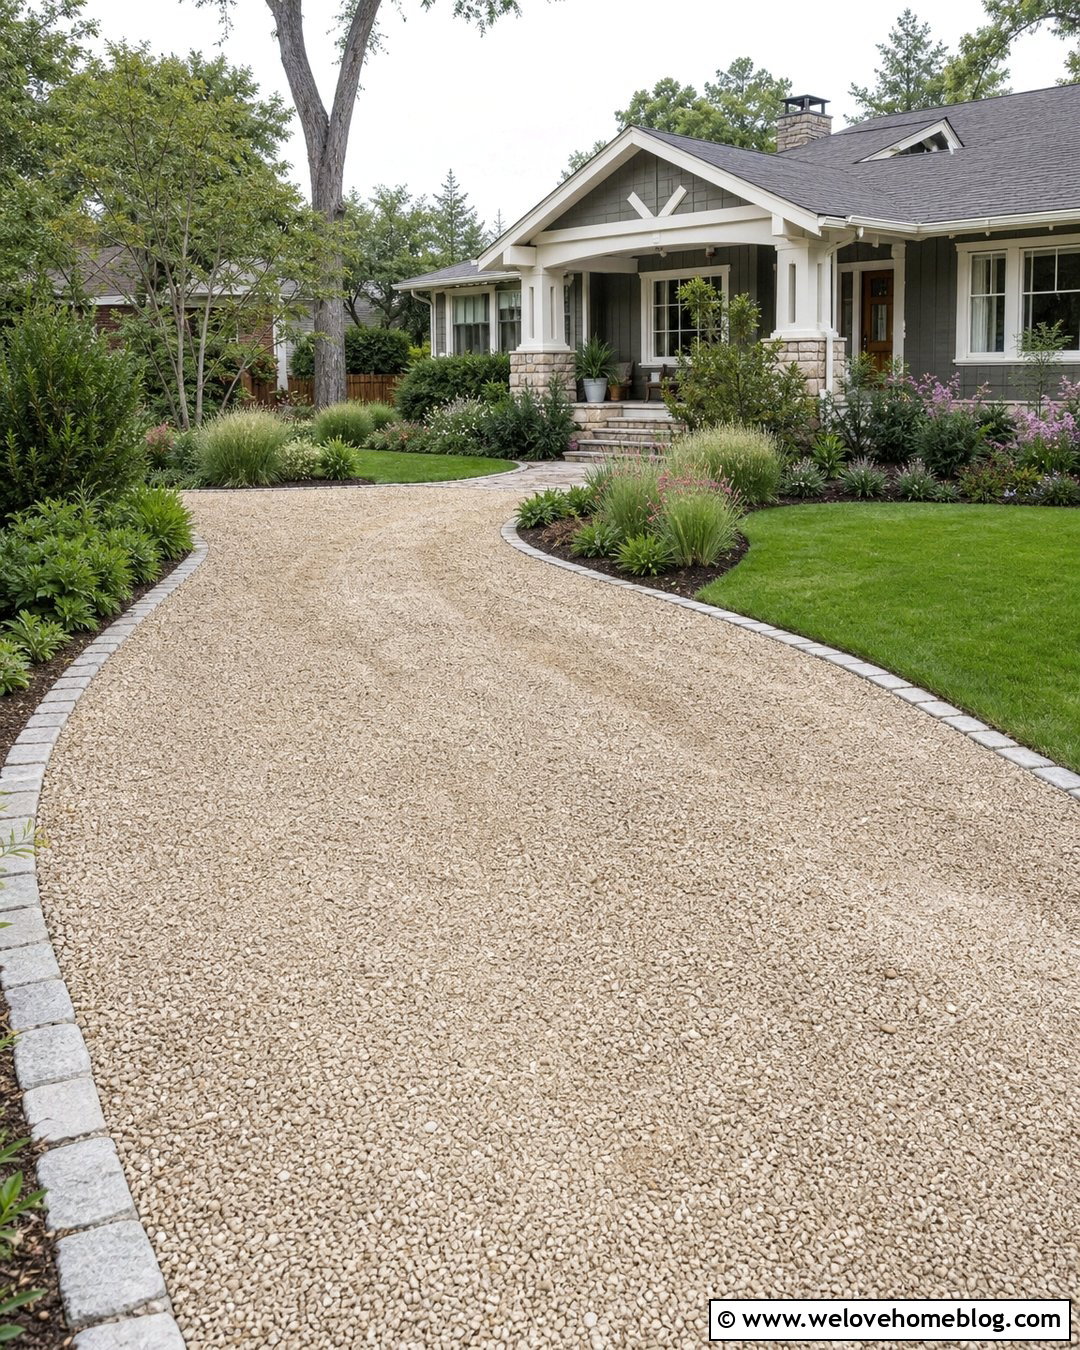
Does a freshly filled pothole return after only a few storms? The hardened bowl beneath the new gravel may be the problem. Vehicle tires compact the sides and bottom, creating a shape that holds water and allows loose patching material to escape. Use a mattock, pick, digging bar, or scarifier to break apart the compacted rim. Loosen material to the full depth of the pothole, but avoid disturbing a stable base below it. Widen the repair slightly so new and existing aggregate can interlock rather than forming a separate plug. Rake the loosened stone back into the area, add compatible crushed gravel, and compact everything together. The completed repair should transition gradually into the surrounding driveway instead of leaving a visible mound with steep, easily scattered edges.
4. Repair Deep Potholes With Crushed Stone
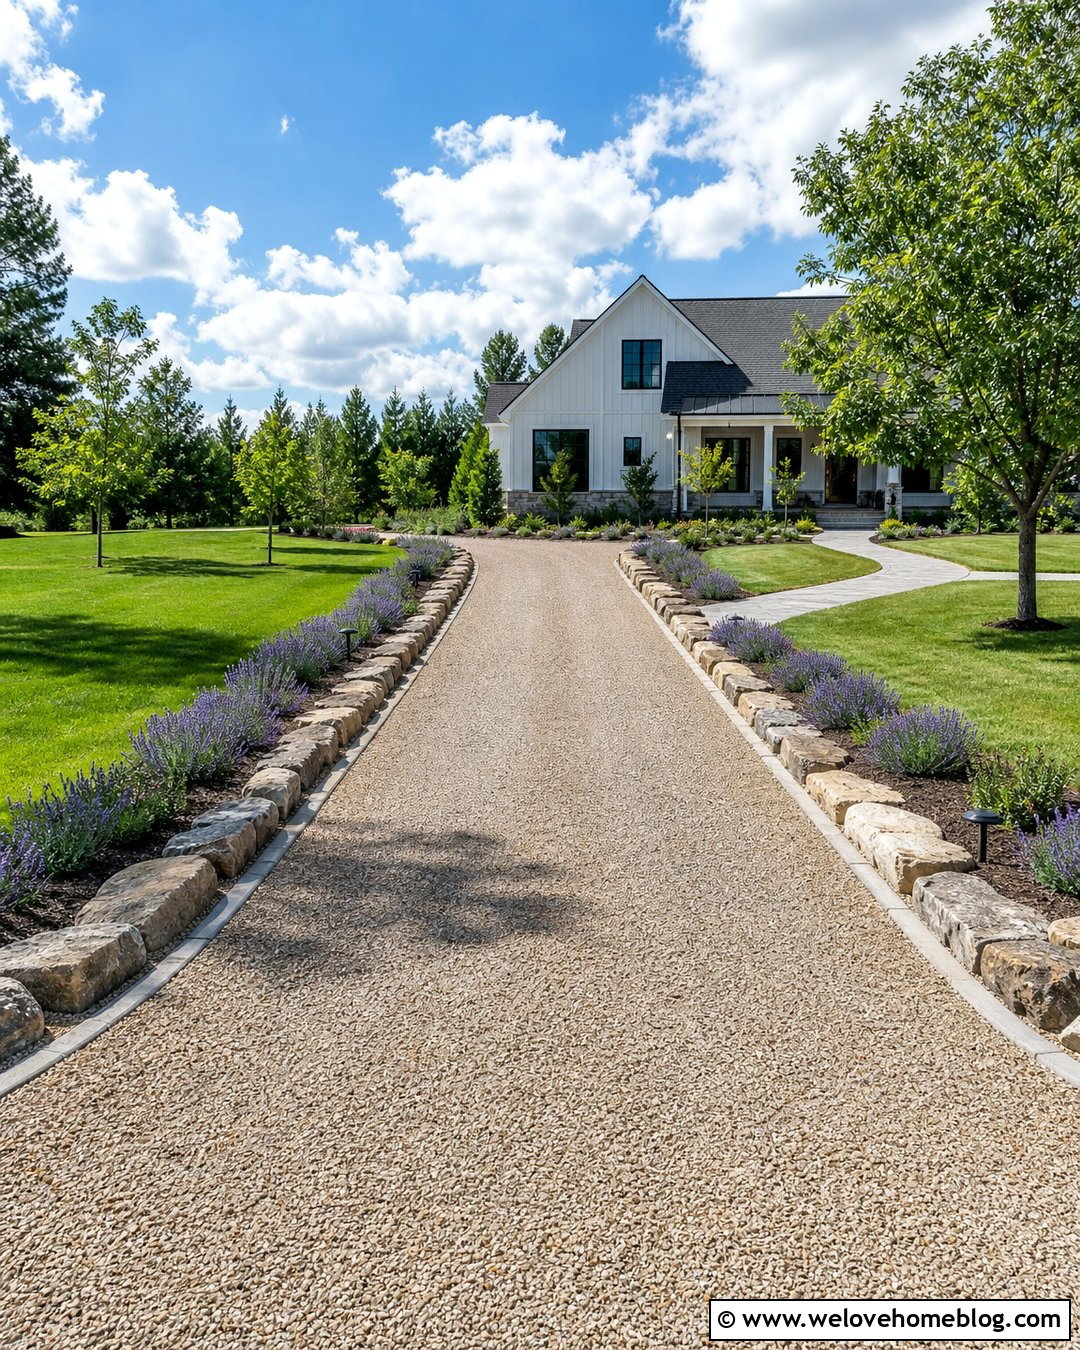
Deep potholes need a layered repair rather than one large load of surface gravel. Remove mud, organic debris, soft soil, and loose aggregate until you reach firm material. If the foundation has failed, place coarse angular crushed stone in the bottom to restore support. Spread it in a manageable layer and compact it thoroughly before adding more. Continue building upward with progressively smaller crushed aggregate. Finish with the same gravel used across the driveway, preferably material containing enough fines to bind the surface. Each compacted layer should remain relatively thin so the tamper or plate compactor can reach it effectively. Shape the top slightly above the surrounding grade to allow minor settlement. Finally, blend the repair into the driveway’s crown, borders, and adjacent driving surface.
5. Drain Standing Water Before Pothole Repair
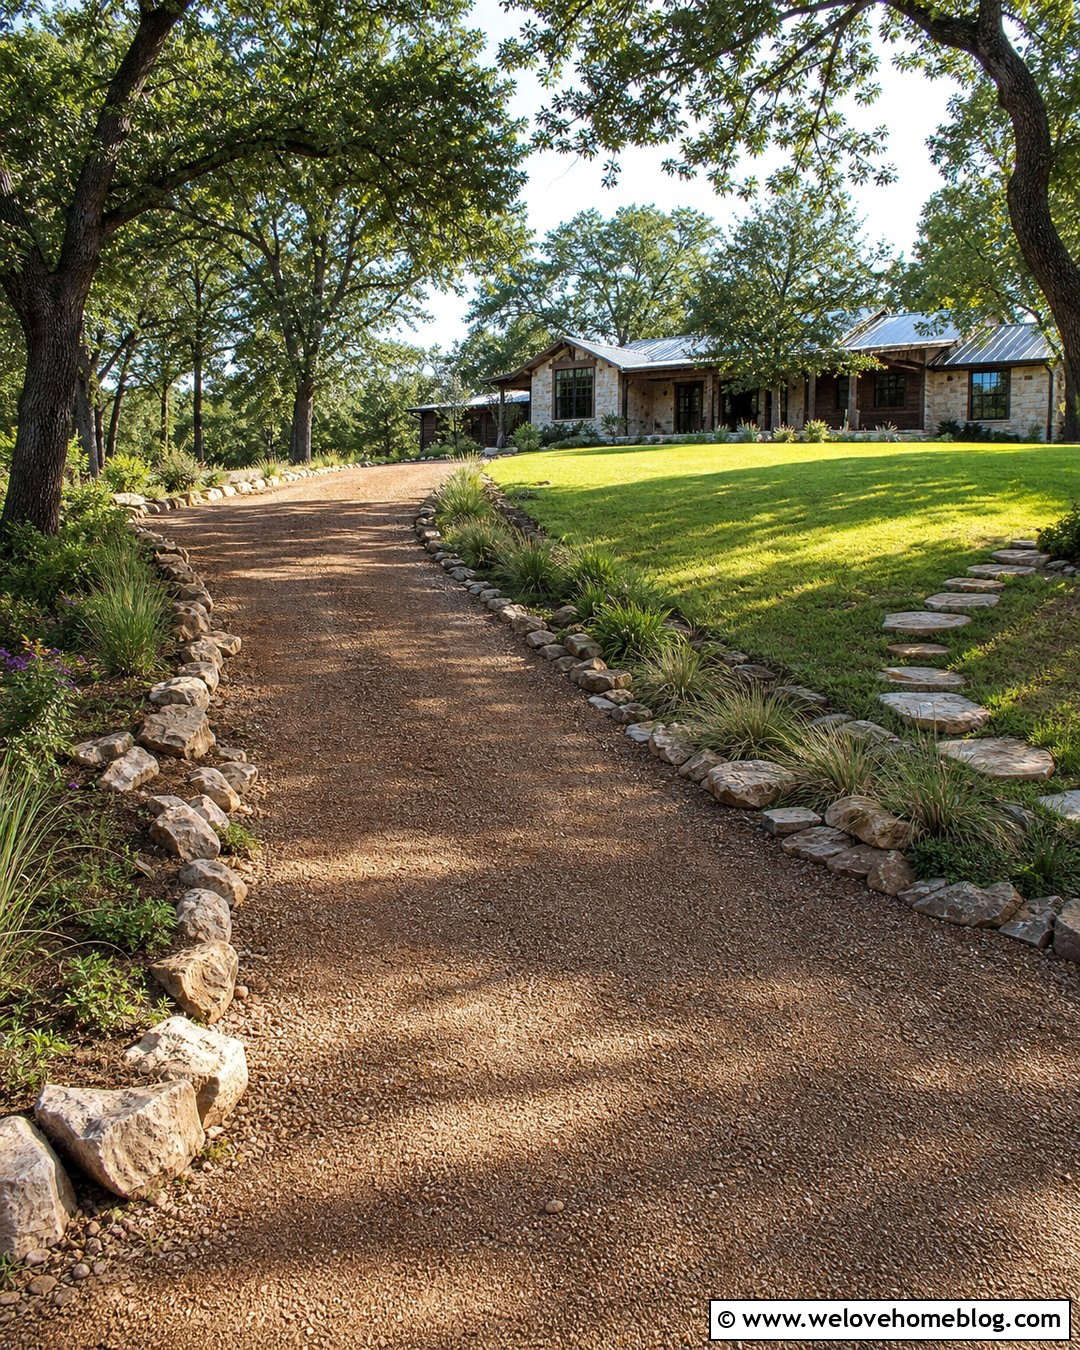
Water glistening inside a pothole is a warning to wait. Filling a saturated depression traps moisture beneath the repair and makes proper compaction difficult. Pump out standing water when necessary, then allow the area to dry until the base feels firm rather than muddy. Remove any soft material that squeezes upward under pressure. While the hole is open, determine where the water came from. It may be flowing downhill, spilling from a downspout, seeping from wet soil, or collecting because the driveway lacks a crown. Redirect runoff before rebuilding the damaged spot. Install an extension, shallow swale, drainage pipe, or other suitable feature when needed. Once the base is stable, add angular crushed gravel in compacted layers and shape the finished surface so future rainfall moves away naturally.
6. Use Crusher Run For Gravel Pothole Repair
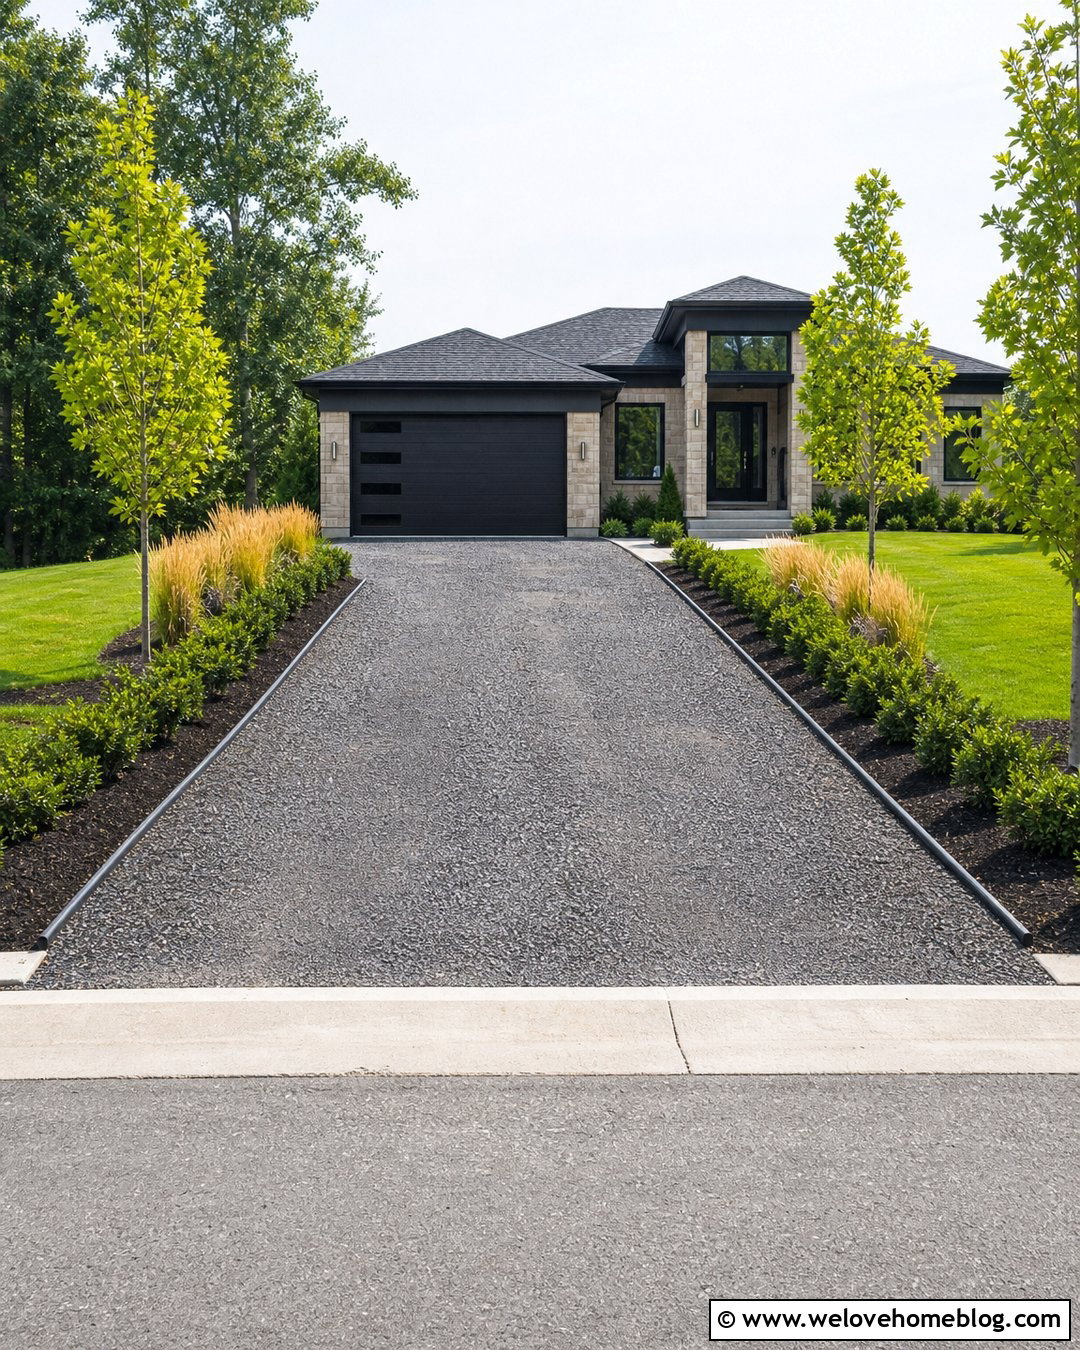
Crusher run can create a firm patch because it combines angular stone with smaller particles and stone dust. Unlike rounded decorative gravel, these varied particle sizes pack together and resist movement under normal residential traffic. Clean and loosen the pothole first. Do not simply pour crusher run over mud, water, or a polished compacted bowl. Add the material in layers, moisten it lightly if it is extremely dry and dusty, and compact each lift before continuing. Extend the crusher run beyond the pothole’s original edges to create a smooth transition. The final layer should follow the driveway’s existing grade and sit only slightly high before final compaction. If the surrounding driveway uses a different color of gravel, apply a thin matching top layer so the repaired area looks intentional.
7. Compact Gravel In Thin Layers
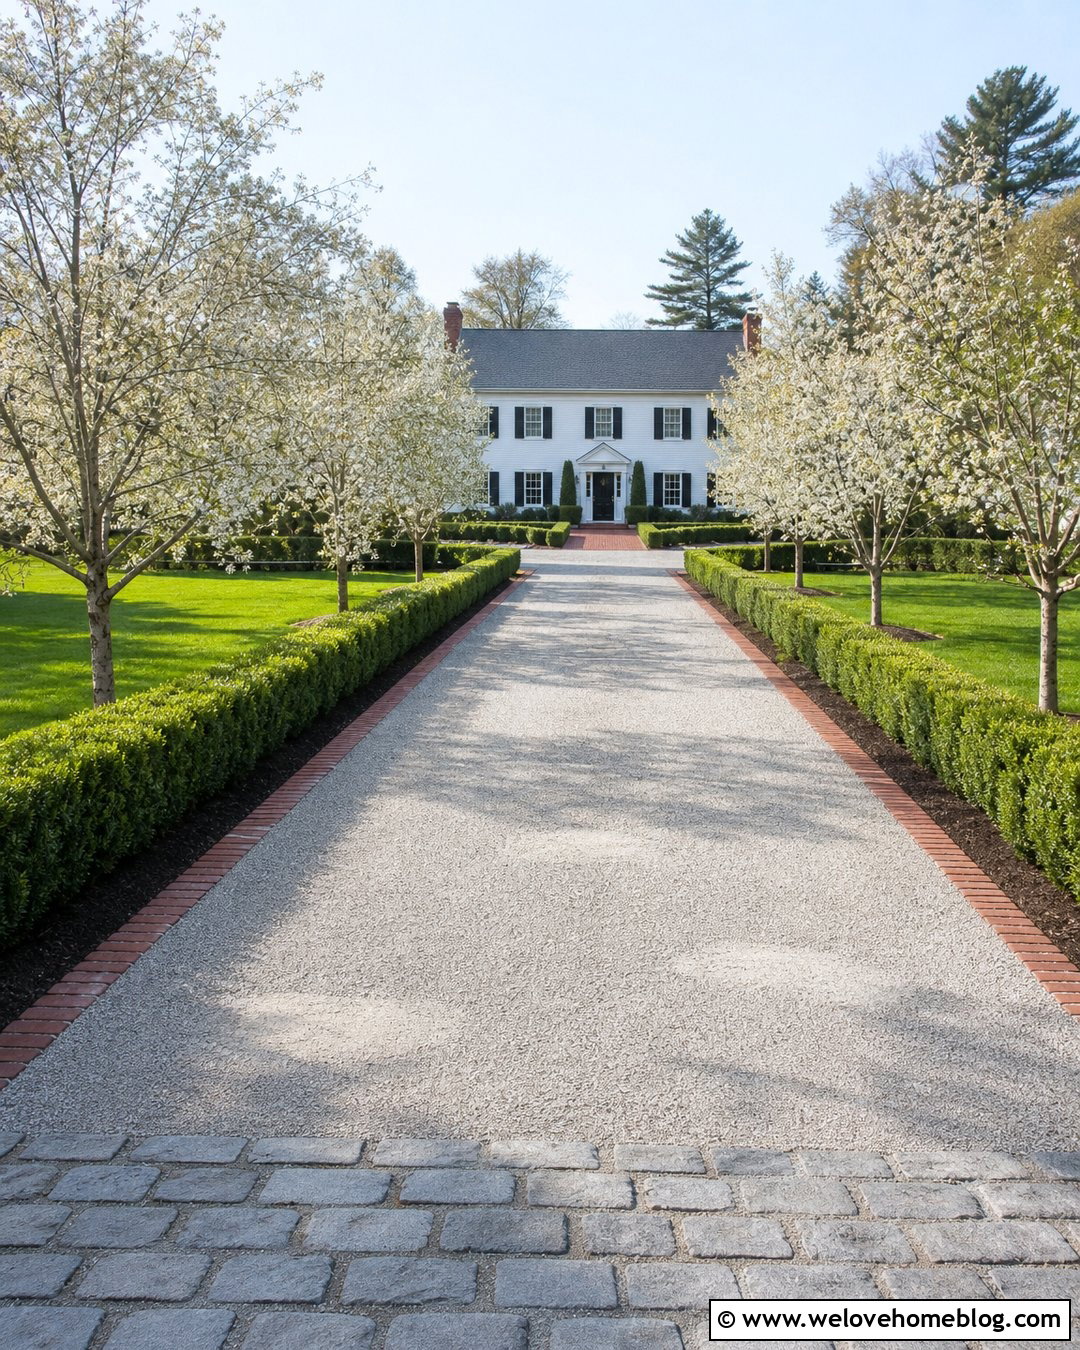
The solid thud of a tamper is what turns loose gravel into a dependable repair. Pouring the entire required depth at once often leaves soft material below the surface. Instead, add gravel in thin, even lifts that your equipment can compact effectively. Use a hand tamper for small holes and a vibrating plate compactor for wider repairs. Begin along the edges and work toward the center, overlapping each pass. Continue until the material stops shifting noticeably beneath the tool. Proper compaction is one of the most important parts of a lasting gravel pothole repair. () Add another lift, repeat the process, and finish slightly above grade before the final passes. Feather the patch outward so tires encounter a smooth transition rather than an abrupt bump.
8. Regrade The Driveway After Pothole Repair
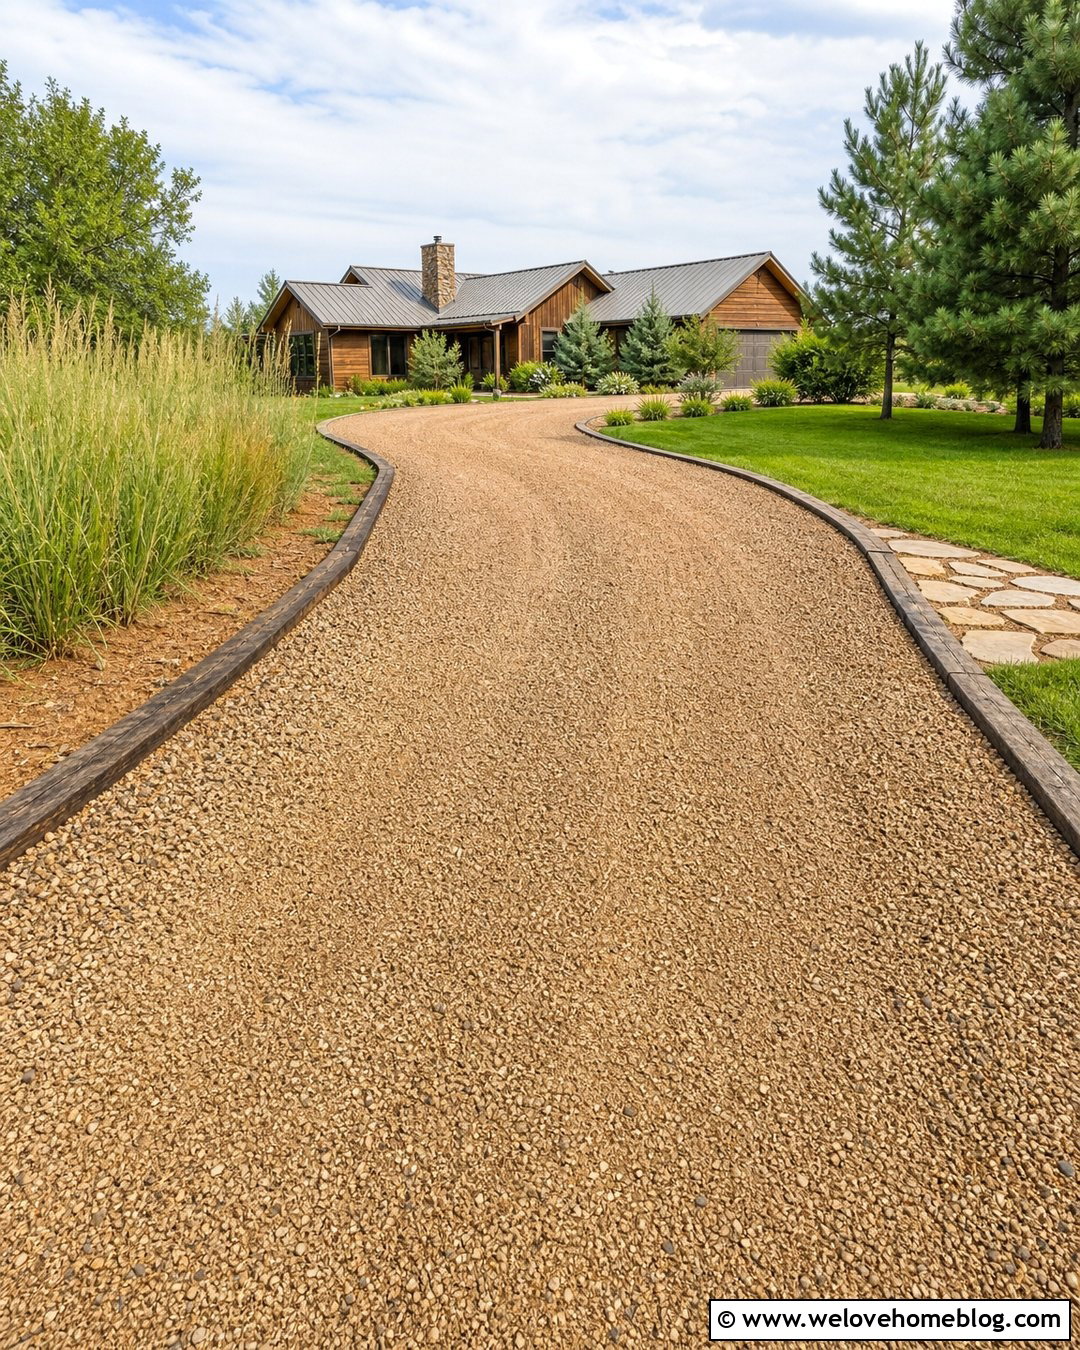
One repaired hole may not solve a driveway covered with shallow depressions and uneven wheel tracks. In that situation, regrading the full surface often produces a better result. First, loosen compacted potholes and rough areas with scarifier teeth or another suitable tool. Pull displaced gravel from the shoulders back toward the driving lane. Add fresh crushed gravel where existing material is too thin. Use a landscape rake, grader blade, box blade, or land plane to redistribute the aggregate evenly. Avoid scraping away the driveway crown or pushing useful stone into the lawn. Make several light passes instead of one aggressive cut. Finish by compacting the reshaped surface. A neatly graded driveway should look continuous from the street to the house, with consistent borders and no isolated patches or water-holding dips.
9. Restore The Gravel Driveway Crown
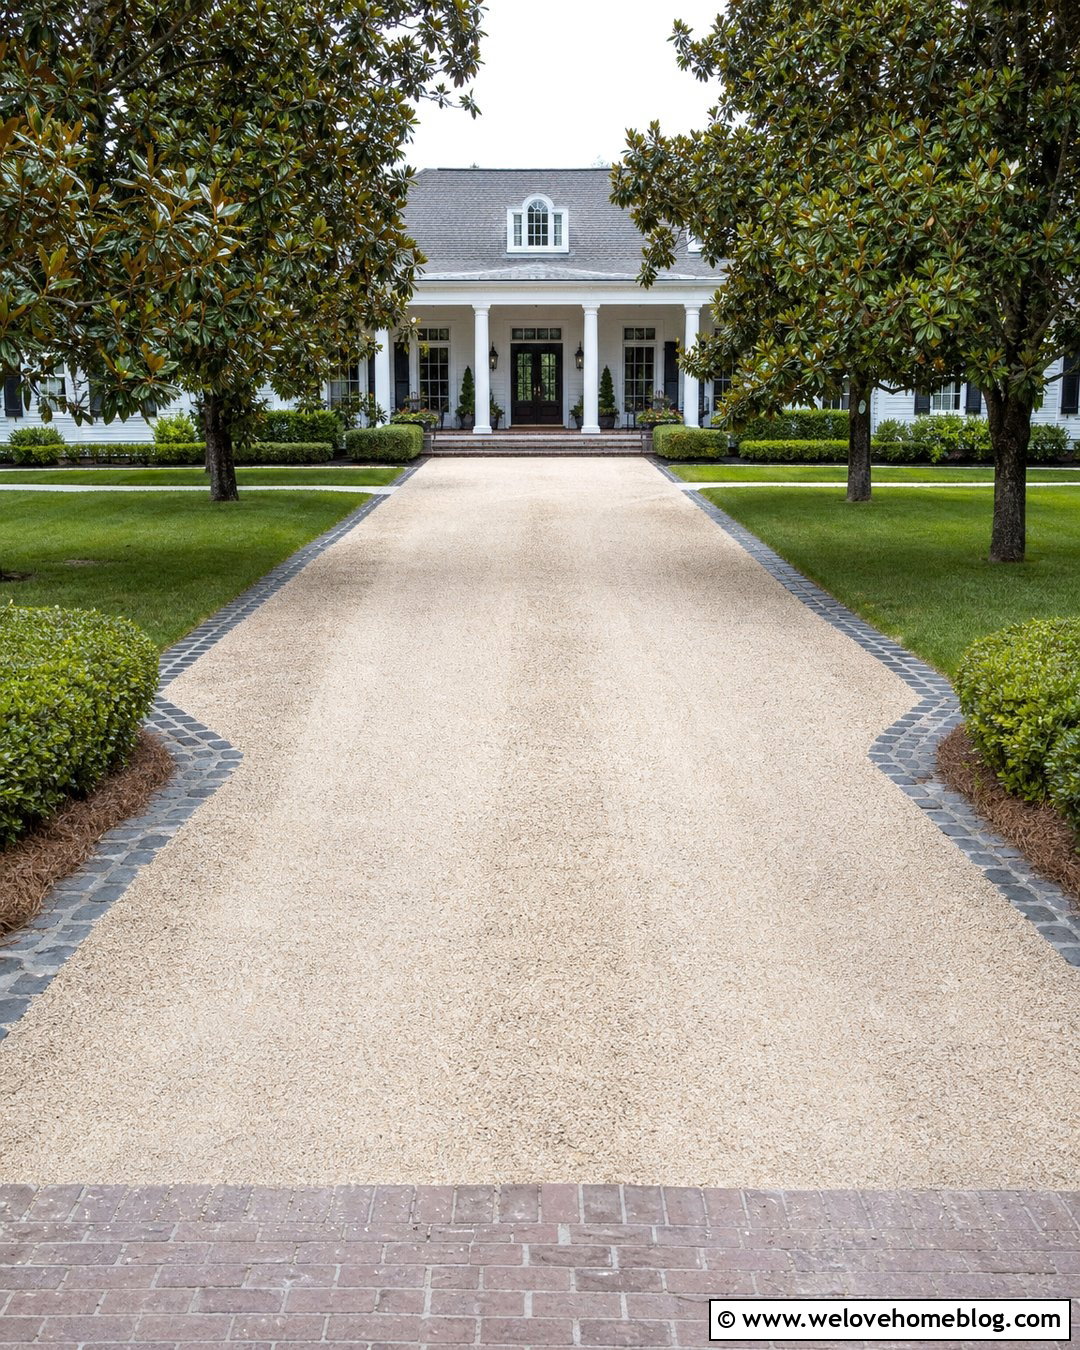
A subtle rise along the center helps rainfall move toward both sides instead of collecting in tire paths. If the driveway looks flat or bowl-shaped, restore its crown while repairing the potholes. Loosen damaged areas, pull gravel inward from the edges, and add compatible crushed aggregate where more material is required. Shape the center slightly higher than the sides, creating a smooth cross slope rather than a sharp ridge. Check the grade with a long level, straight board, or visual sightline from the low end. Compact the surface while preserving the intended shape. Water leaving the driveway still needs a safe destination, so maintain open shoulders, swales, or ditches. The completed crown should be comfortable to drive across and visually balanced with the lawn, planting beds, walkway, and house entrance.
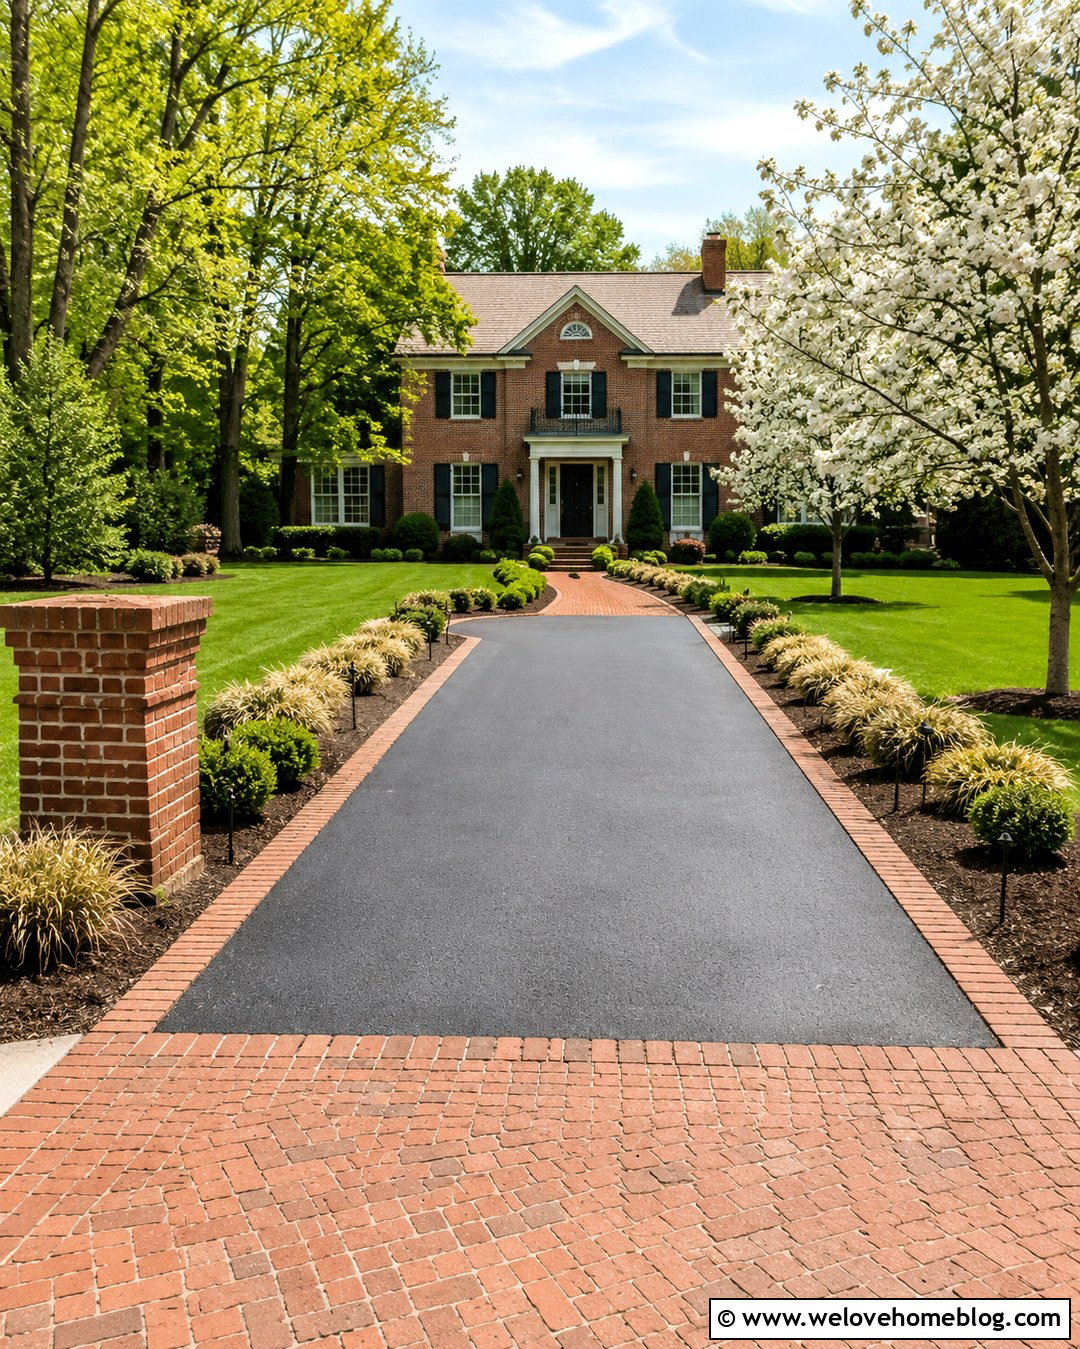

10. Add A Swale Beside The Gravel Driveway
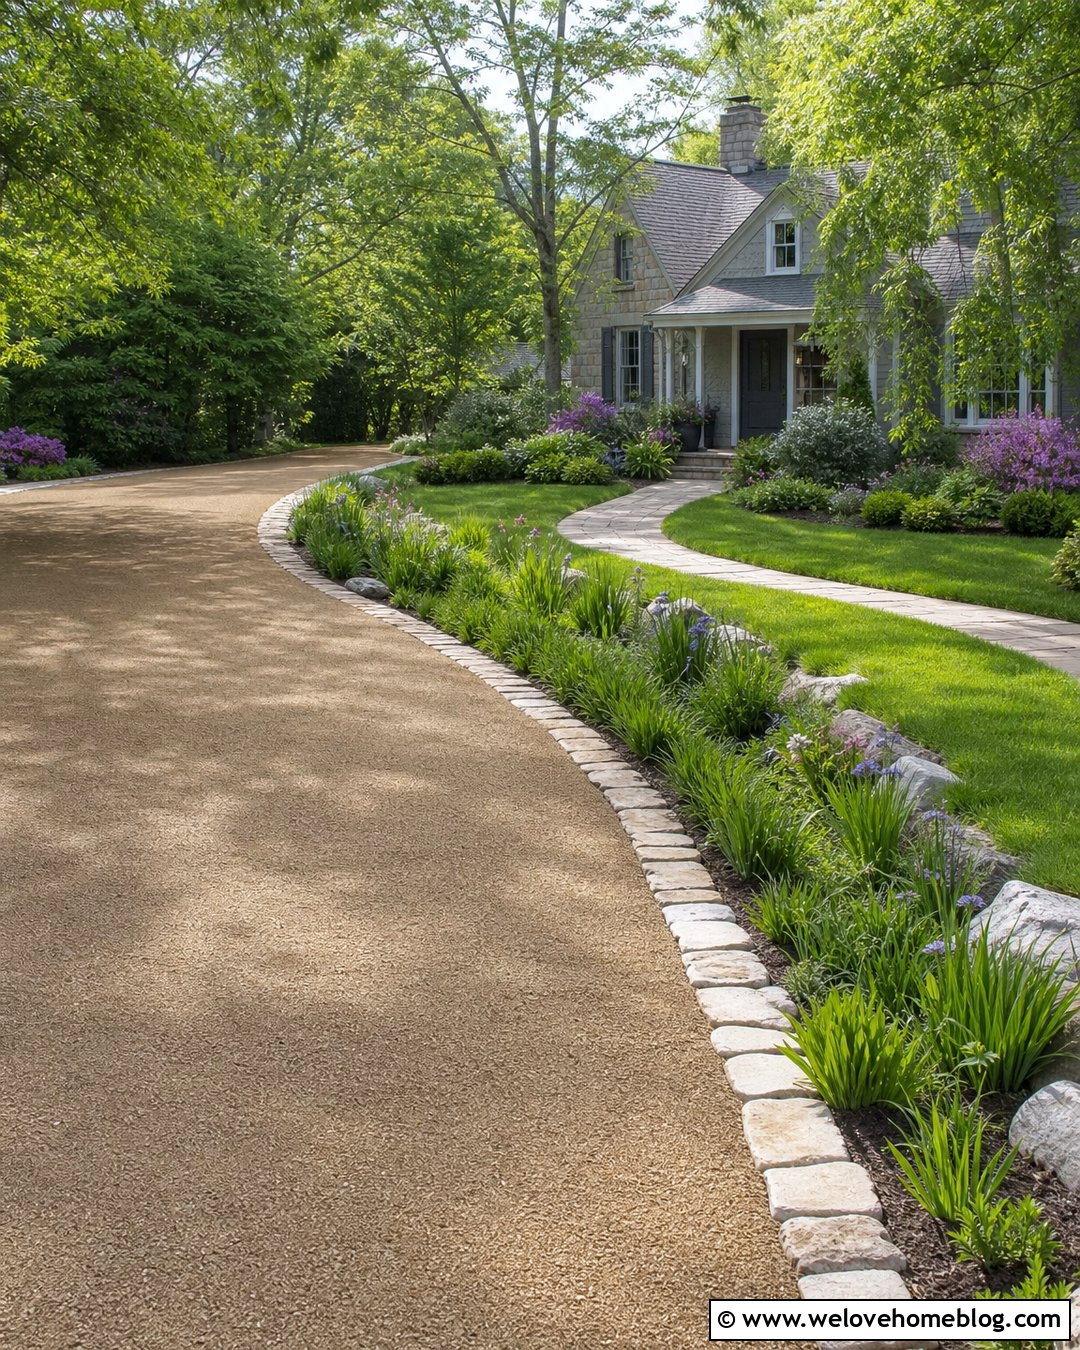
Rainwater flowing from an uphill lawn can repeatedly wash across gravel and create potholes. A shallow vegetated swale beside the driveway can intercept that runoff and guide it toward a suitable outlet. Shape a broad, gently sloping channel rather than a narrow trench with steep, eroding sides. Stabilize it with dense grass, erosion-control planting, or appropriately sized stone, depending on water speed and site conditions. Keep the swale lower than the driveway shoulder without removing support from the gravel edge. Repair existing potholes only after establishing the new drainage path. Rebuild them with compacted angular aggregate and restore the driveway crown. When thoughtfully landscaped, the swale can frame the full driveway with neat greenery while protecting the surface and connecting naturally to rain gardens, culverts, or other approved drainage areas.
11. Install A French Drain Near Wet Potholes
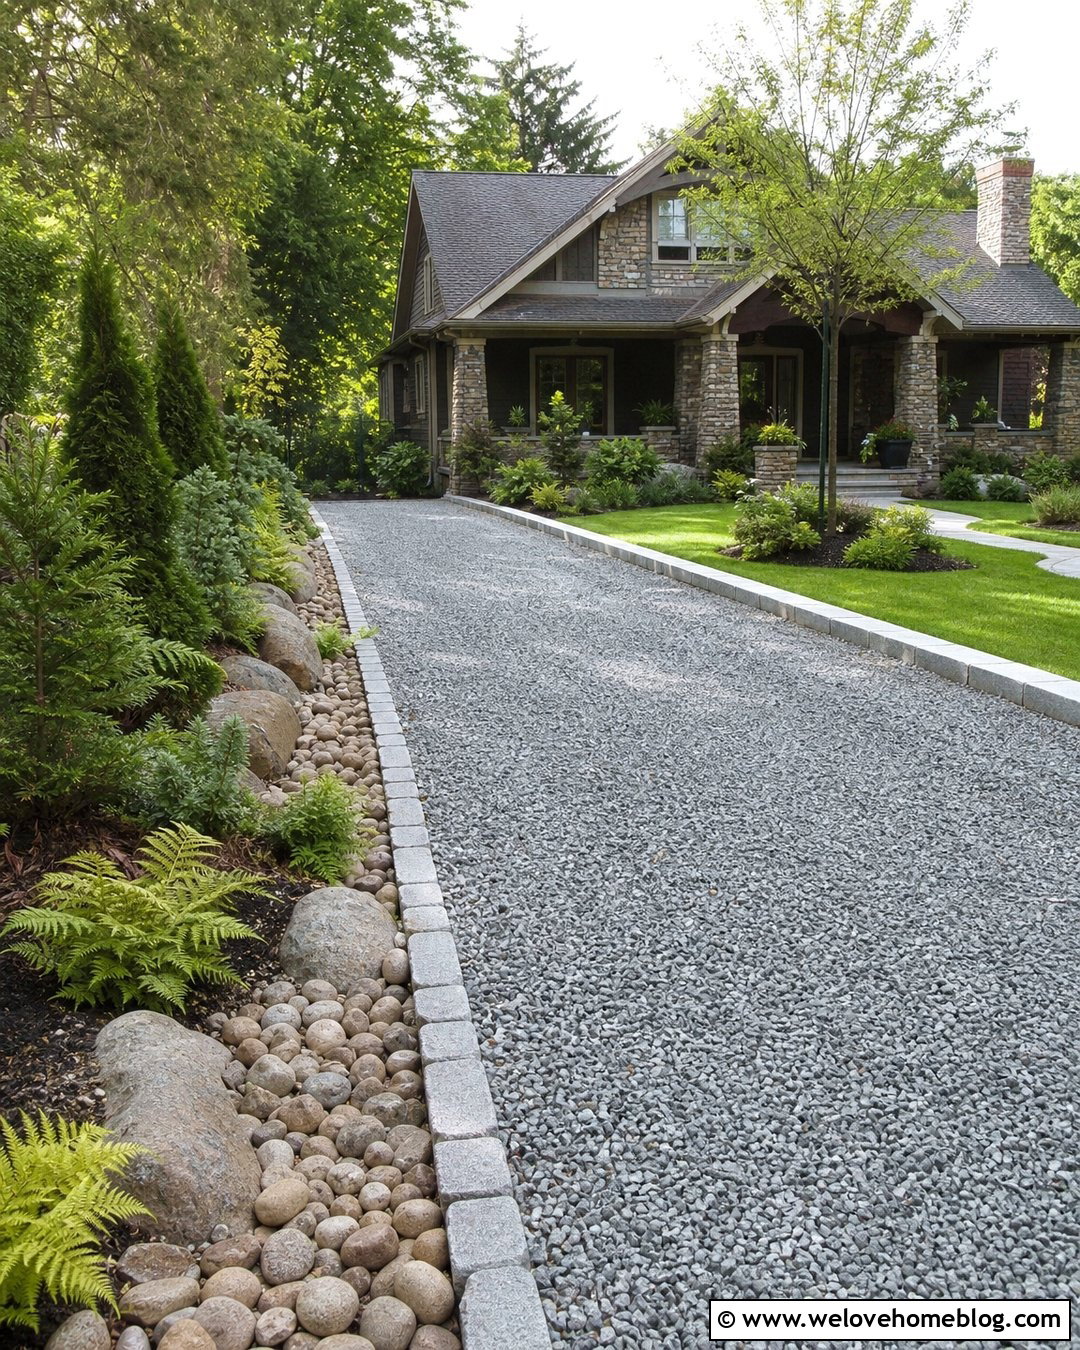
Persistent wetness beneath one section may indicate subsurface water rather than ordinary surface runoff. A French drain can sometimes collect that moisture before it weakens the driveway base. Place the drain beside the driveway rather than casually trenching through a stable driving surface. A typical system includes a sloped trench, suitable filter fabric, washed drainage stone, and perforated pipe leading to a safe outlet. Exact depth, slope, and discharge requirements depend on the property, soil, and local rules. Keep excavations away from buried utilities and foundation drainage. After controlling the moisture, remove the failed driveway material and rebuild the area in compacted layers. Finish with matching crushed gravel and restore the cross slope. The resulting driveway should remain visually clean, with the drainage feature integrated into landscaped borders.
12. Repair Potholes On A Sloped Gravel Driveway
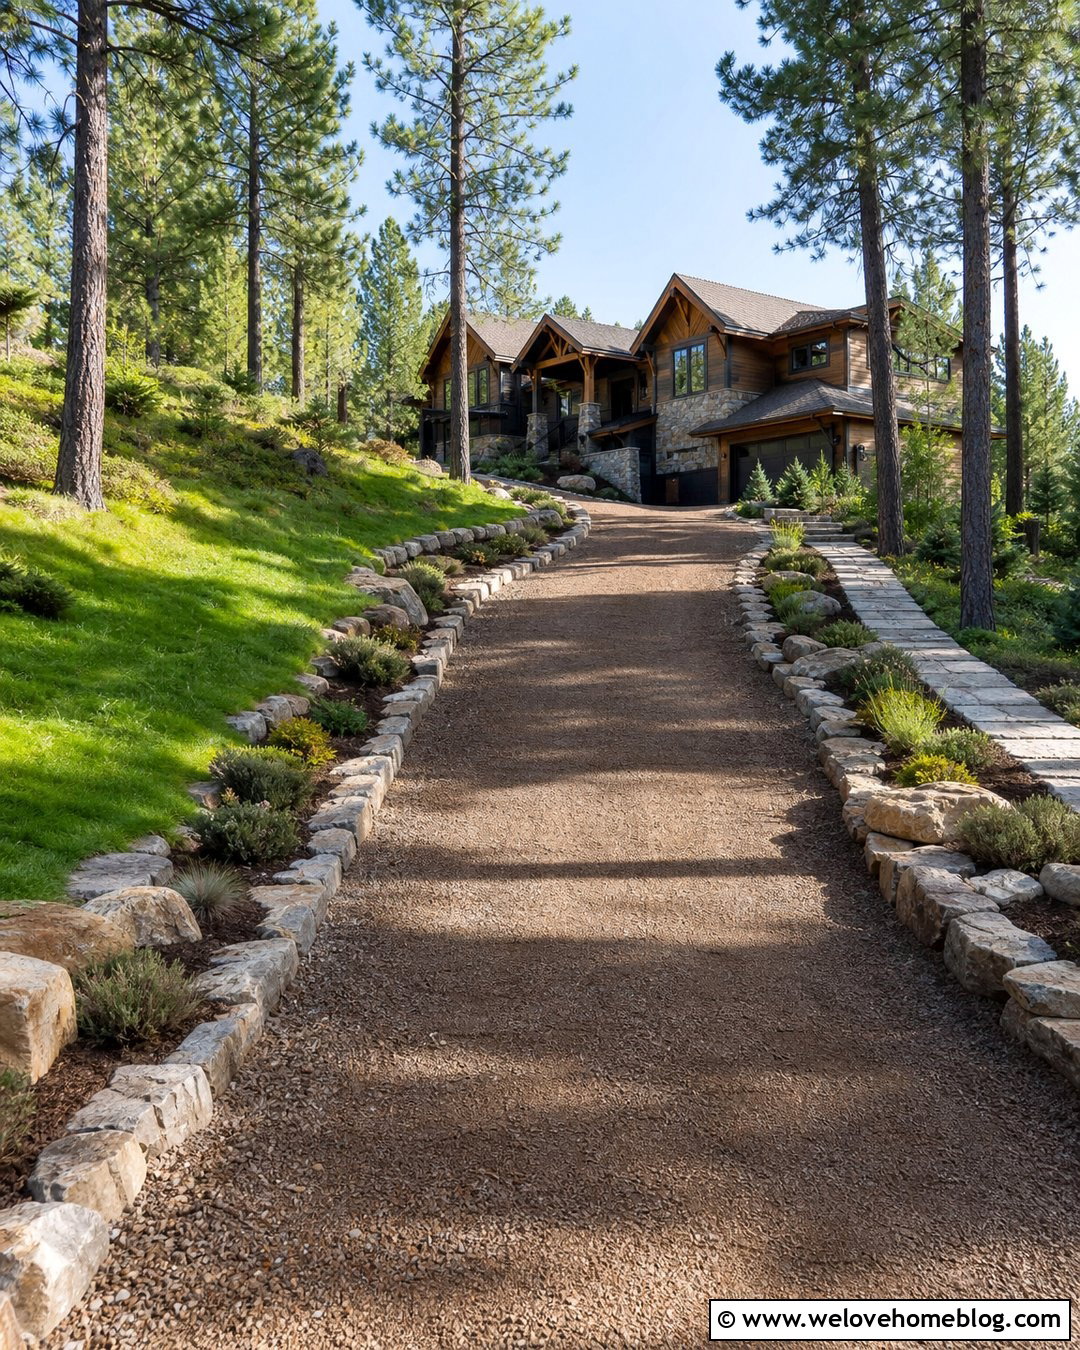
On a steep driveway, flowing water and spinning tires can quickly dislodge loose stone. Begin the repair by identifying where runoff enters and how it travels downhill. Divert water with properly placed swales, turnout drains, or other professionally planned drainage features rather than letting it follow the wheel tracks. Break up each pothole and remove soft material. Rebuild with angular crushed aggregate that interlocks under compaction. Rounded pea gravel is better reserved for decorative, low-traffic areas because it moves more easily on slopes. Grade the surface so water exits at controlled points without cutting channels across the driveway. Compact the full repaired area, especially near curves and acceleration zones. Stone edging or stabilized shoulders can support the sides while giving the sloped driveway a more structured appearance.
13. Fix Potholes At The Gravel Driveway Entrance
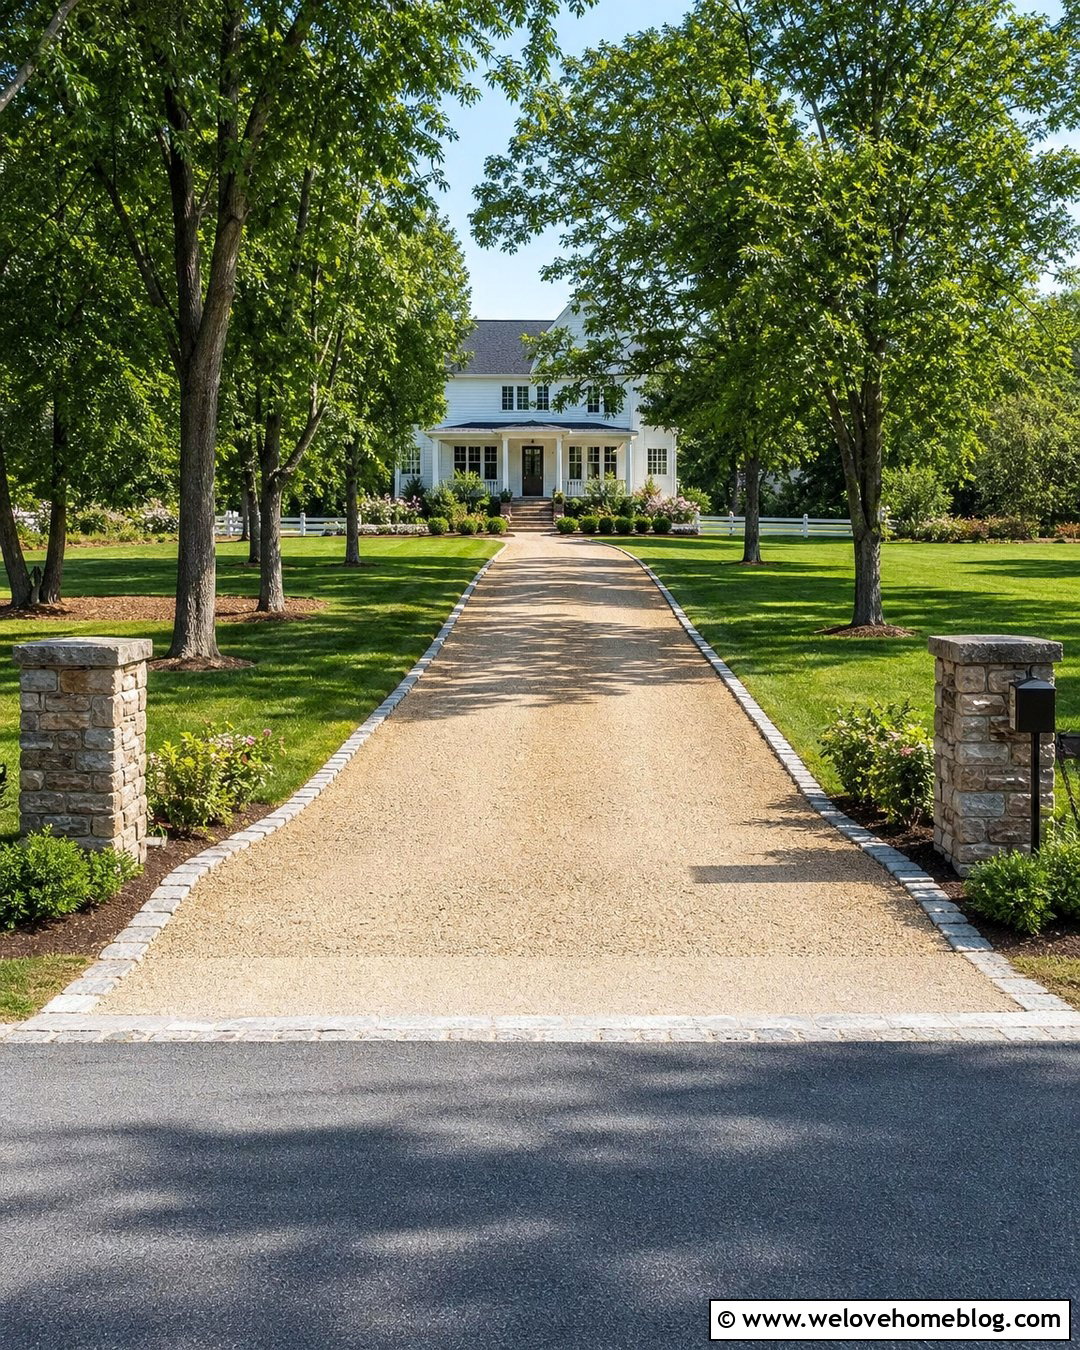
The entrance receives turning forces, braking pressure, road runoff, and frequent tire movement, making it a common pothole location. Clean the depression and inspect the transition between the public road and private gravel. Water may be collecting where the driveway meets pavement or flowing along the roadside shoulder. Do not alter a public drainage ditch or culvert without permission. Rebuild the damaged entrance with compacted crushed stone, working in layers and extending the repair across the full weakened area. Create a smooth transition that does not leave loose gravel scattered onto the roadway. Consider adding a durable apron, stabilized edging, or a border of heavy pavers where local conditions allow. Coordinate the repaired surface with gateposts, mailbox landscaping, and the main driveway for a polished street-facing entrance.
14. Repair Multiple Potholes With A Box Blade
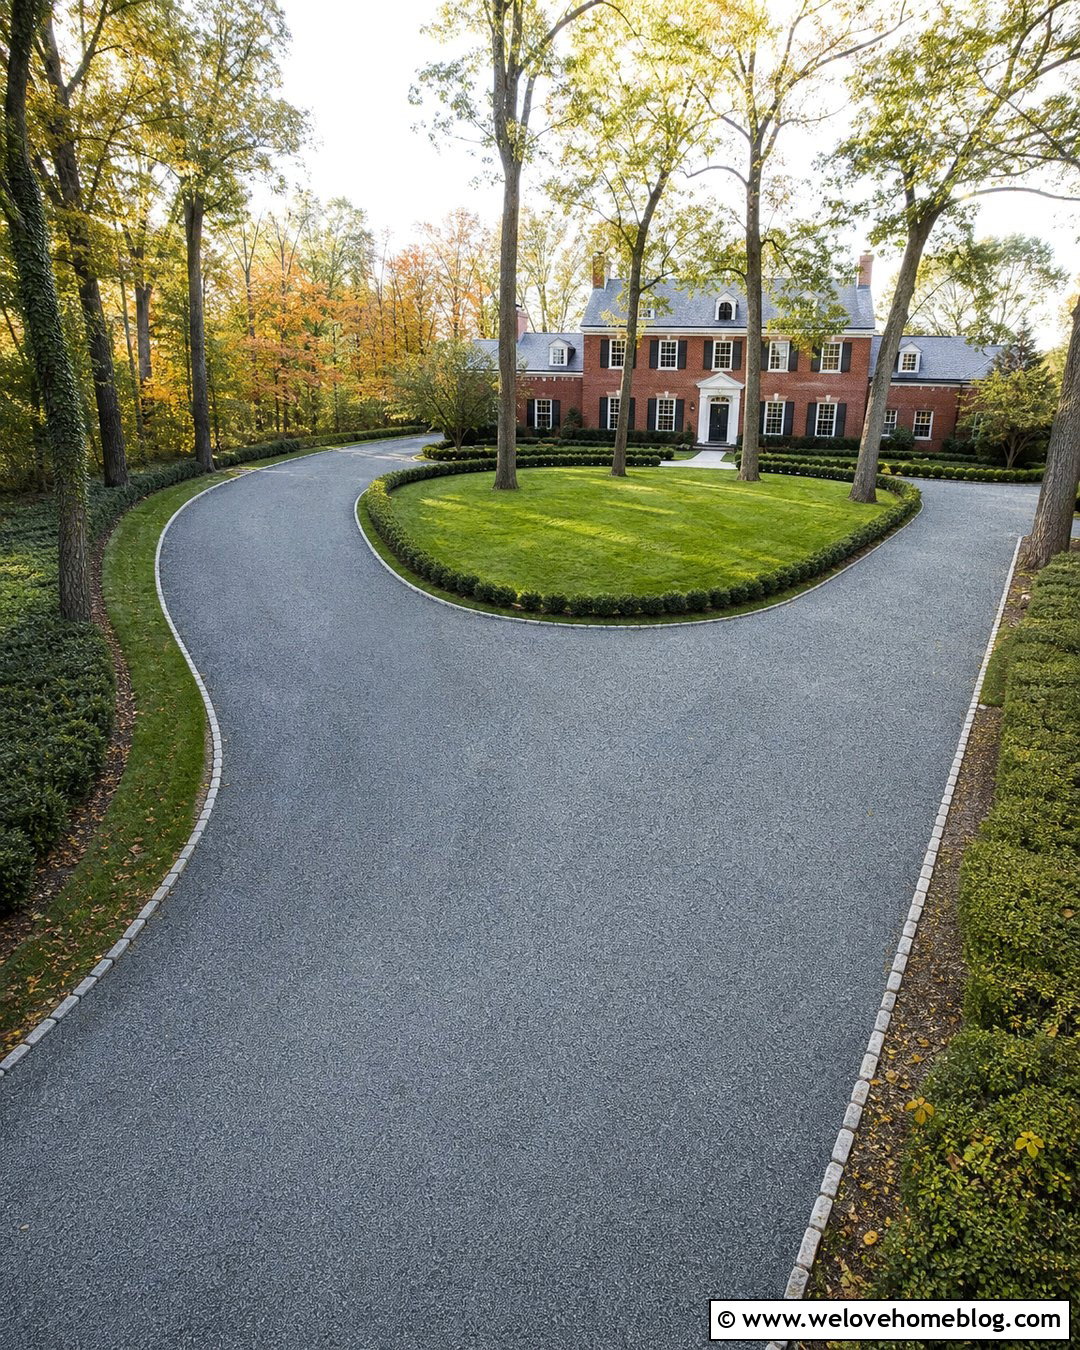
A tractor-mounted box blade is helpful when numerous potholes cover a long gravel driveway. The scarifiers can loosen compacted depressions, while the box gathers and redistributes existing aggregate. Set the teeth only deep enough to break the damaged surface without cutting unnecessarily into a stable foundation. Work when the driveway is slightly damp but not muddy. Make slow passes along the full length, changing direction when practical to blend material evenly. Pull gravel from high shoulders and ridges back into low wheel paths. Add new crusher run if the driveway lacks enough usable aggregate. Raise the scarifiers for final smoothing, then compact the graded surface. Preserve a gentle crown and clean edges so the restored driveway reads as one complete, continuous approach rather than a collection of separate repairs.




15. Use A Land Plane On A Gravel Driveway

A land plane provides a simple way to smooth widespread washboarding, shallow potholes, and uneven gravel. Its blades skim high areas and release collected material into lower spots as the implement travels forward. Deep potholes should still be loosened first because smoothing only the surface may leave the compacted depression underneath. Adjust the land plane carefully and make several shallow passes. Work gravel back from the shoulders while protecting lawns, stone borders, and nearby planting beds. Add fresh crushed aggregate before the final passes if the surface layer has become thin. After leveling, restore a modest crown or drainage slope and compact the driveway. The finished approach should show an even gravel texture, clearly defined edges, and a smooth visual line from the curb to the garage or parking area.
16. Rebuild Muddy Potholes With Geotextile
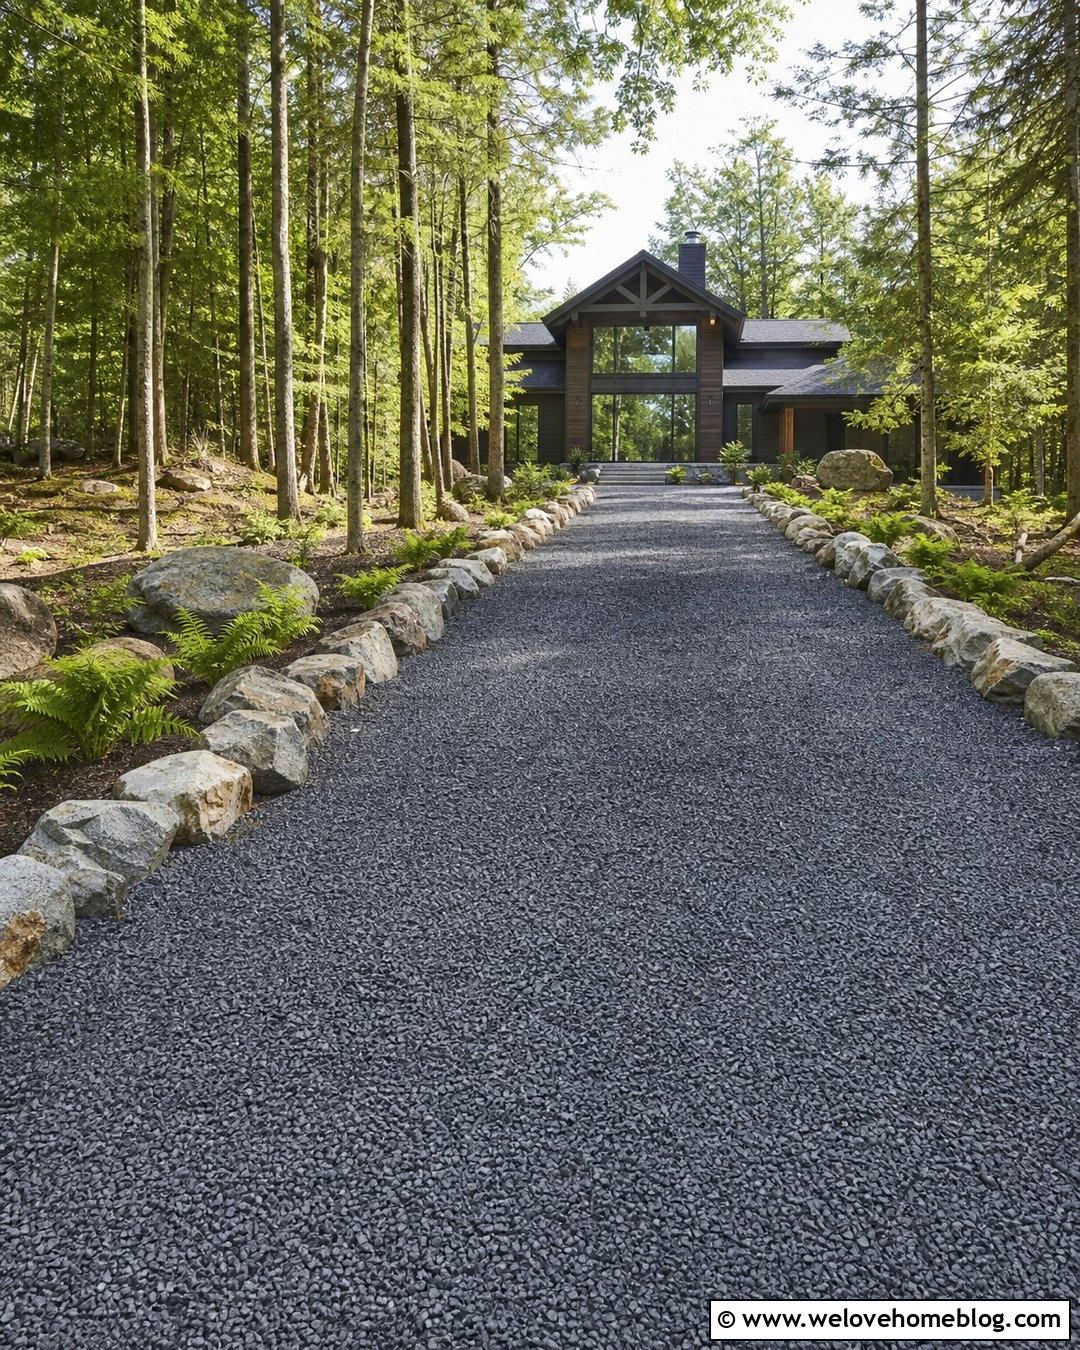
When gravel repeatedly sinks into soft native soil, a simple patch may never remain stable. Excavate the failed area until you reach material capable of supporting reconstruction. If the site stays wet or the subgrade is weak, properly selected geotextile fabric can separate the soil from the stone base and improve stability. Cover the fabric with coarse base rock, compact it, and continue with smaller crushed aggregate before applying the surface gravel. An Extension expert recommends rebuilding persistently wet failures with compacted layers and considering geotextile between native soil and base rock. () Avoid leaving exposed fabric at the driveway edges. Blend the reconstructed section into the existing surface, restore drainage, and use matching top gravel for a seamless finished appearance.
17. Repair Gravel Driveway Potholes After Winter
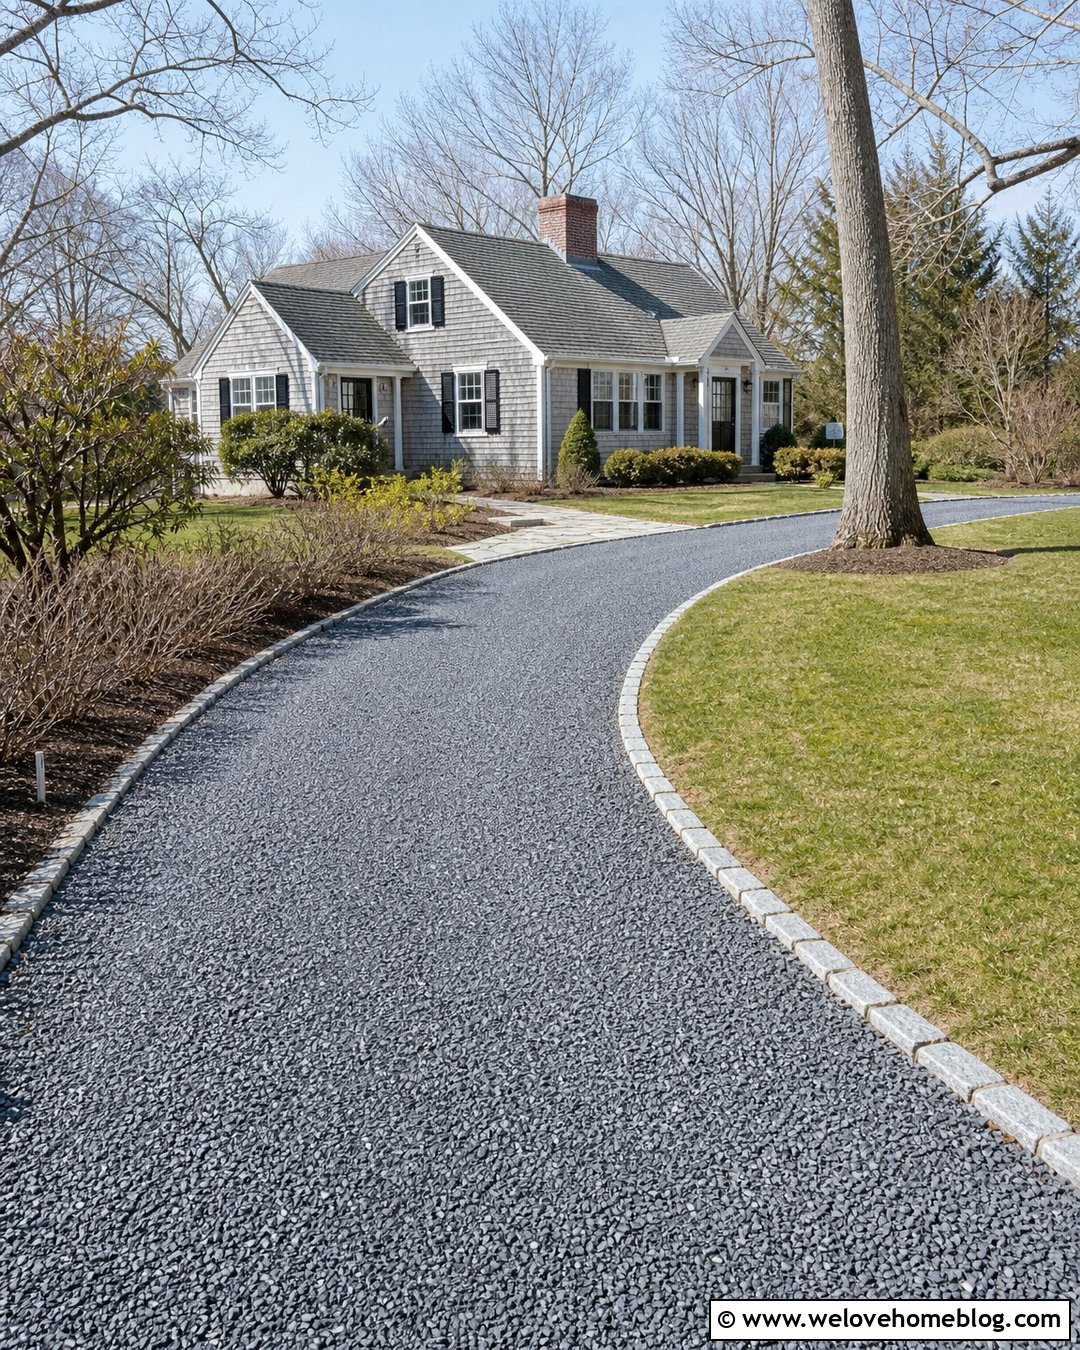
Early spring often reveals soft spots created by snowmelt, saturated soil, plowing, and repeated freezing and thawing. Wait until the driveway has drained enough to support equipment without pumping mud through the gravel. Walk the entire surface and mark potholes, frost heaves, ruts, displaced shoulders, and blocked ditches. Break apart hardened pothole bowls and remove contaminated material. Add angular crushed gravel in compacted layers rather than covering every defect with a thin blanket of loose stone. Regrade the full driveway if winter damage is widespread. Clear drainage outlets and reshape the crown before the next heavy rain. Finally, rake stray gravel away from lawns and planting beds. This seasonal reset restores a neat entrance and prepares the driveway for heavier spring and summer use.
18. Prevent Potholes With Regular Grading
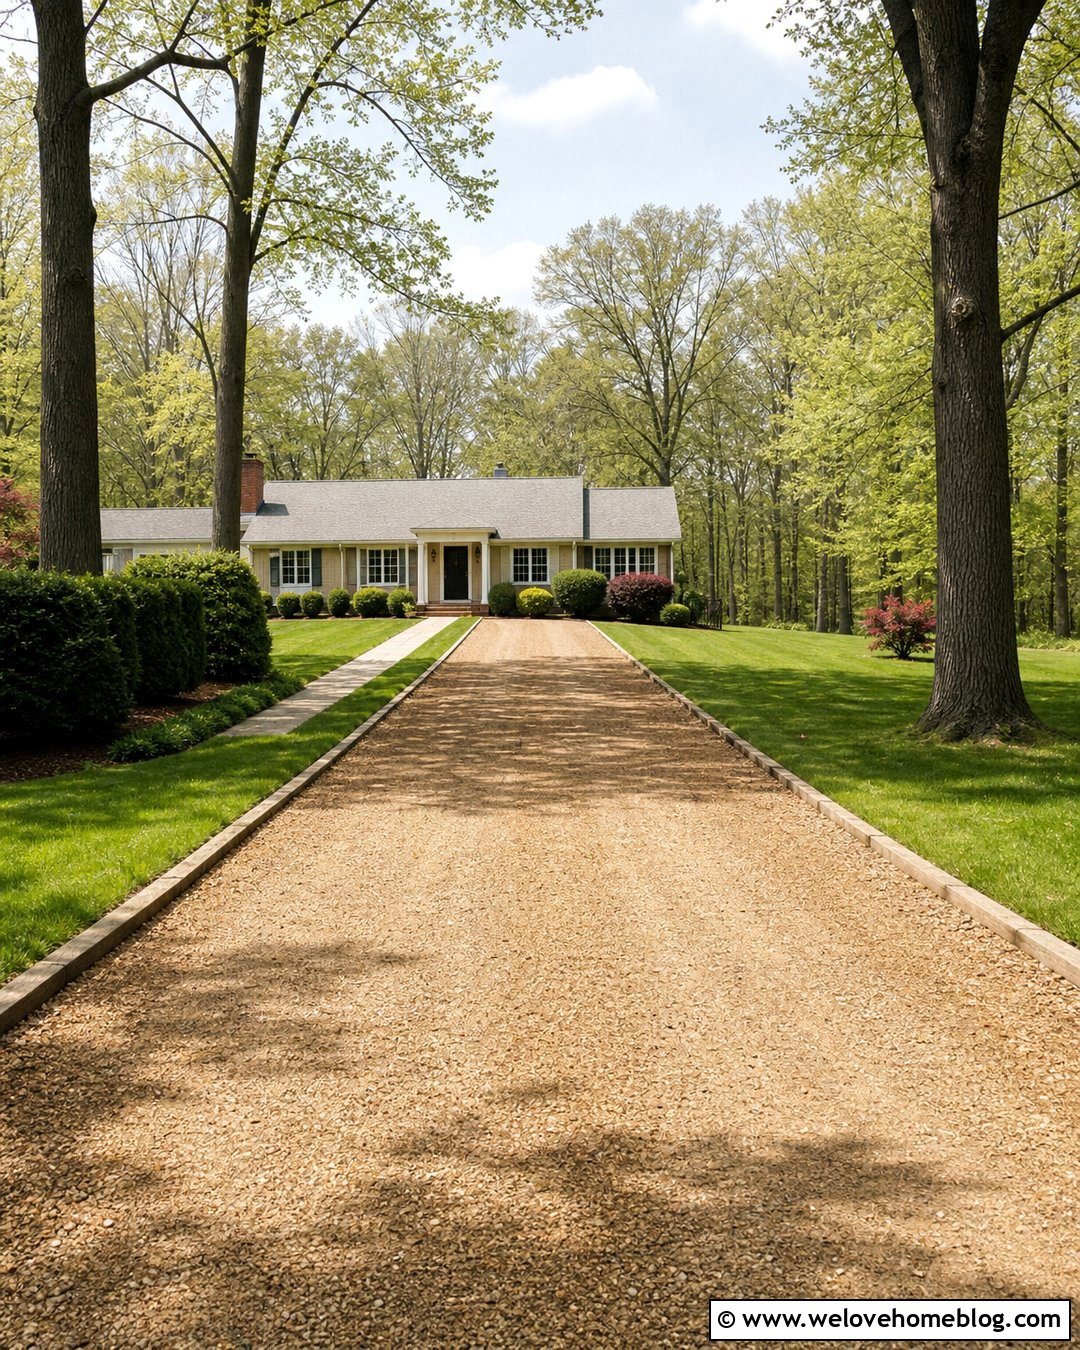
A few scheduled maintenance passes are easier than rebuilding a deeply damaged driveway. Inspect the surface after heavy storms and during seasonal transitions. Rake small depressions before they become compacted bowls. Pull loose gravel from shoulders and center ridges back into the wheel paths, then preserve the crown or intended cross slope. Clear leaves, sediment, and vegetation from swales, culverts, and drainage outlets. Add fresh crushed gravel when the surface layer becomes too thin to grade effectively. Compact newly placed material instead of leaving it loose. Reduce aggressive acceleration, sharp turns, and repeated driving along exactly the same tracks where possible. Consistent maintenance keeps the complete driveway smoother, protects landscaped edges, and prevents minor water-holding areas from growing into expensive pothole repairs.
19. Match New Gravel To The Existing Driveway
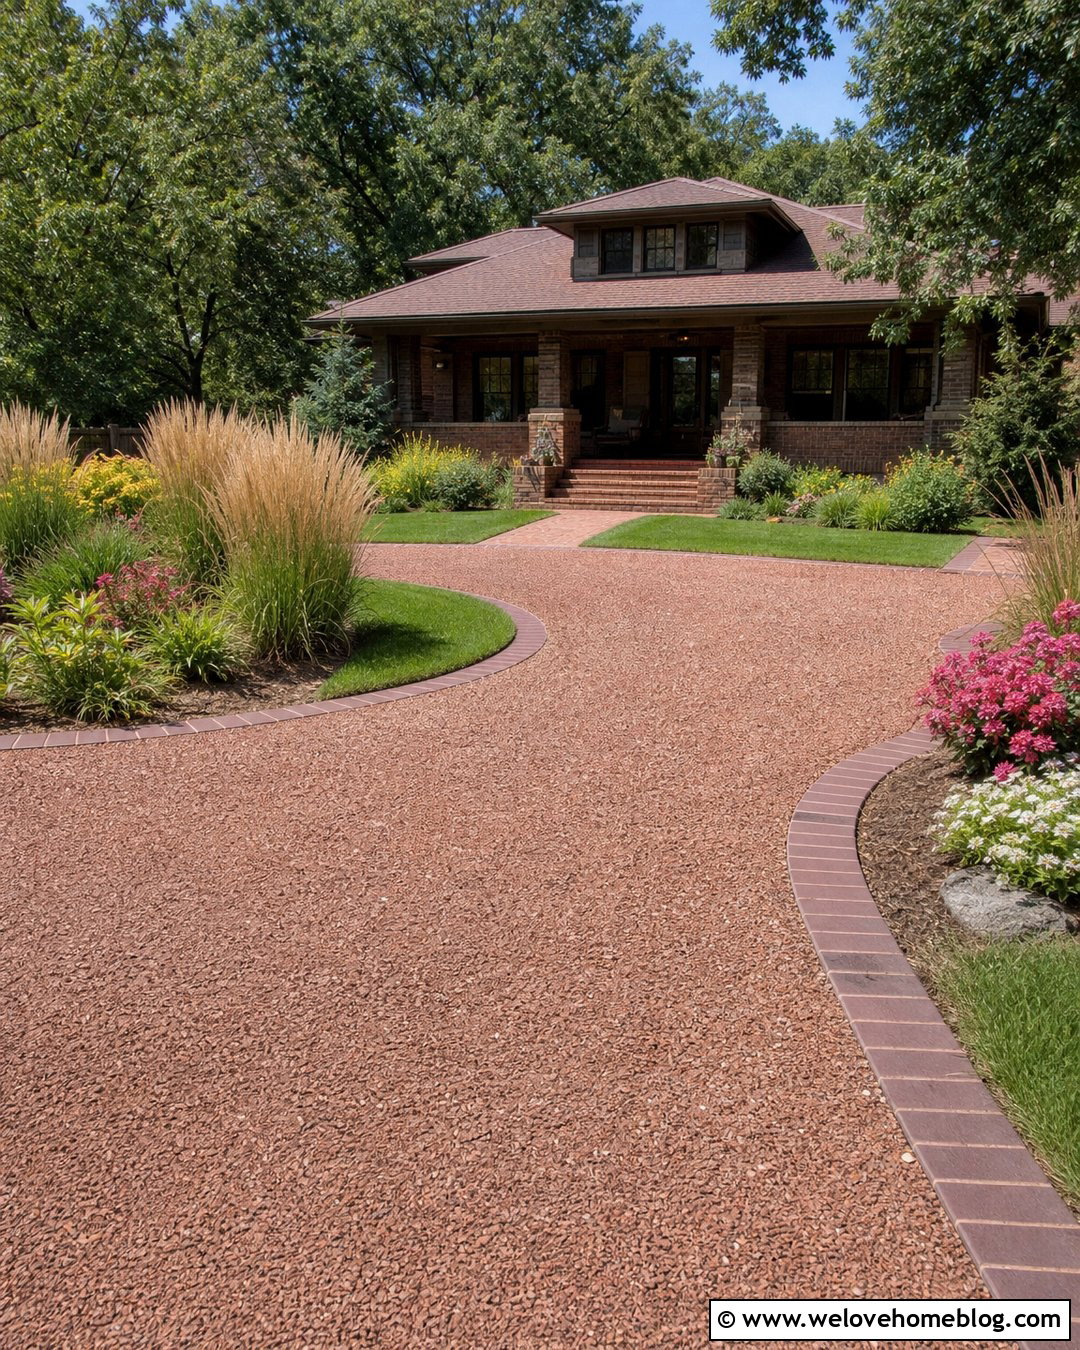
A structurally sound patch can still look unfinished when its stone differs sharply from the rest of the driveway. Identify the existing aggregate’s size, color, shape, and proportion of fines before ordering material. Local suppliers may recognize regional names such as crusher run, road base, dense grade, or three-quarter-inch minus, but specifications can vary. Bring a sample or clear photograph when purchasing gravel. Use angular, compactable material inside the repair rather than filling the hole entirely with attractive rounded stone. Once the base is rebuilt, apply matching surface gravel across a wider area to disguise color differences. Rake it into nearby sections and compact the transition. Coordinating the repair with the driveway border, front walkway, house facade, and surrounding landscaping creates a more unified curb-facing finish.



20. Rebuild A Failed Gravel Driveway Section
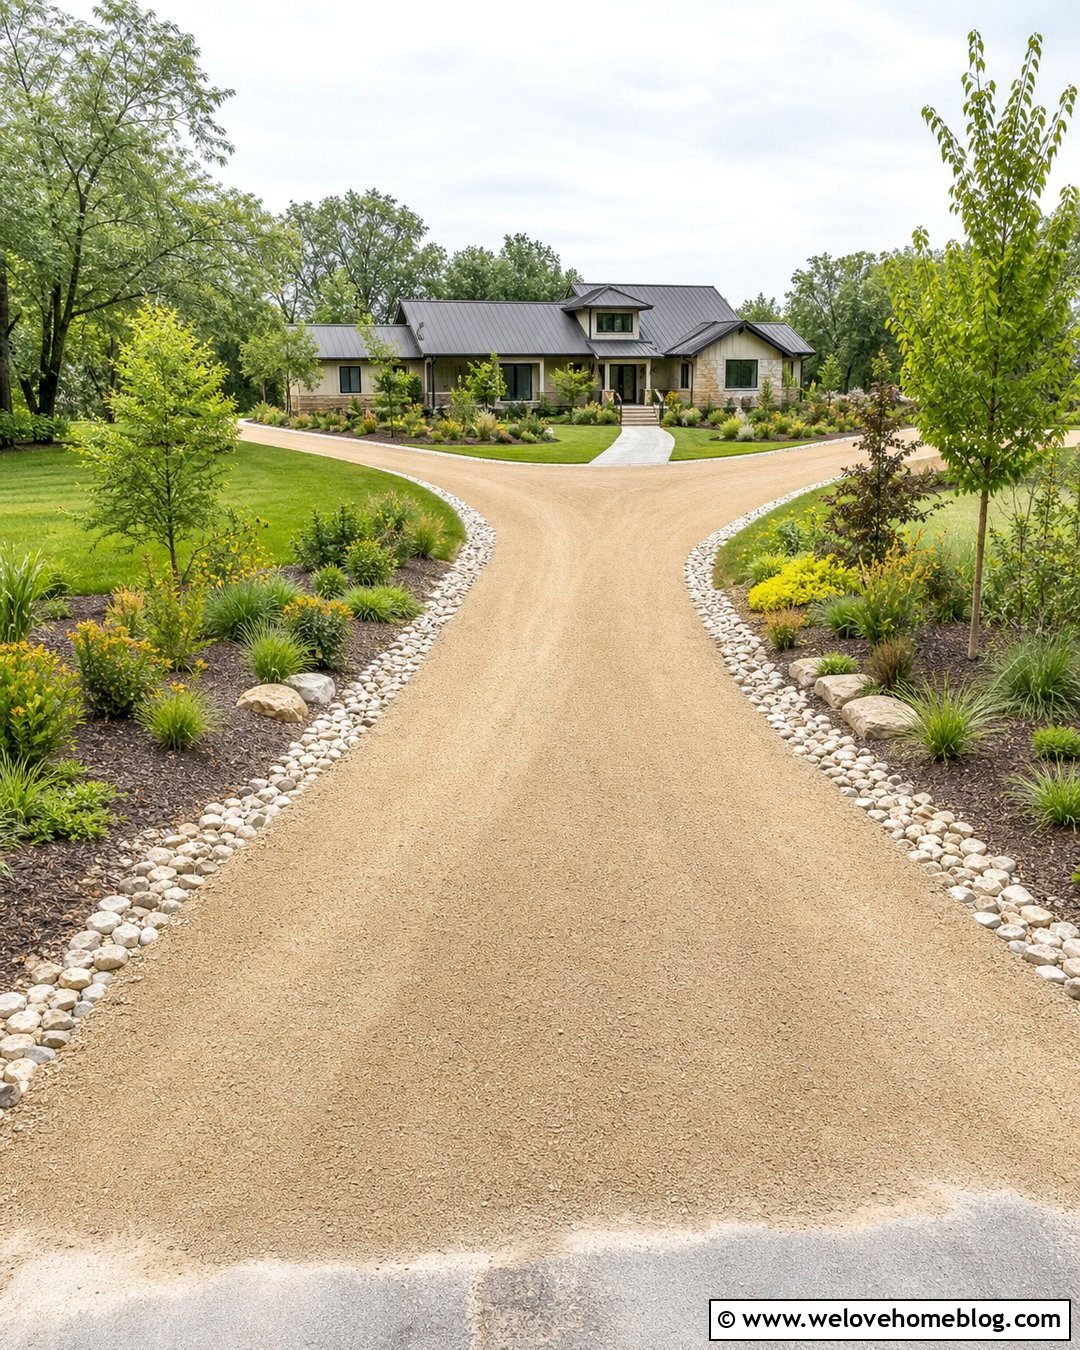
Sometimes repeated potholes signal a larger foundation failure that spot patching cannot correct. Consider reconstruction when the driveway remains muddy, gravel continually disappears into the soil, or a cluster of holes returns in the same place. Excavate the entire unstable section instead of chasing individual depressions. Address drainage first, stabilize the subgrade, and install geotextile when appropriate for the soil conditions. Build a properly compacted base using suitable coarse stone, followed by dense graded aggregate and matching surface gravel. Tie the repaired area smoothly into stable portions on both ends. Restore the crown, shoulders, and water outlets before opening it to normal traffic. For extensive failures, steep grades, unknown utilities, or major drainage work, hiring an experienced driveway contractor can prevent costly mistakes and produce a cleaner result.
Conclusion:
Learning how to repair gravel potholes correctly can transform a rough, waterlogged entrance into a smoother and more attractive approach. The strongest repair starts by identifying the cause, loosening compacted material, rebuilding weak areas with angular stone, and compacting every layer. Drainage improvements, a gentle crown, stabilized shoulders, and seasonal grading help protect that work. Small holes may need only hand tools, while deep or widespread failures can require machinery or complete base reconstruction. Use these 20 How To Fix Potholes In Gravel Driveway Ideas to select a method that suits your driveway’s slope, soil, traffic, and damage level. With timely maintenance, the entire driveway can remain functional, welcoming, and easier to manage.

Related posts:


Leave a Reply