
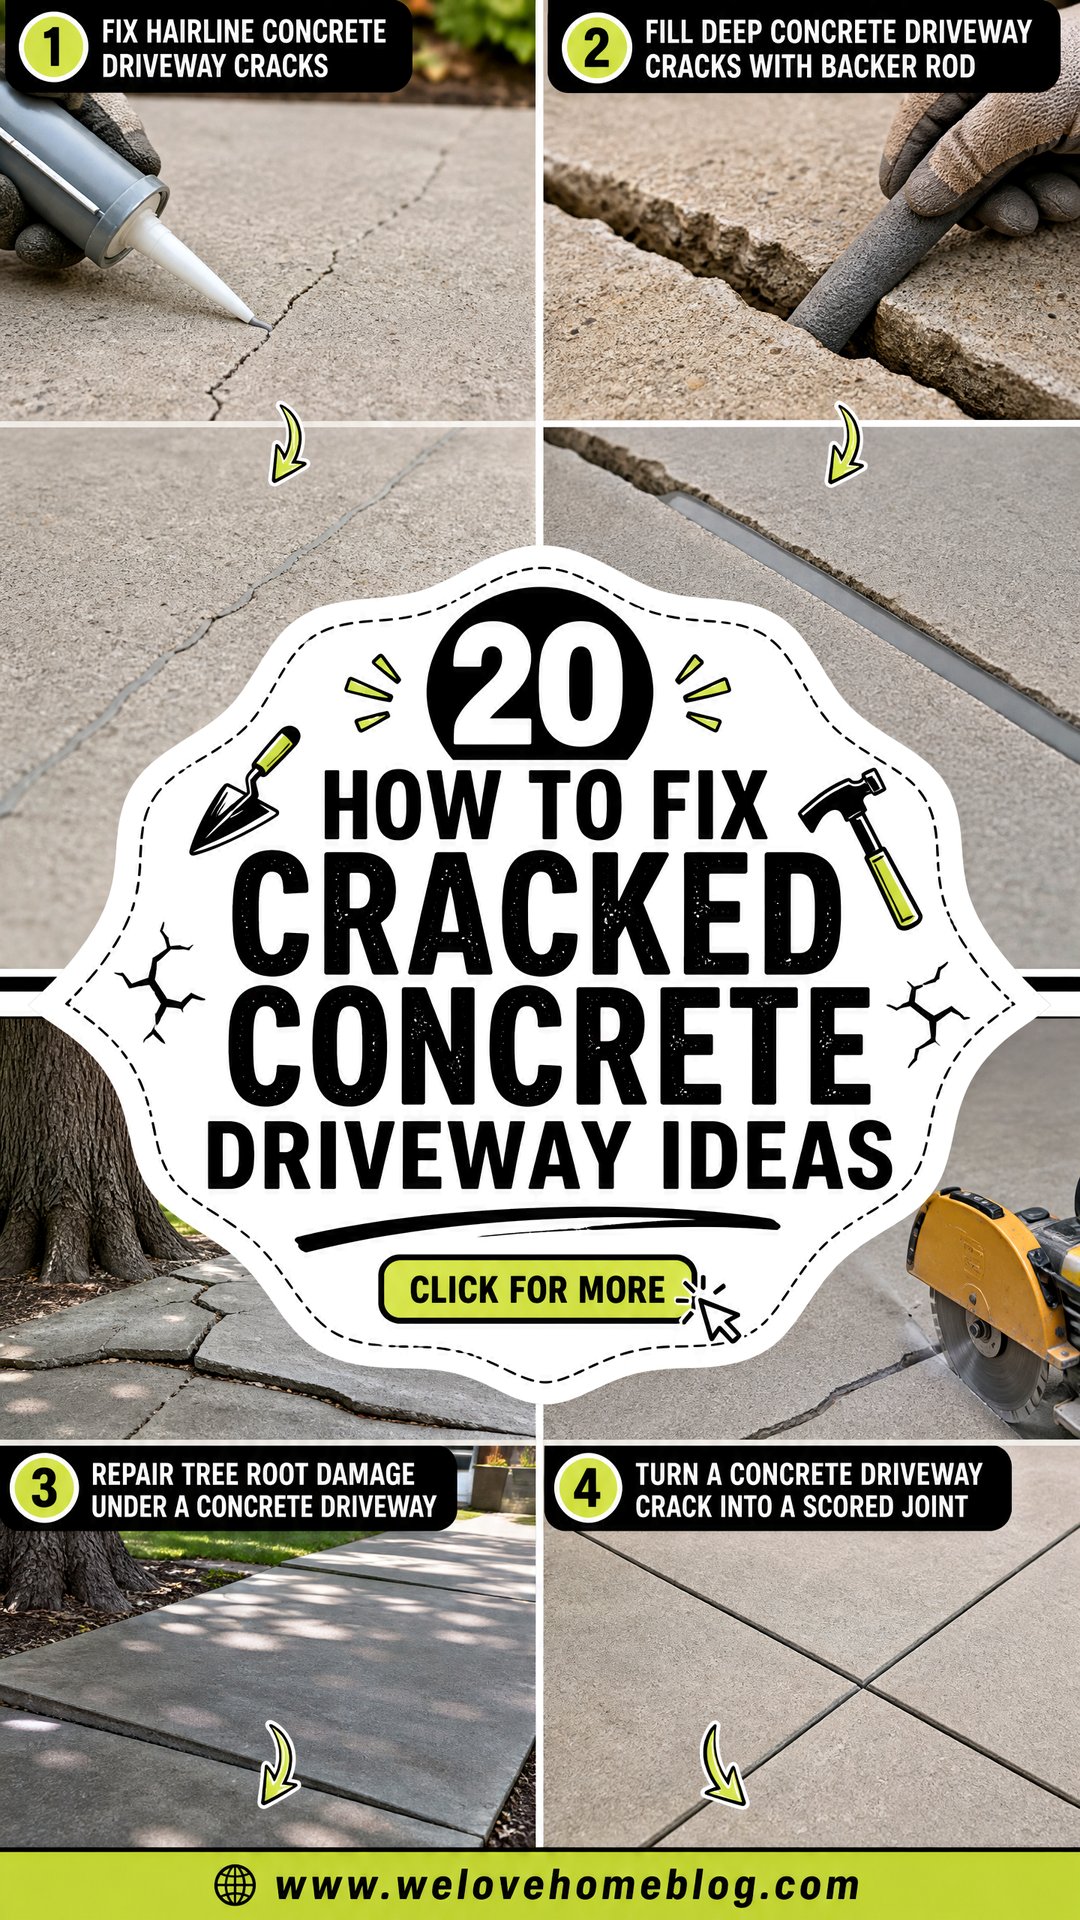
Cracks do not always mean your driveway needs to be torn out. Many can be sealed, patched, lifted, or visually blended when the surrounding slab is still stable. The best repair depends on crack width, depth, movement, moisture, settlement, and the condition of the concrete below the surface. Before choosing among these **20 How To Fix Cracked Concrete Driveway Ideas**, inspect the entire driveway and correct problems such as poor drainage, soil movement, or damaged joints. Wear gloves, eye protection, long sleeves, and a suitable dust mask while cutting, grinding, or mixing repair materials. When several cracks intersect, slabs shift vertically, or damage keeps returning, request a professional assessment. Use the following complete repair approaches to compare **20 How To Fix Cracked Concrete Driveway Ideas**.
1. Fix Hairline Concrete Driveway Cracks
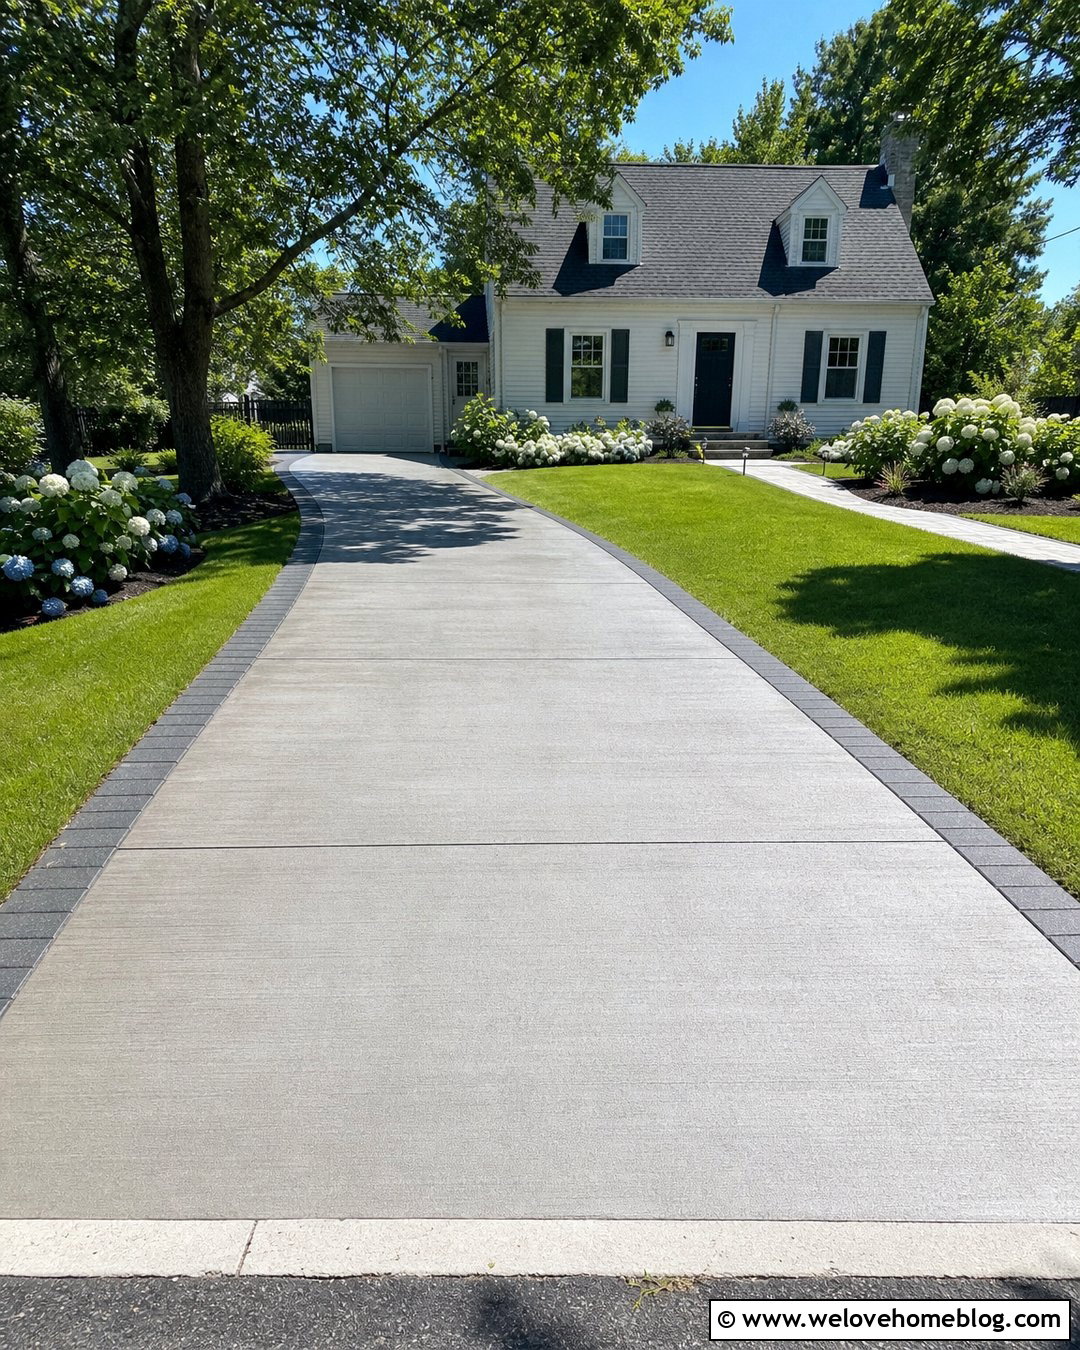
Hairline cracks are usually the least disruptive driveway damage, especially when the slab remains level and the cracks are not growing. Begin by removing dirt with a stiff brush, vacuum, or low-pressure wash. Allow the concrete to dry as directed by the repair-product manufacturer. Apply a thin concrete crack filler that can penetrate the narrow opening, then remove excess material before it hardens. Avoid building a thick patch over the surface because it may peel and make the repair more noticeable. Very tight, shallow shrinkage cracks may not require structural treatment, but sealing accessible openings can reduce moisture entry. Finish by cleaning the full driveway and applying a compatible clear sealer for a more consistent appearance. ()
2. Repair Narrow Concrete Driveway Cracks With Filler
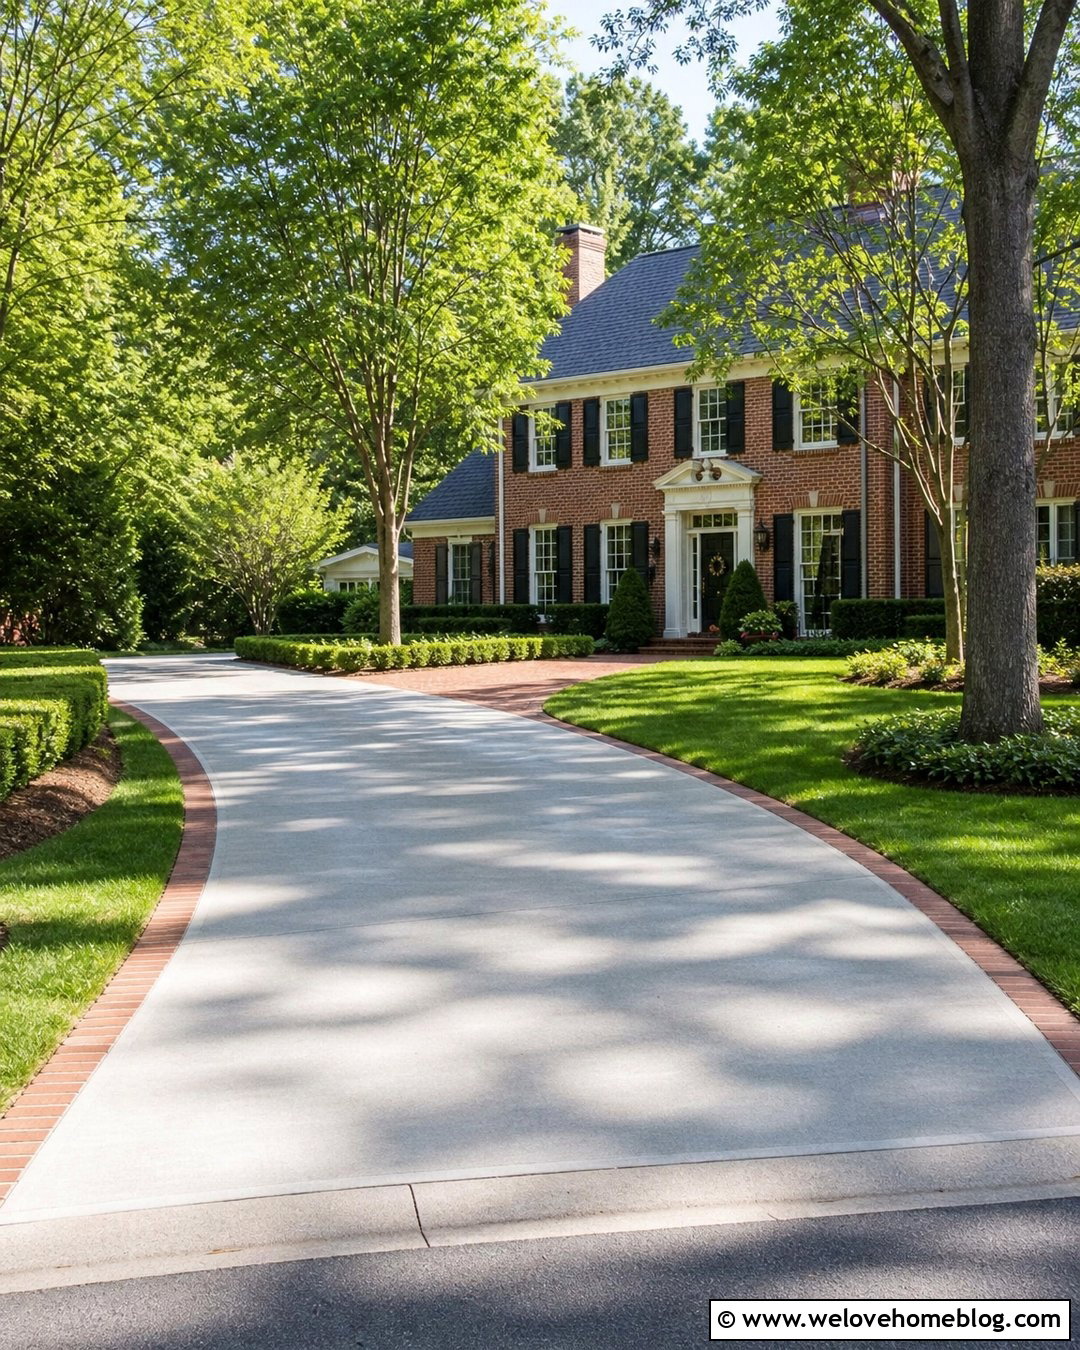
A narrow crack that is clearly visible but has no height difference is often suitable for a pourable or cartridge-applied concrete filler. Clean the opening thoroughly because dust prevents good adhesion. If necessary, open the crack slightly with a manufacturer-approved routing tool so the filler can reach sound concrete rather than resting on loose edges. Vacuum away the debris and check the required moisture conditions. Slowly fill the crack from one end, giving the material time to settle. Add a second pass if the first application sinks. Tool the surface neatly and protect the repaired area from rain, tires, and foot traffic until it cures. A light-gray filler paired with a clean broom-finished driveway creates a simple, unobtrusive repair.
3. Patch Wide Concrete Driveway Cracks With Repair Mortar
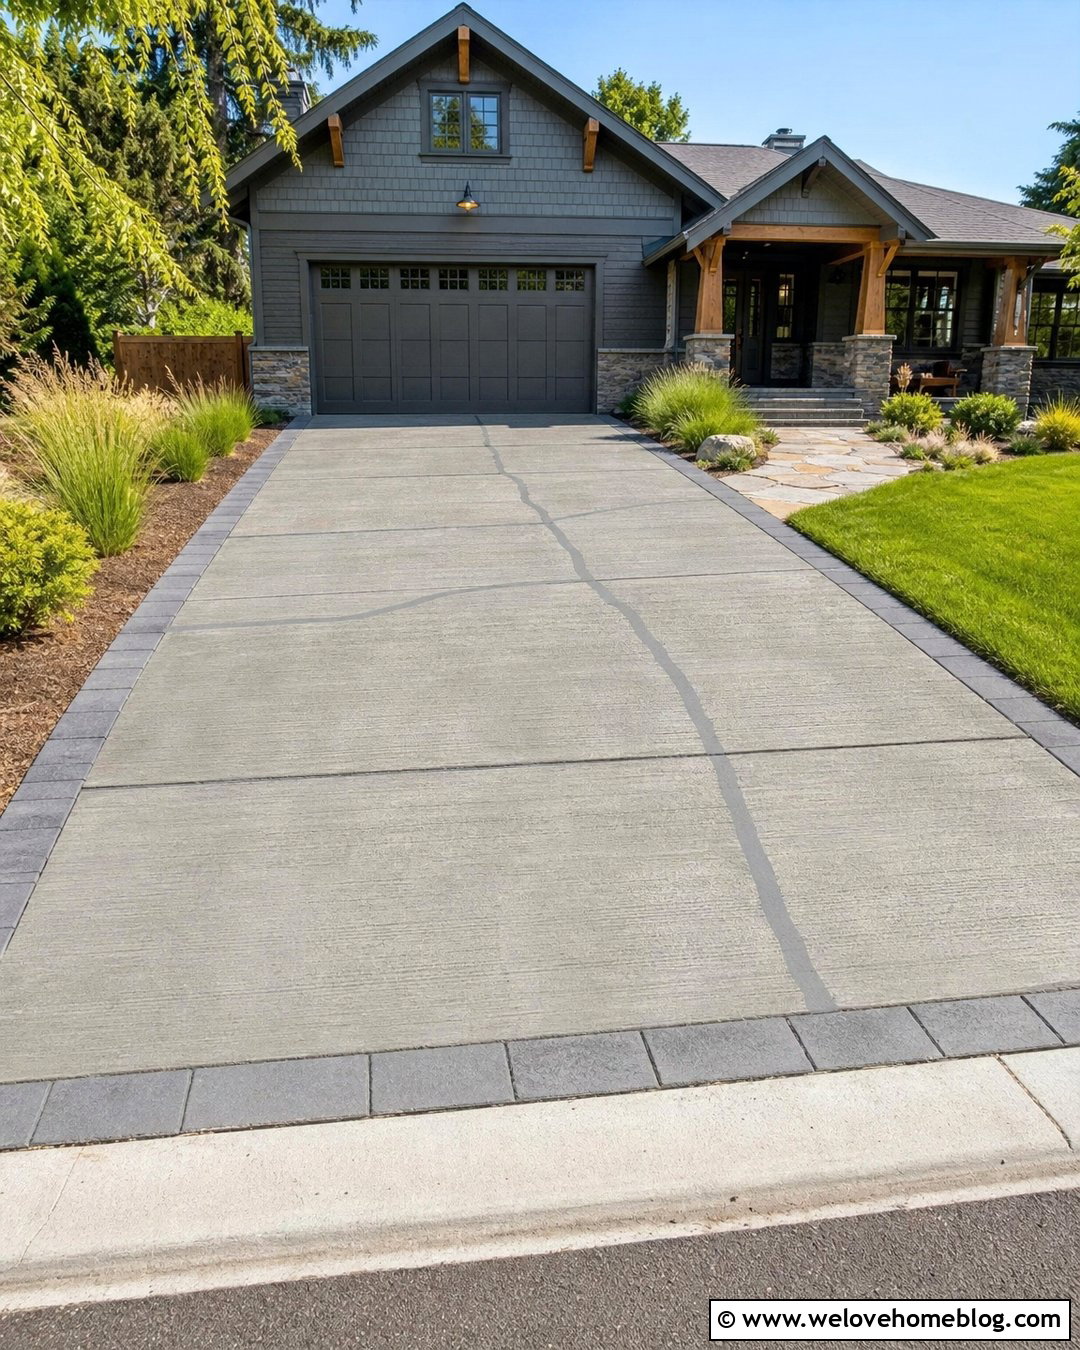
Wide, nonmoving cracks need more body than a liquid filler can provide. Remove weak concrete with a chisel or grinder, stopping when the edges feel solid. Shape the repair area according to the patch manufacturer’s directions rather than creating thin, feathered edges that can break away. Wash or vacuum the opening and apply a bonding agent if the selected system requires one. Pack polymer-modified concrete repair mortar firmly into the crack, eliminating pockets below the surface. Level it with a trowel, then reproduce the driveway’s broom texture before curing begins. Keep the patch protected for the specified period. This method works best when the slab is stable. If the crack continues widening or one side moves vertically, investigate the base before patching.
4. Fill Deep Concrete Driveway Cracks With Backer Rod
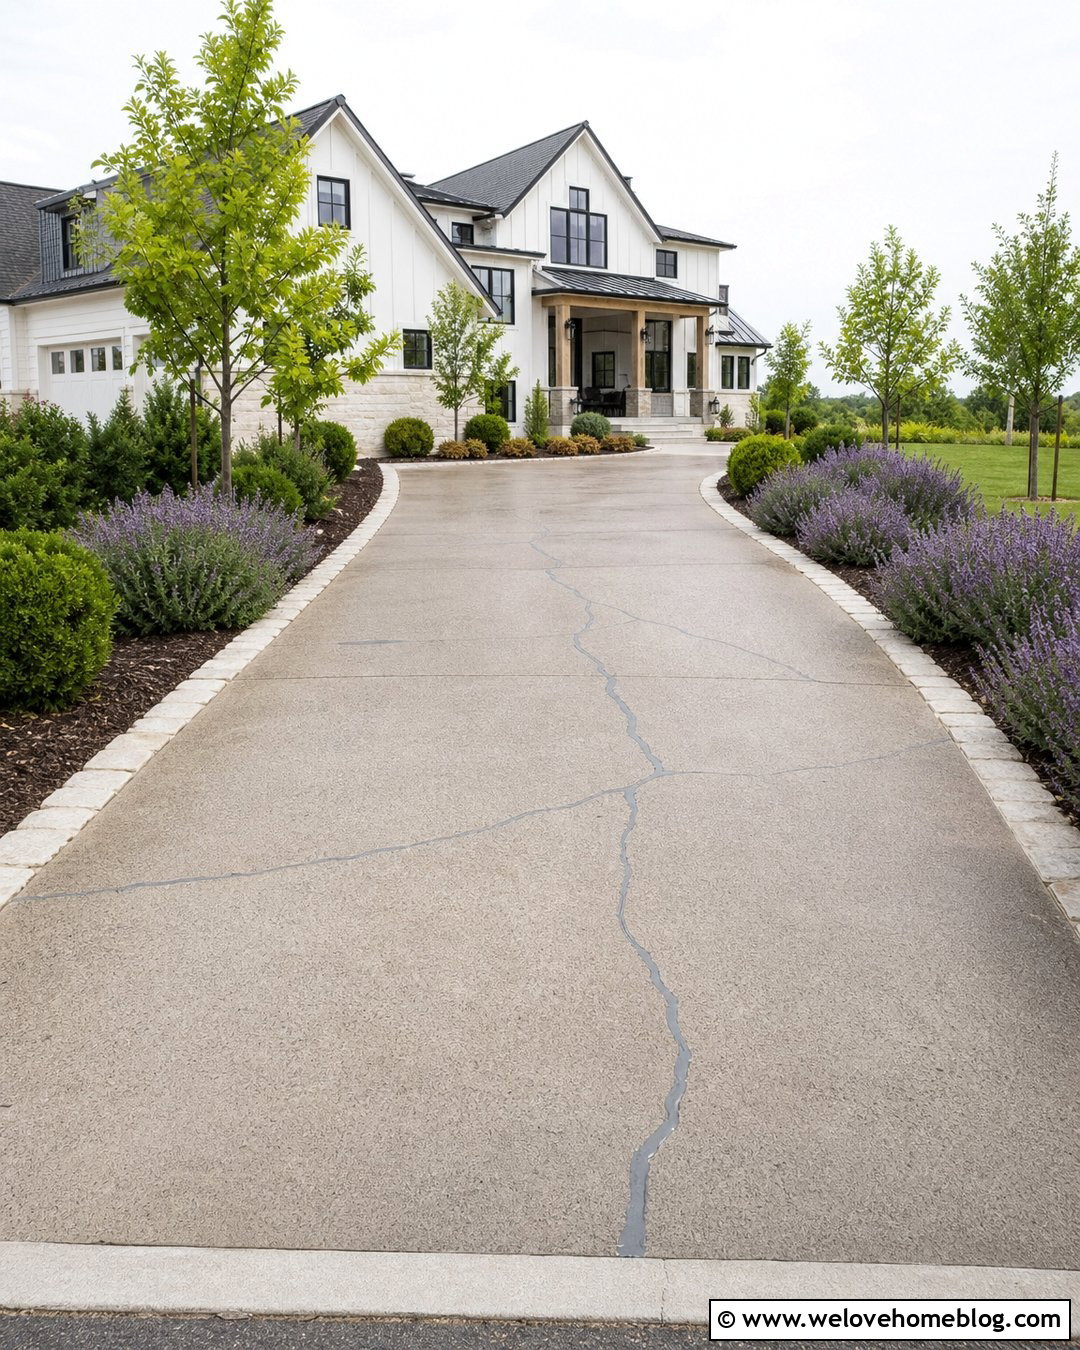
Deep cracks can consume excessive sealant and may fail when the material bonds to the bottom as well as both sides. A closed-cell backer rod helps control sealant depth and supports a flexible repair. Choose a rod slightly wider than the cleaned crack so it fits snugly without being stretched. Press it evenly into the opening, leaving enough space for the recommended sealant thickness. Apply a polyurethane or other traffic-rated concrete sealant over the rod. Tool the surface carefully if the product is not self-leveling. This creates a flexible joint-like repair that can tolerate limited seasonal movement. Keep the sealant below or flush with the driveway surface so tires and shovels do not pull it loose. Follow temperature and cure-time requirements exactly.
5. Saw And Seal A Moving Concrete Driveway Crack
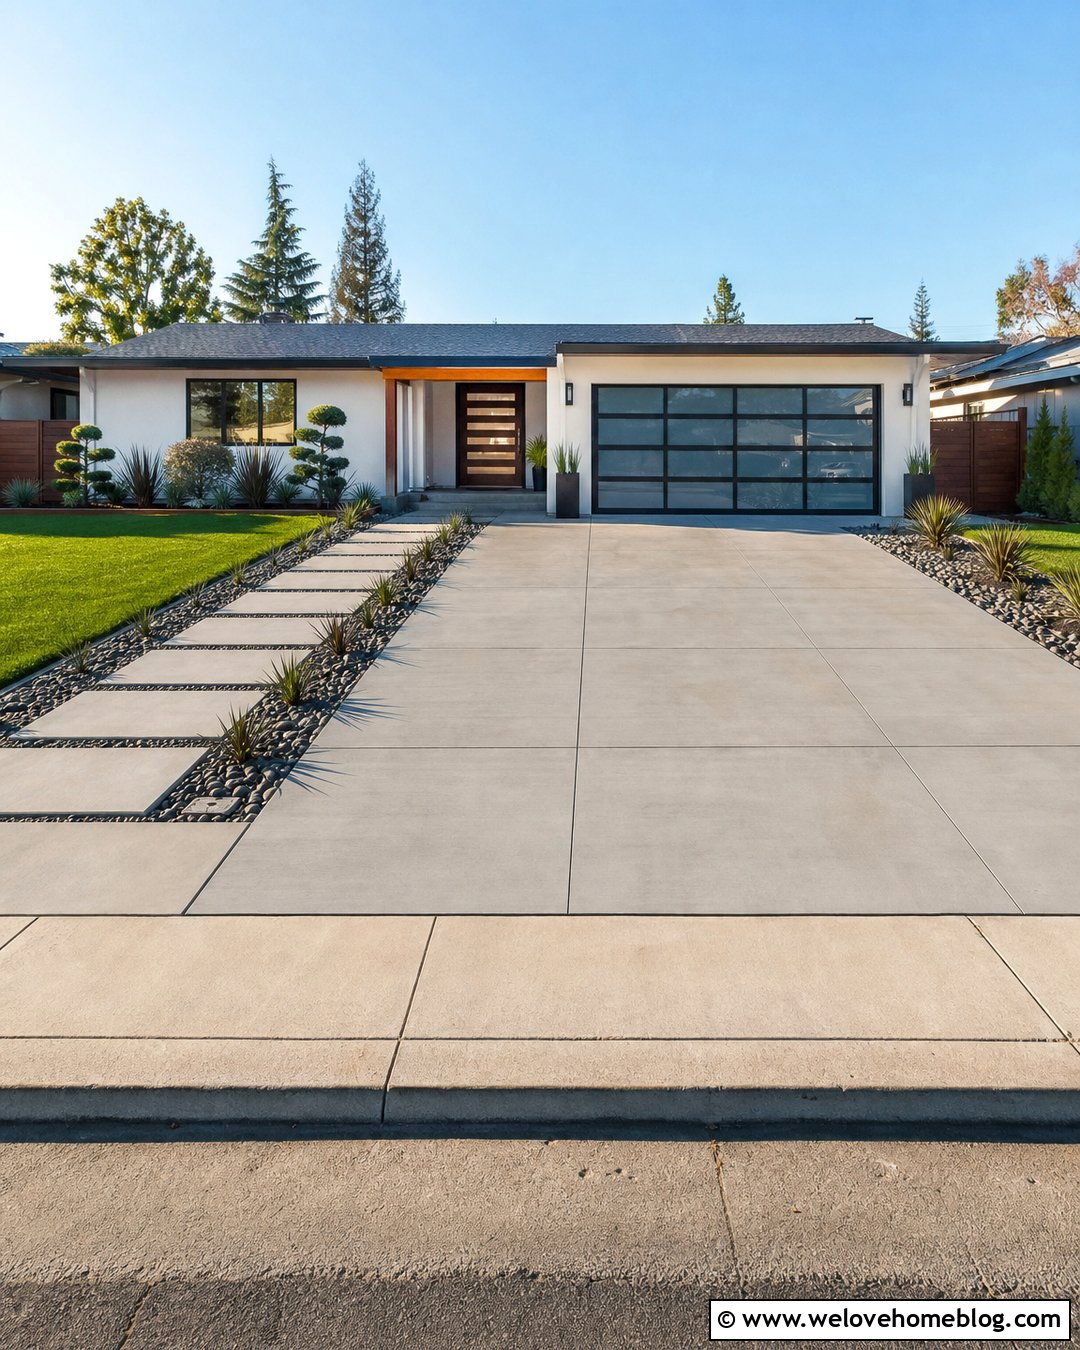
Does the same crack reopen after every rigid patch? It may be functioning like an unplanned joint. A professional saw-and-seal repair can create a controlled reservoir along the crack and fill it with flexible sealant. The cut must be properly sized, cleaned, and dried before backer material and sealant are installed. This approach does not make the crack disappear, but it can produce a straighter, more intentional line while helping limit water and debris infiltration. It is most appropriate when the adjacent concrete remains structurally sound and reasonably level. Because concrete saws generate hazardous silica dust and can damage reinforcing materials, professional cutting and dust control are sensible. Incorporate the sealed line into the driveway’s existing joint pattern for a balanced finished appearance.
6. Repair Spalled Concrete Around Driveway Cracks
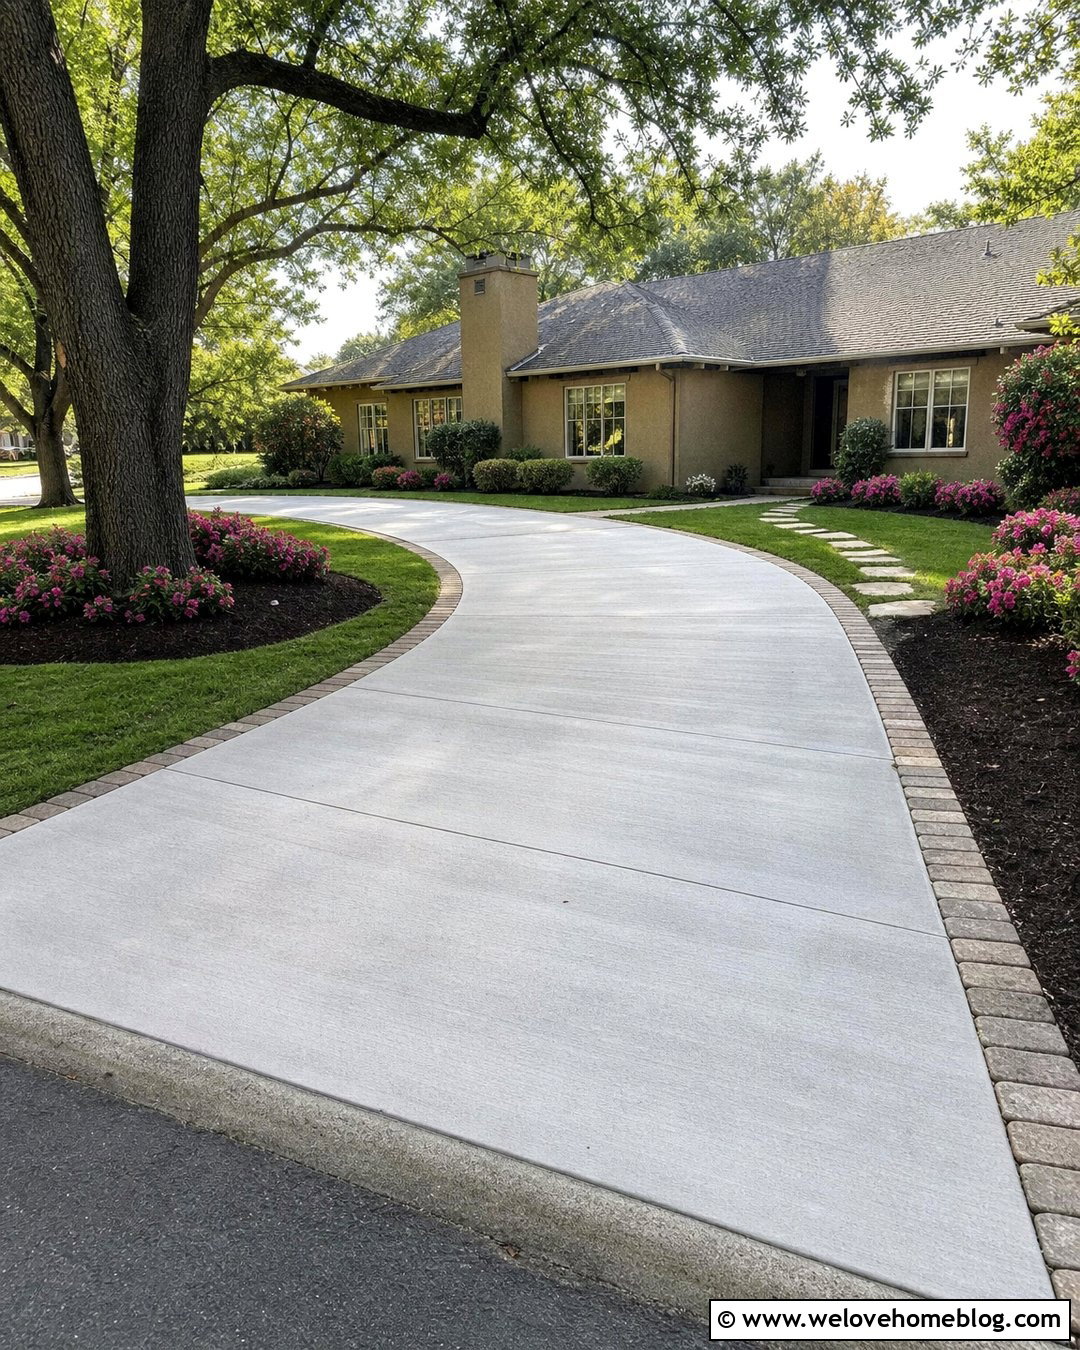
Spalling leaves chipped, flaky, or shallow broken concrete along a crack or joint. Covering it with a thin skim coat rarely provides a lasting result. Mark the unsound area, remove loose material, and continue until solid concrete surrounds the repair. Keep the prepared patch deep enough for the chosen repair mortar and avoid unsupported feather edges. Clean the cavity carefully, condition the surface as required, and place a durable polymer-modified patch. Compact the material against every edge before matching the surrounding finish. If the damage borders a working joint, preserve or rebuild the joint instead of filling it rigidly. Partial-depth repair is intended to restore damaged surface concrete while maintaining a usable joint or crack-seal reservoir. ()
7. Replace A Broken Concrete Driveway Corner
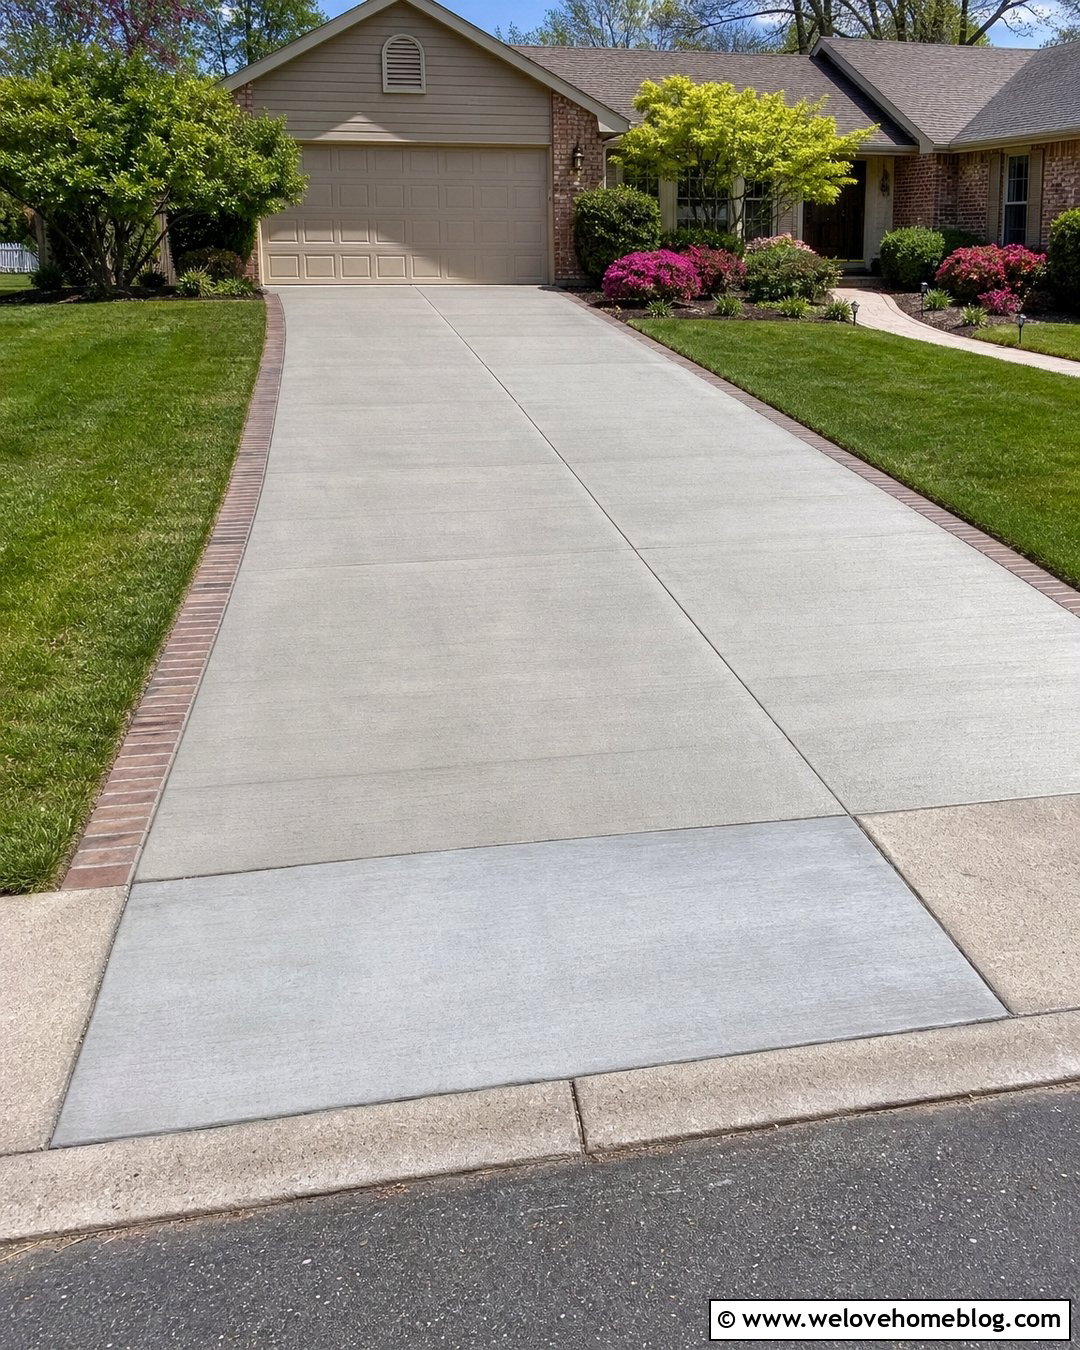
A cracked corner near the street, garage, or slab joint may break into several unstable pieces. When the fragments rock under pressure, surface filler will not restore proper support. Saw or carefully remove the damaged corner back to sound concrete, then inspect the base for erosion, soft soil, or an empty pocket. Rebuild and compact the base before placing replacement concrete. Connect the patch according to local requirements and professional recommendations, especially where vehicles regularly cross the repair. Maintain nearby isolation and control joints so the new corner can move correctly. Match the original driveway’s thickness, slope, color range, and broom finish as closely as practical. A clean rectangular repair generally looks more deliberate and performs better than several irregular patches surrounding loose fragments.
8. Lift A Sunken Concrete Driveway Slab
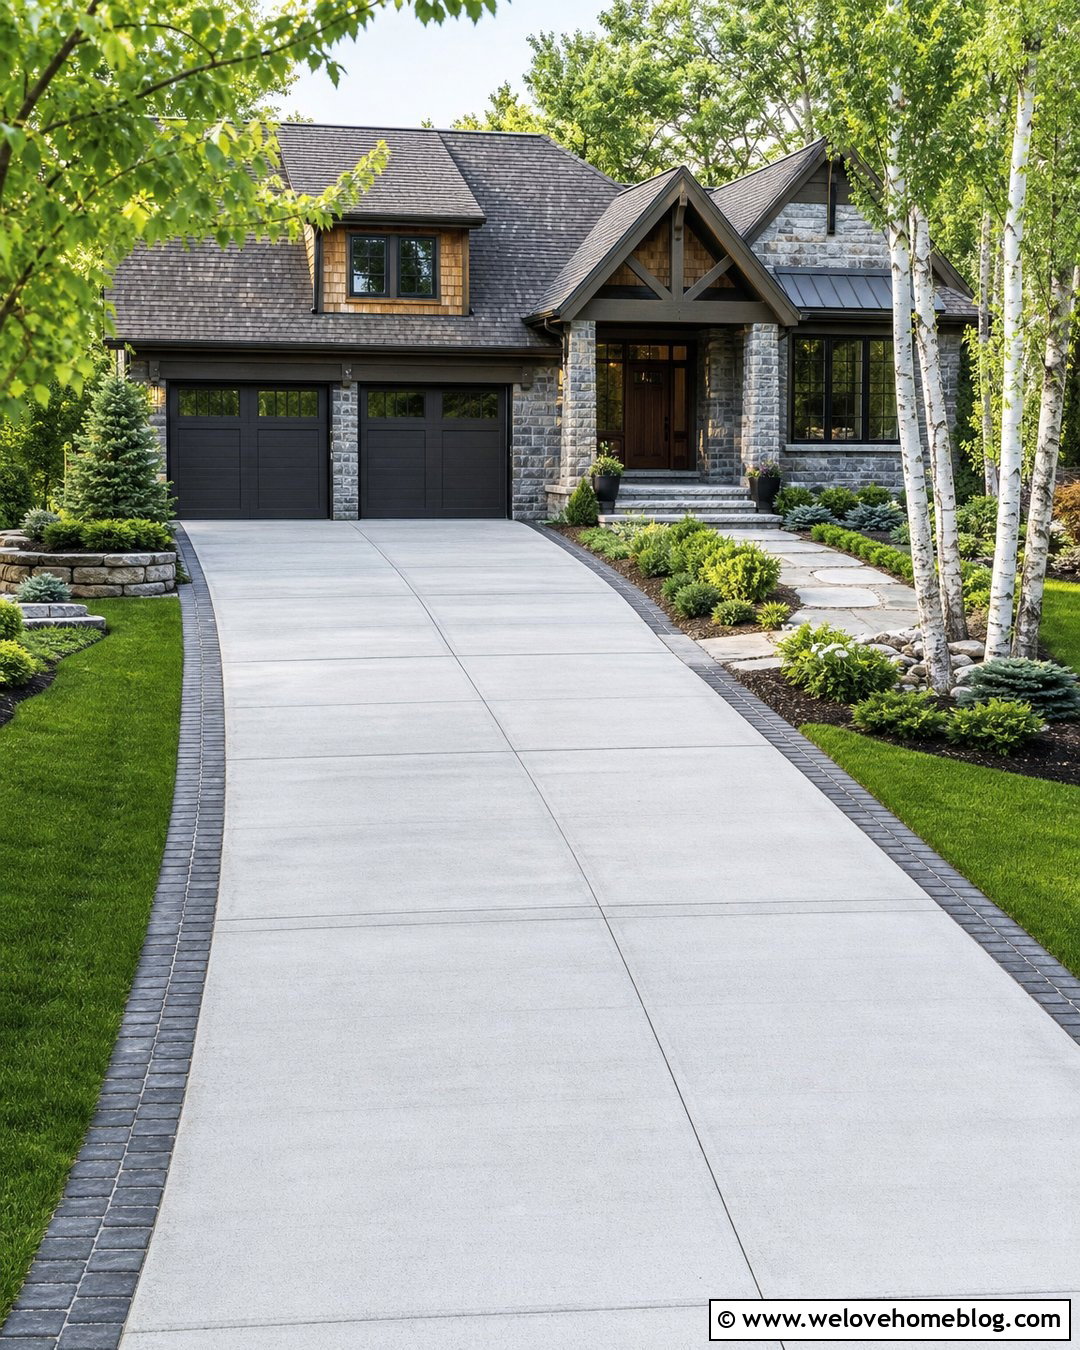
When one side of a crack sits lower than the other, filling the opening alone leaves the underlying settlement unresolved. Slab lifting may restore the driveway’s elevation without removing the entire panel. Contractors drill strategically placed holes and inject polyurethane foam or a cementitious lifting mixture beneath the concrete. The expanding or pressurized material fills voids and raises the slab in controlled stages. After leveling, the holes are patched and the remaining crack can be sealed. This method may work well when the concrete is largely intact but has lost support below. It is not suitable for every shattered or badly deteriorated slab. The contractor should also determine why the base settled, since leaking downspouts, poor grading, or washed-out soil could cause renewed movement.
9. Fill Voids Under A Cracked Concrete Driveway
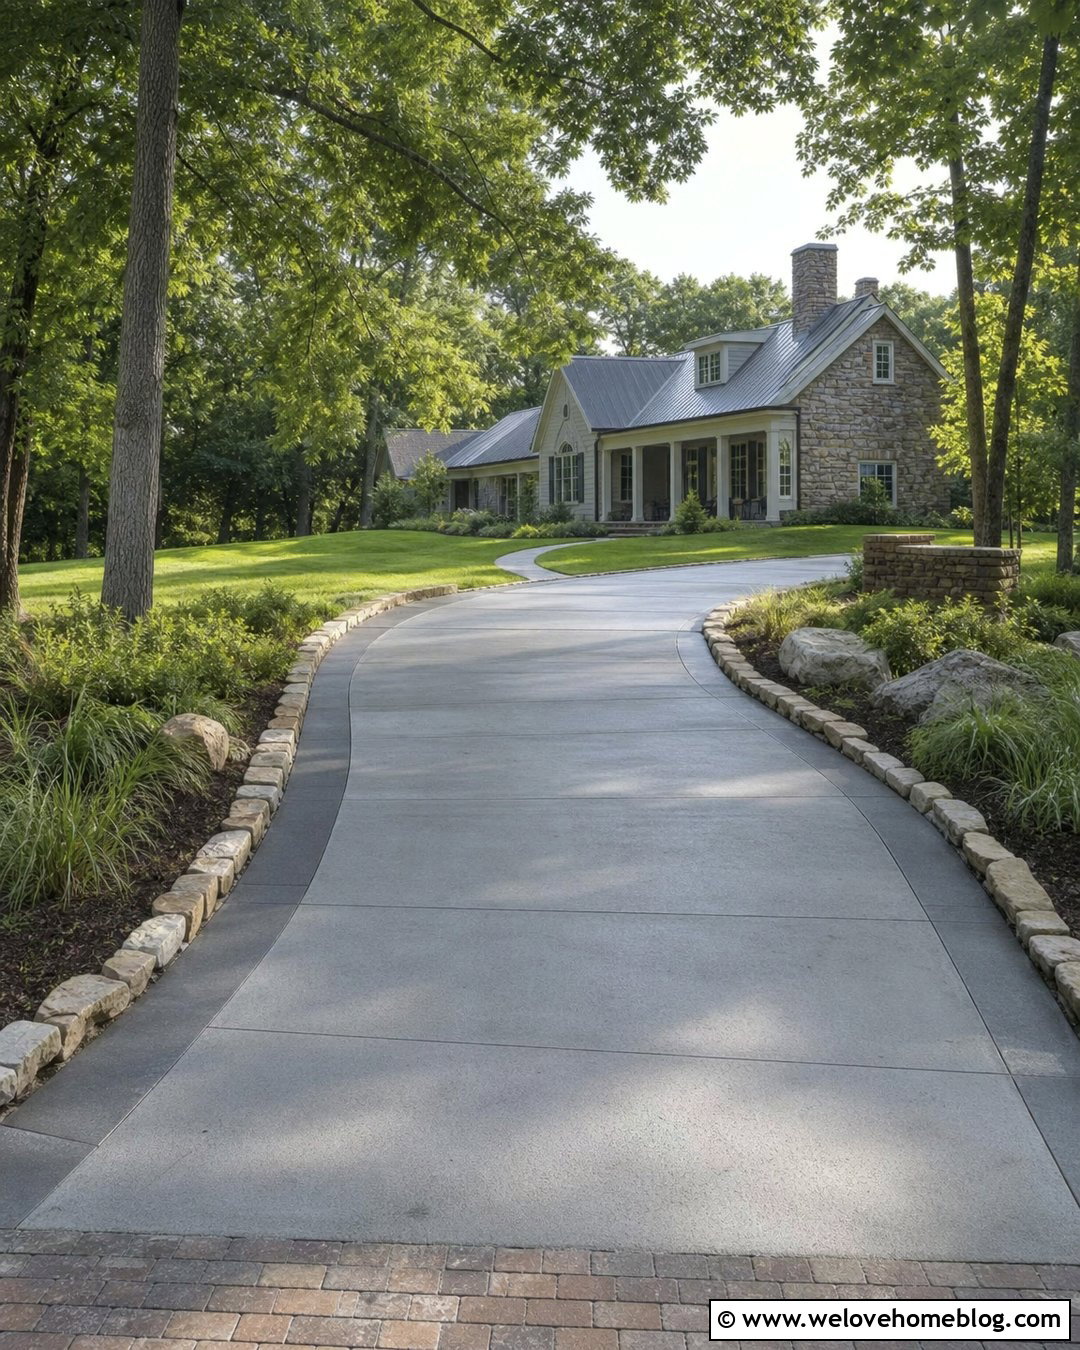
A hollow sound, pumping water, or repeated cracking can indicate an unsupported space beneath the driveway. The visible crack should not be treated as an isolated cosmetic issue. A qualified contractor can investigate the slab and inject grout or another approved material to fill subsurface voids without necessarily raising the finished elevation. Once stable support is restored, damaged surface areas can be patched and cracks sealed. Correct nearby drainage at the same time by extending downspouts, repairing leaking pipes, and directing runoff away from slab edges. Void filling is different from simple crack injection because it addresses the missing support below the concrete. Pavement subsealing and lifting methods commonly involve drilling through the slab and introducing material beneath it. ()
10. Repair Tree Root Damage Under A Concrete Driveway
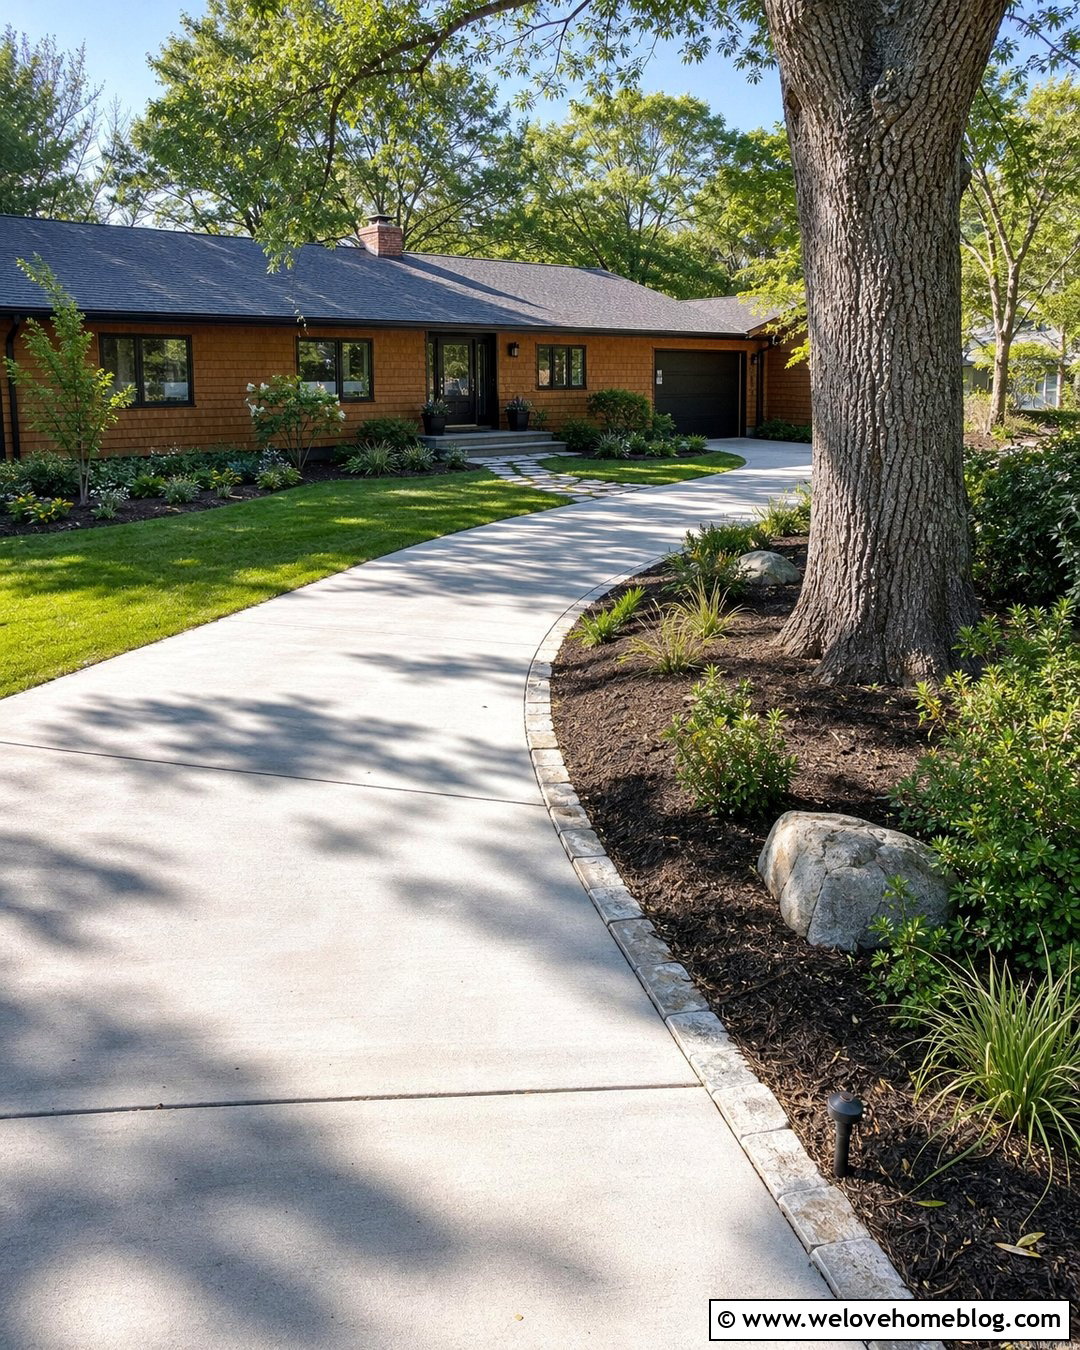
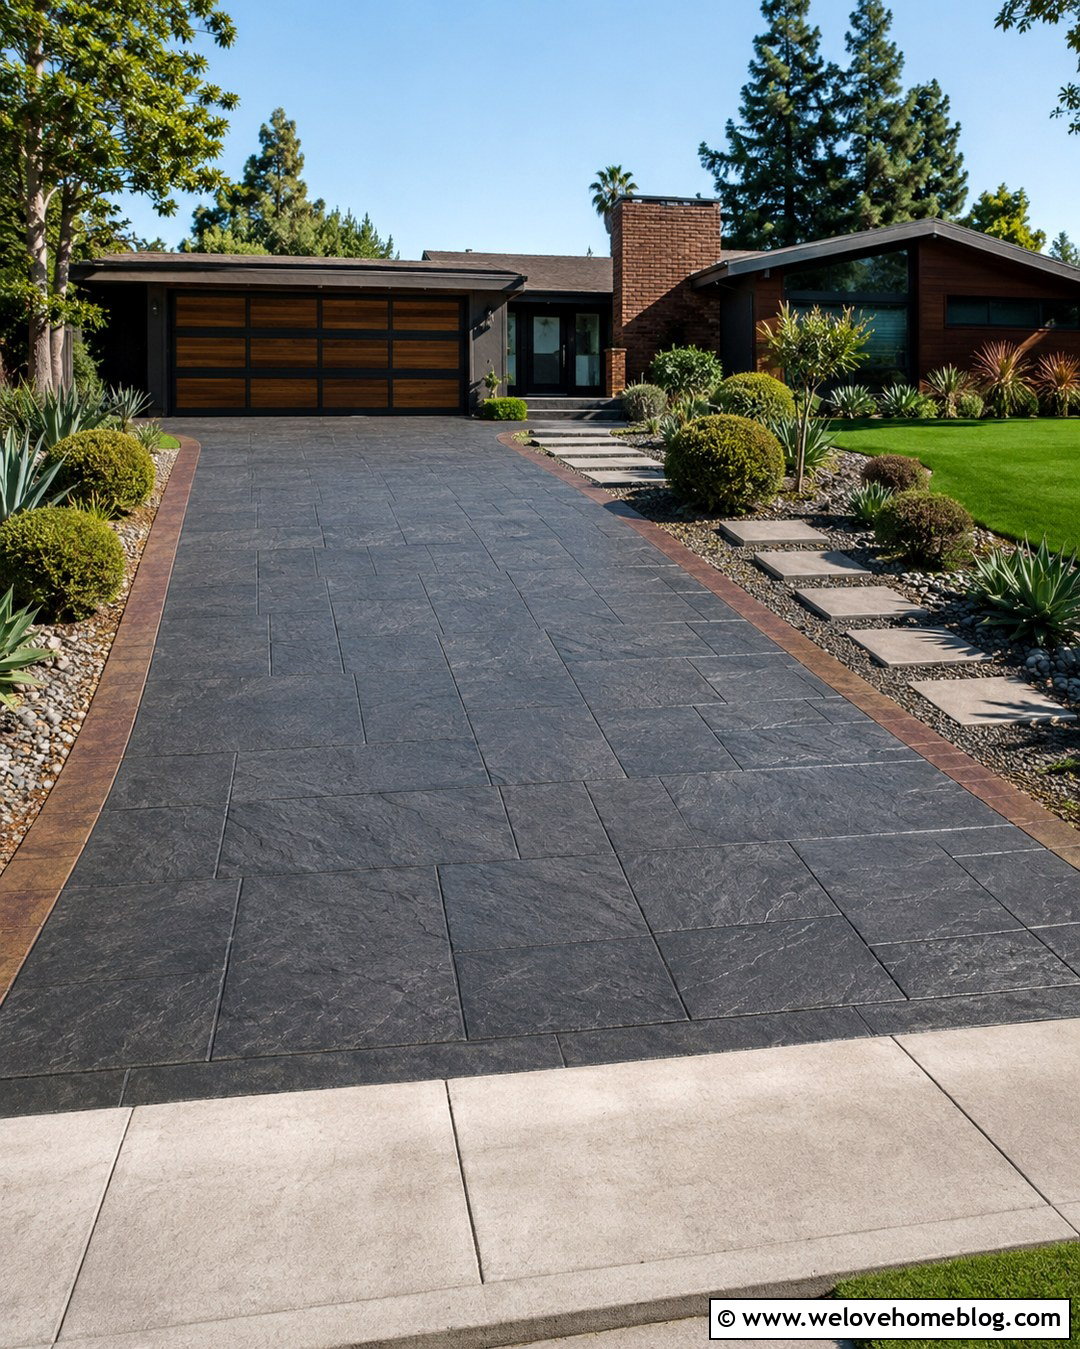
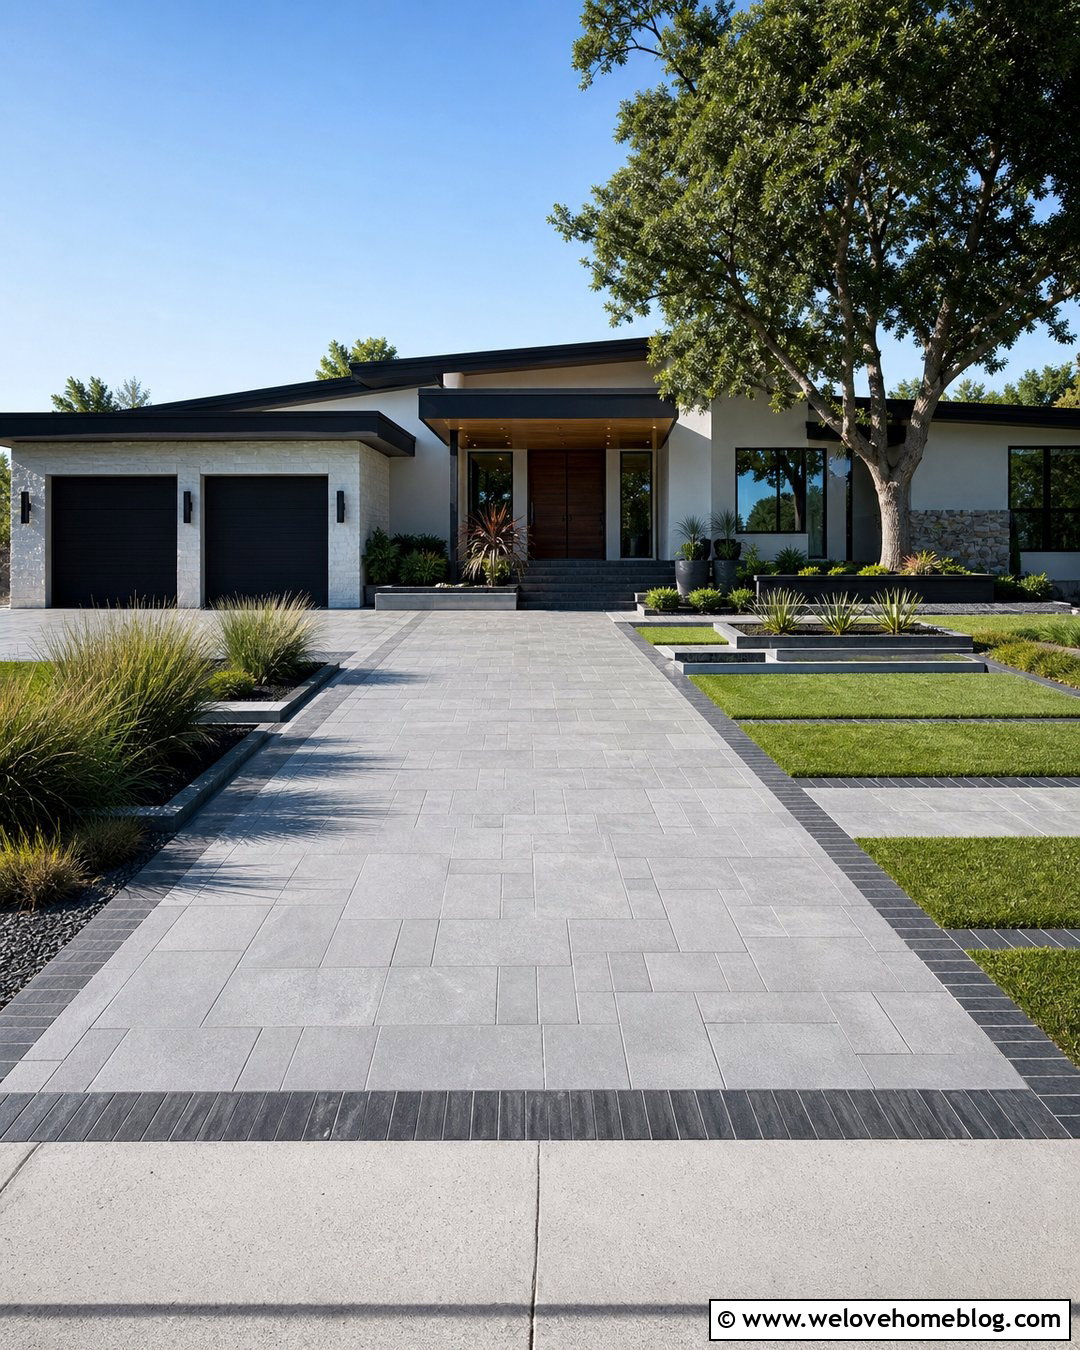
Tree roots can lift a driveway panel, widen cracks, and create an uncomfortable transition between slabs. Do not immediately cut major roots, since careless removal can destabilize or seriously damage the tree. Ask a certified arborist and concrete contractor to evaluate the root location, tree health, and repair options. The solution may involve removing a limited root, redirecting future growth, replacing the affected panel, or redesigning the driveway edge around a larger planting area. Rebuild the base before pouring new concrete and install an appropriate root-management system where recommended. A curved replacement edge with a wider mulched bed can look more natural than forcing concrete tightly against the trunk. Keep irrigation away from the repaired base and preserve positive drainage across the driveway.
11. Seal Freeze-Thaw Concrete Driveway Cracks
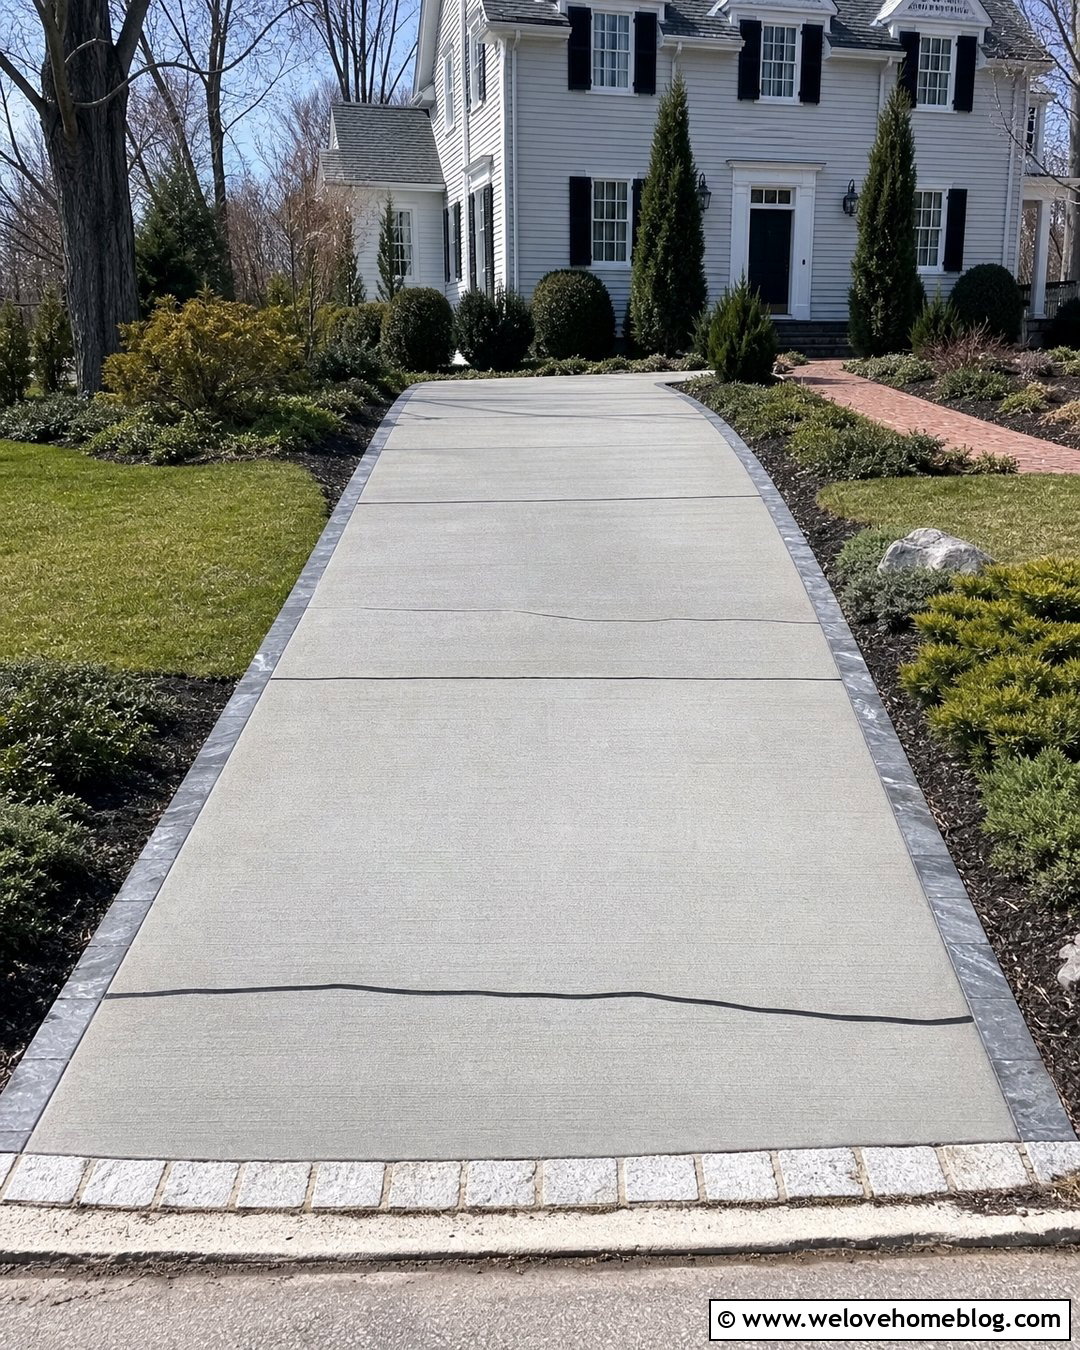
Cold-climate driveways experience repeated moisture penetration, freezing, expansion, and thawing. Start by sealing stable cracks with a flexible, exterior-rated product that can handle seasonal movement. Repair spalled edges separately with freeze-thaw-resistant patching mortar. After all repairs have cured, consider a breathable penetrating concrete sealer suitable for your climate and slab condition. This can reduce water absorption without creating a thick surface film. Keep deicing chemicals and snow-removal practices compatible with the concrete and sealer. Restore drainage so melting snow does not sit in repaired joints or along low slab edges. If deterioration forms repeating crescent or map-like patterns near joints, obtain professional advice because aggregate-related damage may continue beyond a surface treatment. Severe deterioration can require partial- or full-depth replacement.
12. Resurface A Concrete Driveway With Map Cracks
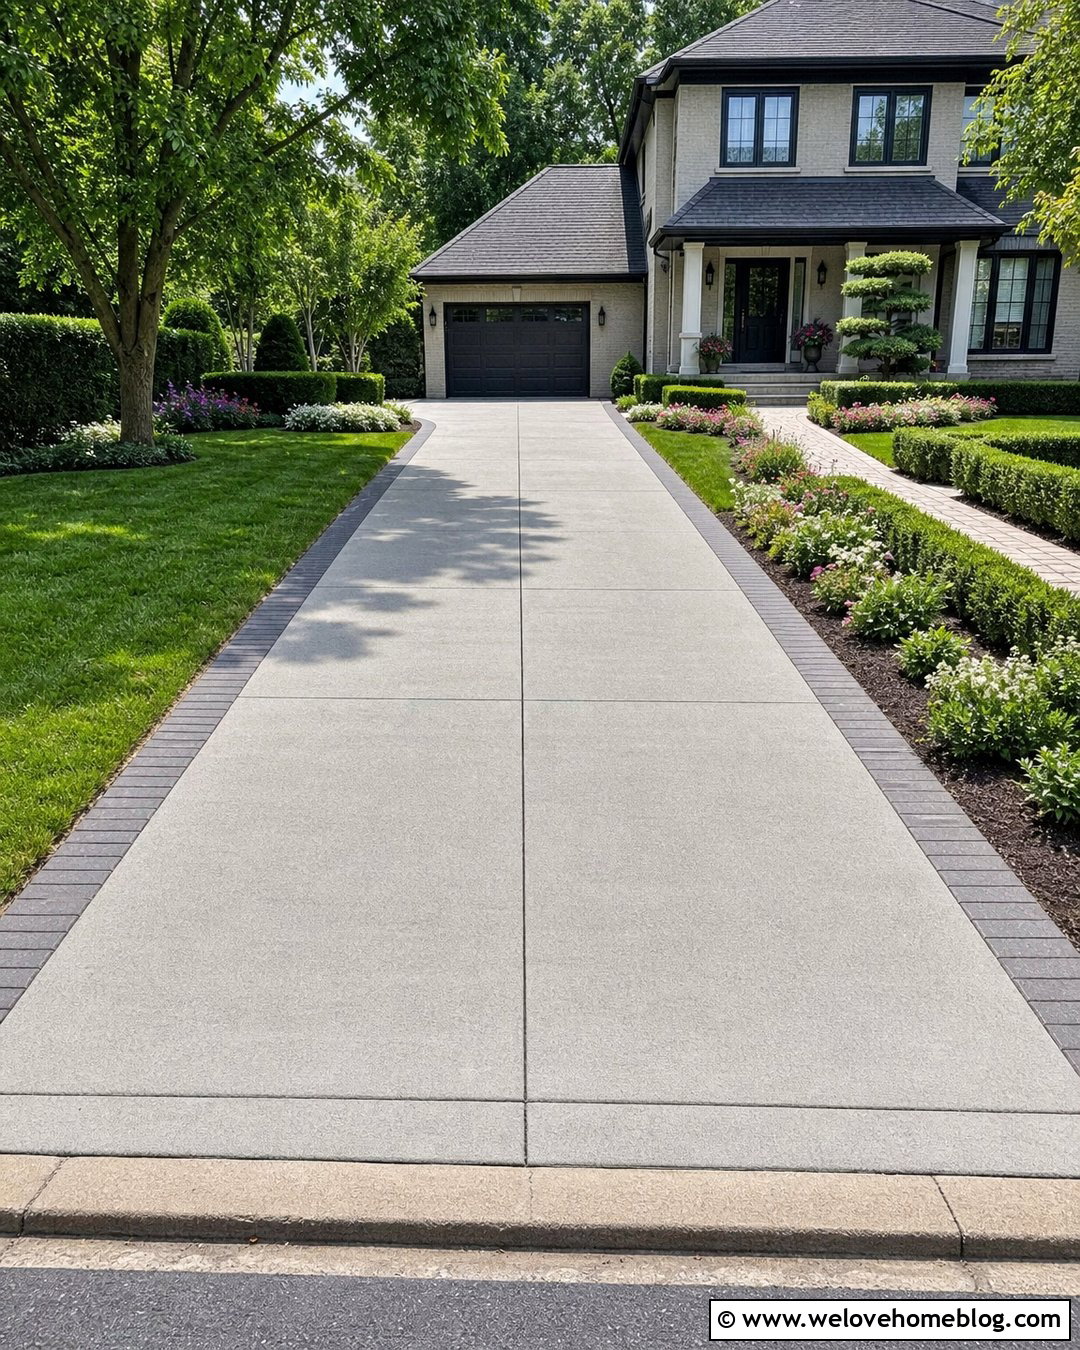
Map cracking creates a network of shallow lines across the driveway. If an evaluation confirms that the slab is stable, well supported, and free of major vertical displacement, a concrete resurfacer may provide a more even finish. Clean the surface aggressively and remove oil, coatings, weak paste, and failed patches. Repair active cracks and broken edges before resurfacing, but remember that moving cracks can reflect through a new layer. Mix and install the resurfacer within its stated temperature, thickness, and working-time limits. Apply it across complete panels rather than isolated spots for better visual consistency. Add a broom texture for traction and preserve every functioning joint. Resurfacing improves the wearing surface and appearance; it does not correct unstable soil, deep structural cracking, or ongoing slab movement.
13. Resurface A Repaired Concrete Driveway
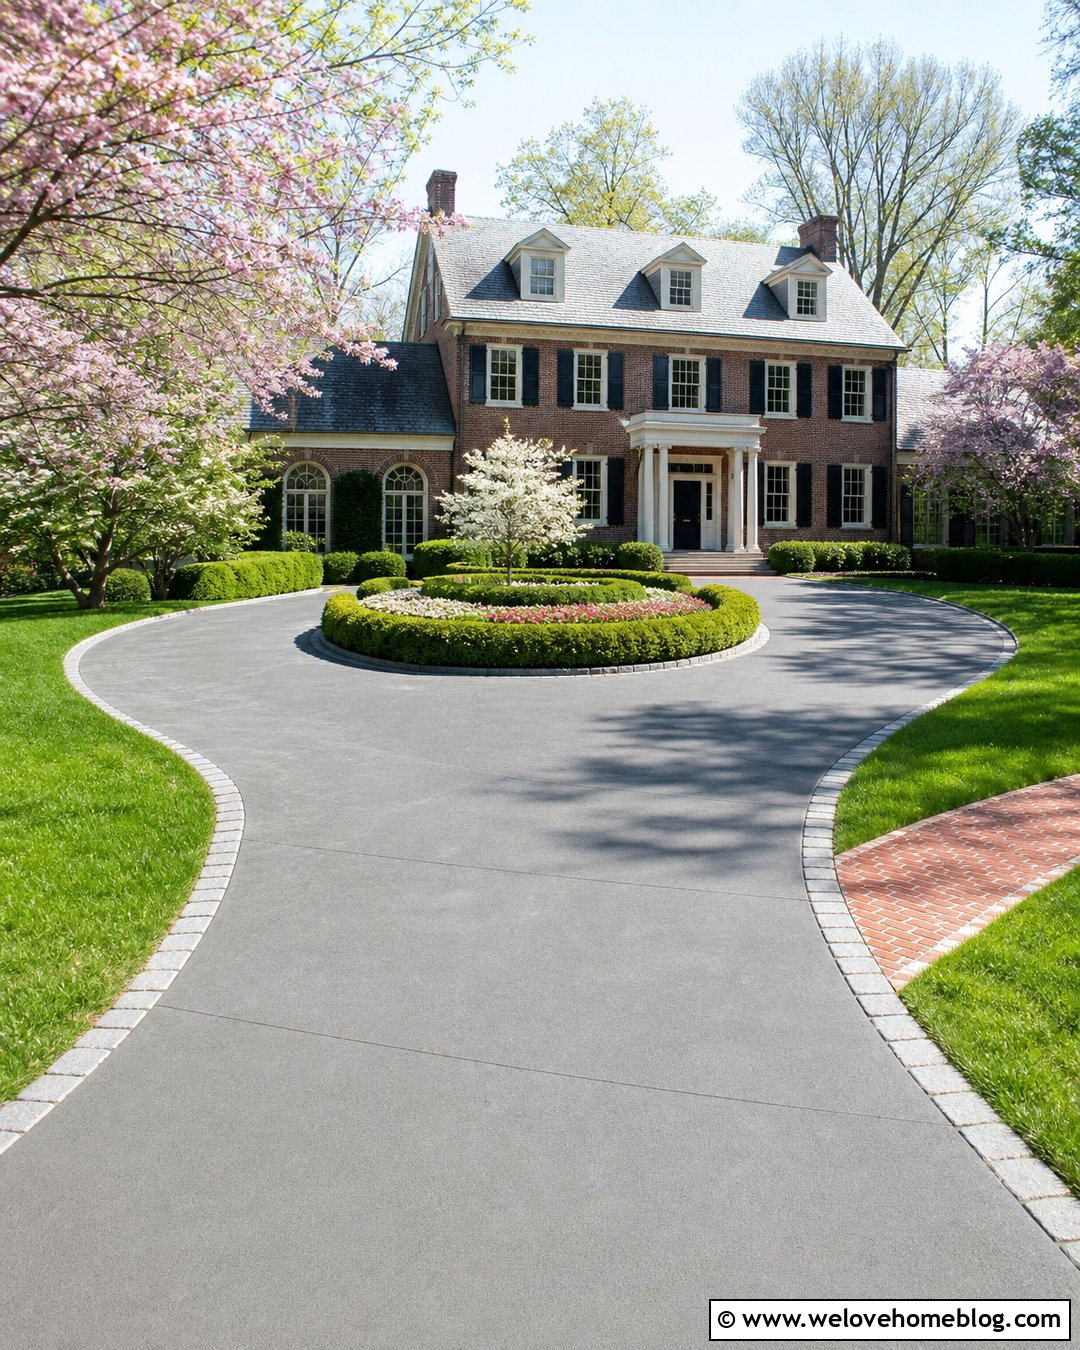
Individual patches can leave a driveway covered with mismatched gray lines and rectangles. After the structural repairs have cured, resurfacing the complete driveway can unify the appearance. First, verify that the remaining slab is sound and that repaired cracks are no longer showing meaningful movement. Pressure-wash or mechanically prepare the concrete according to the resurfacing system. Mask garage floors, walls, landscaping, drains, and existing joints. Spread the overlay evenly, maintaining the recommended thickness and a consistent broom direction from street to garage. Recut or preserve control joints before the material hardens. Choose a natural light-gray tone that complements the home rather than attempting an unrealistic exact match with aged concrete. A properly selected coating can hide repaired areas, but active cracks may eventually become visible again. ()
14. Stain A Patched Concrete Driveway
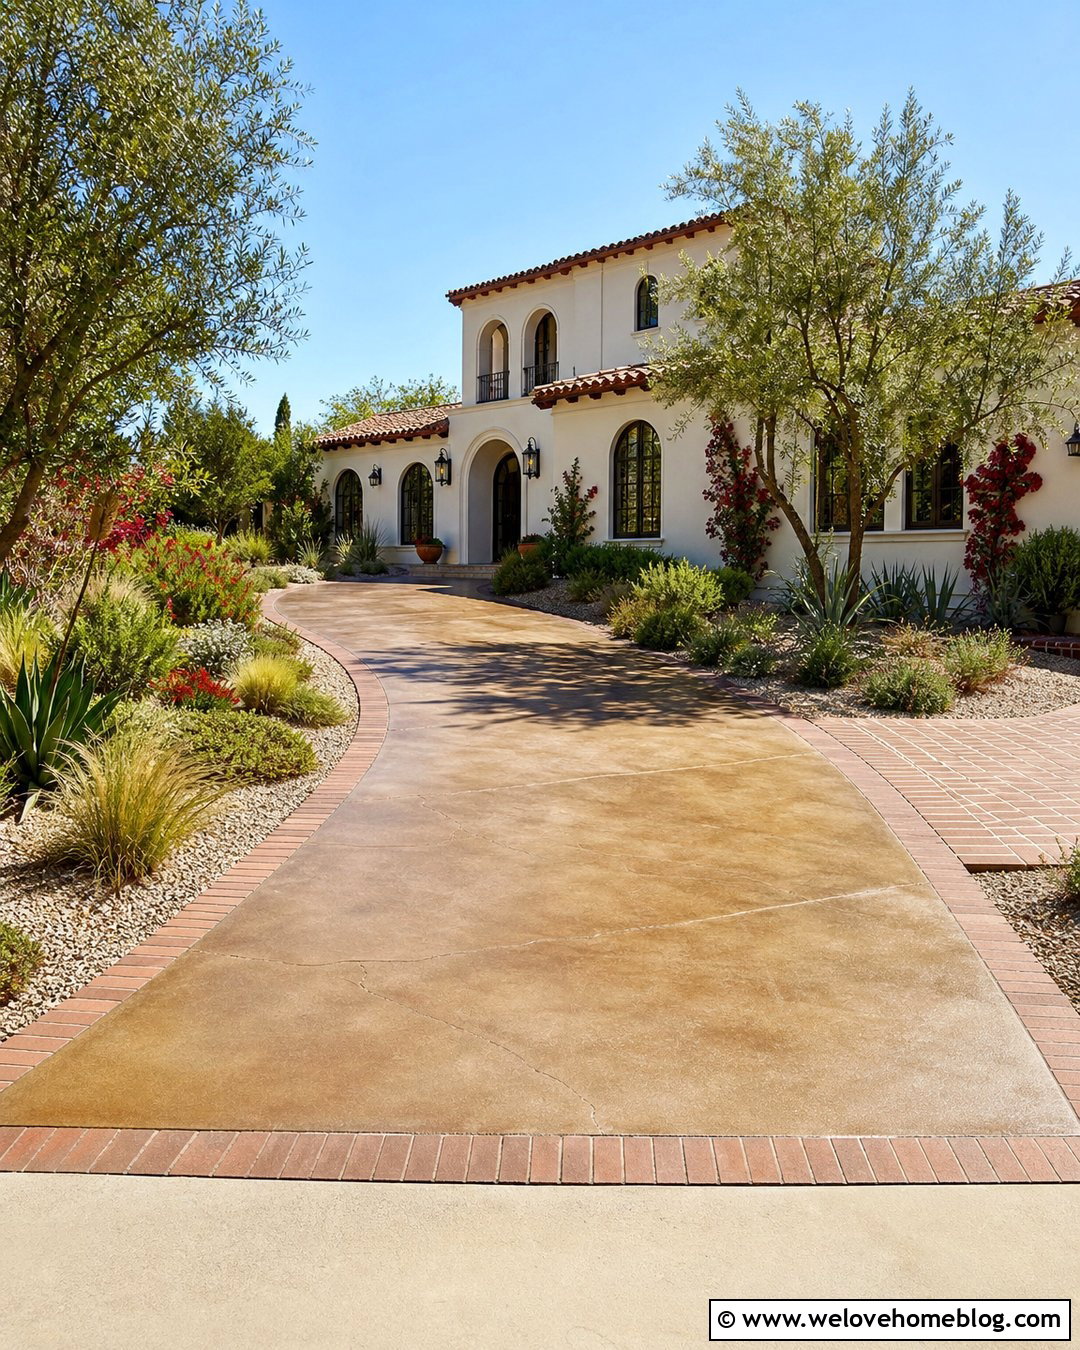
Color variation is one of the most noticeable problems after concrete crack repair. A compatible driveway stain can help the patches and original concrete read as one intentional surface. Complete every filler, mortar, and slab repair first, then allow the materials to cure fully. Test the stain on an inconspicuous area because old concrete and fresh patches can absorb color differently. Thorough surface preparation is essential; grease, sealer residue, curing compounds, and efflorescence can produce uneven results. Consider a medium gray, warm taupe, or muted earth tone rather than a very dark color that emphasizes dust and tire marks. Apply color across full panels and preserve the joint layout. Finish with a slip-resistant, exterior sealer approved for vehicular concrete and the particular staining system.

15. Turn A Concrete Driveway Crack Into A Scored Joint
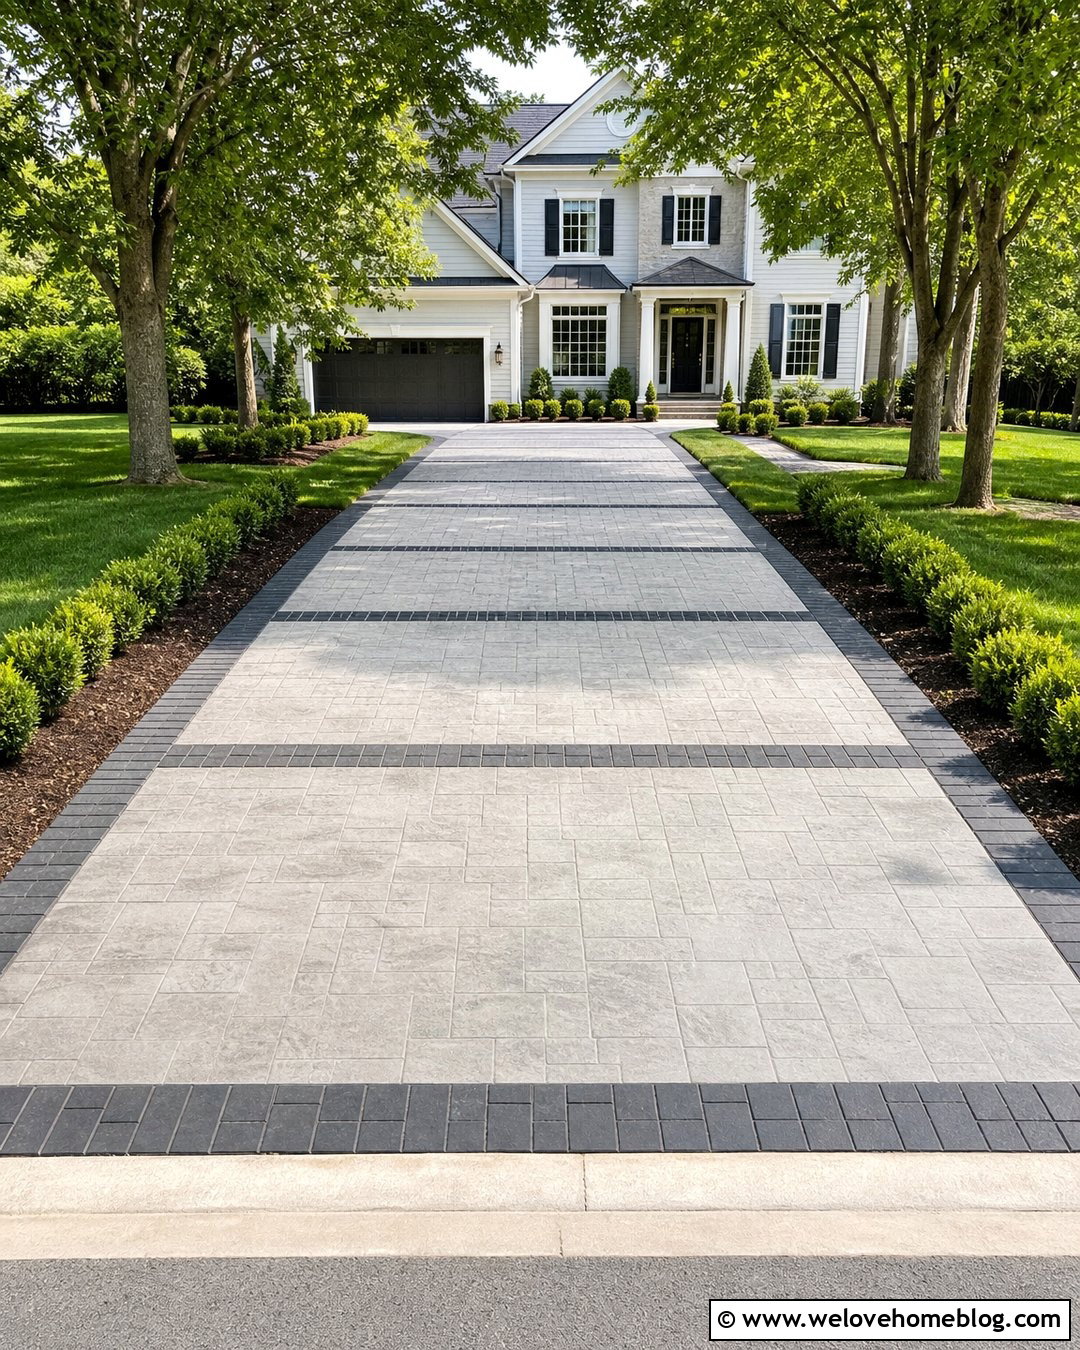
A long crack can sometimes be visually incorporated into a decorative scoring pattern. This is primarily an appearance strategy, not a cure for structural movement. Begin by having the crack assessed and sealed with a compatible flexible material. Additional straight score lines can then be placed across the driveway to form balanced squares, rectangles, or broad diamond shapes. Plan the layout around the garage opening, existing control joints, walkway, and driveway width. Avoid numerous small shapes that make the surface look busy. A subtle stain or resurfacing coat can further blend the repaired line into the pattern. Scoring should not cut reinforcing steel or replace properly designed control joints. Hire an experienced concrete contractor when saw depth, reinforcement, or an actively moving crack creates uncertainty.
16. Add Control Joints To A Cracked Concrete Driveway
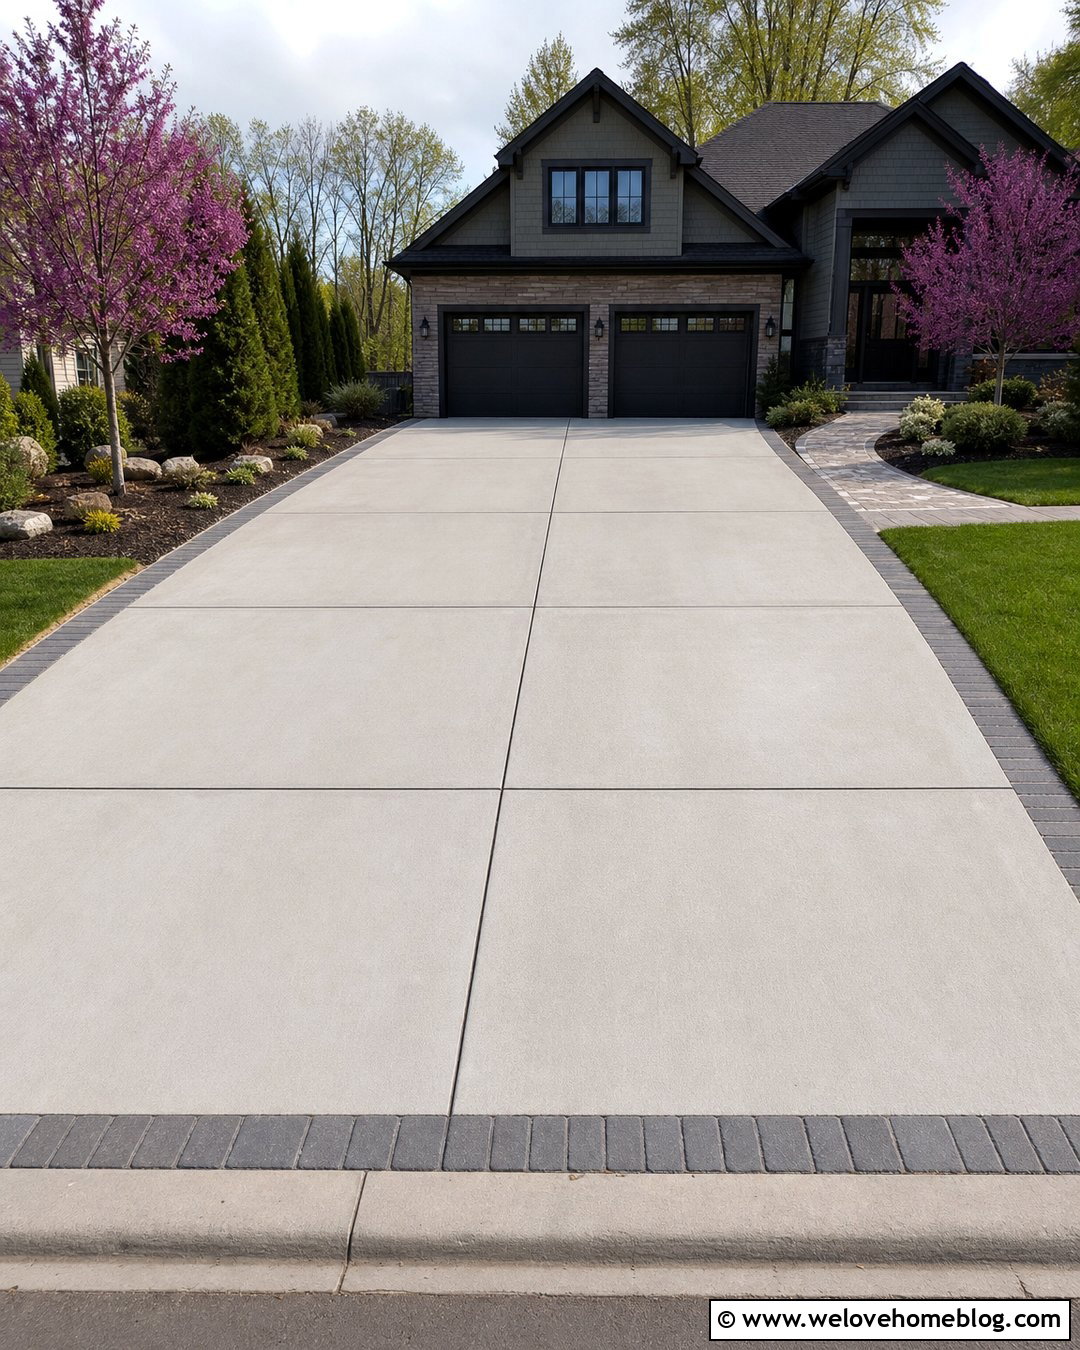
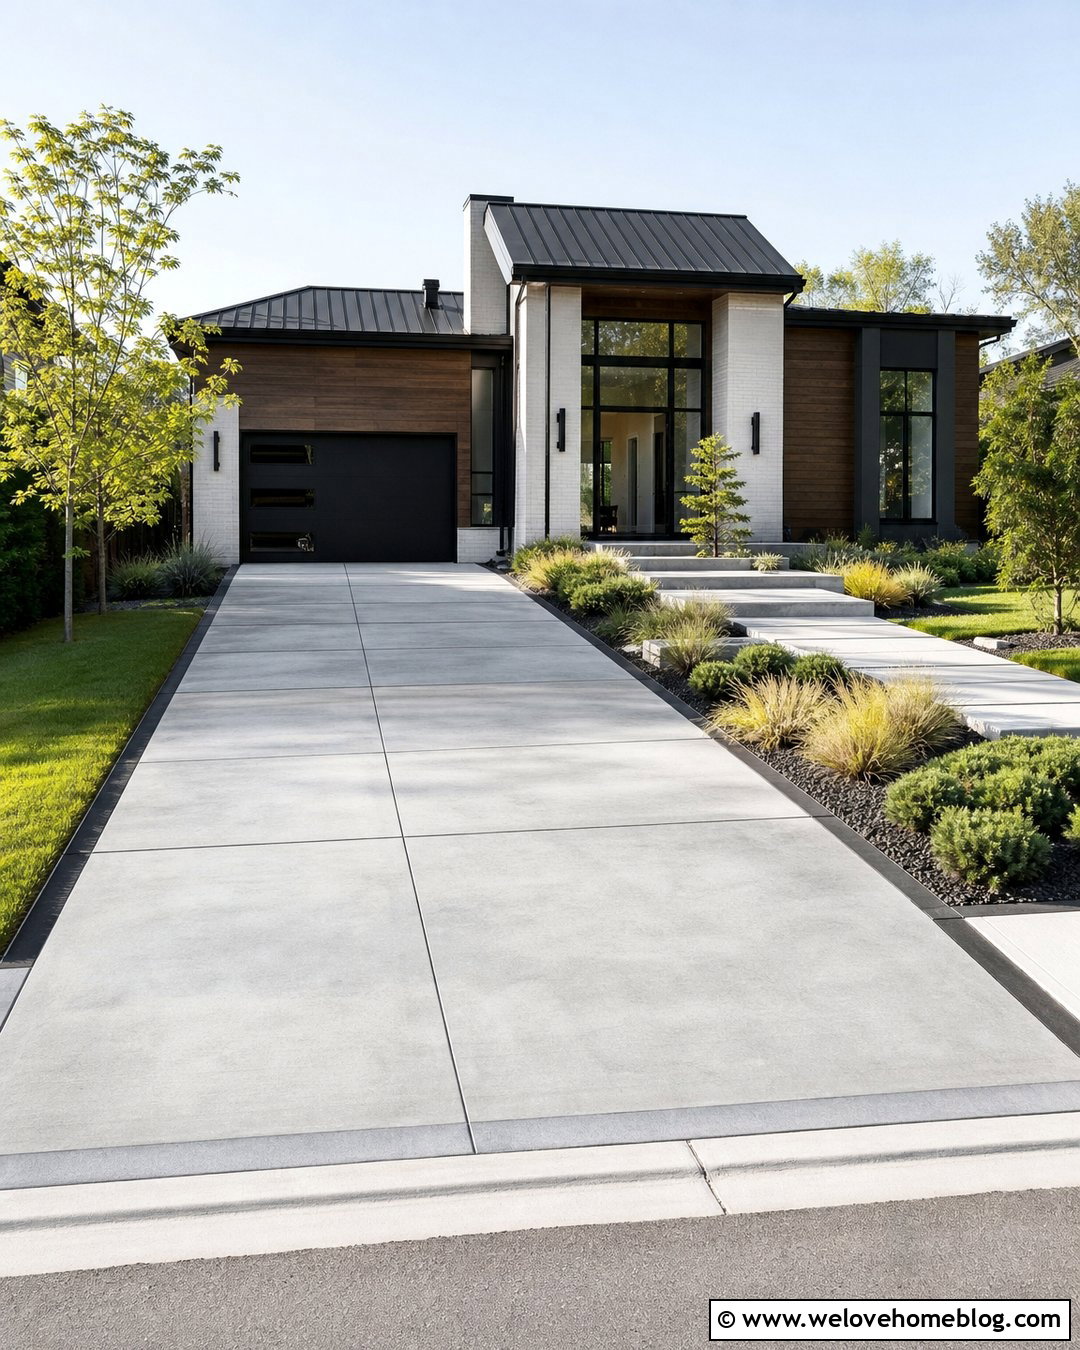
A driveway with large uninterrupted concrete panels may develop random shrinkage cracks because movement was not directed into planned weakened lines. Cutting control joints can help manage future cracking, although it cannot reverse existing damage. A concrete professional should evaluate panel dimensions, slab thickness, reinforcement, crack locations, and connections to the garage or foundation. Existing stable cracks can be repaired or incorporated into the revised joint plan. New joints should create logical, balanced panels and continue cleanly across the driveway. Seal them where local conditions and the selected joint system require it. Do not rigidly cover functional joints with resurfacer or mortar. The finished look can combine light-gray broom-finished concrete with straight saw-cut lines and darker flexible joint sealant, creating a tidy grid that suits modern and traditional homes.
17. Replace Damaged Concrete Driveway Expansion Joints
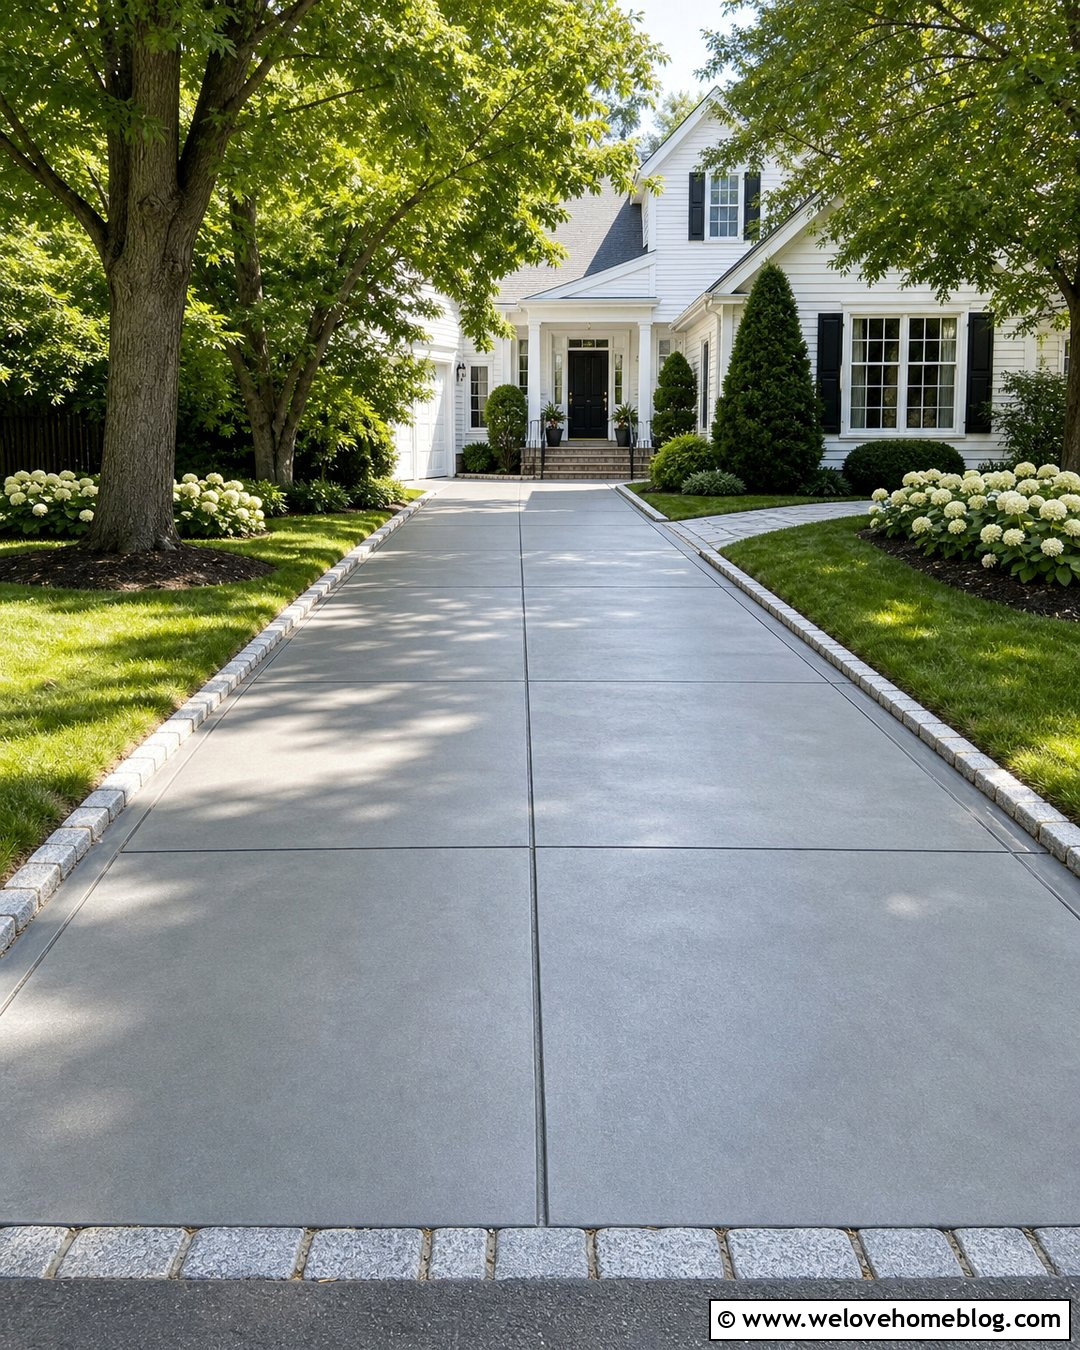
Old expansion or isolation joints may become packed with soil, weeds, stones, and failed sealant. Remove loose filler carefully without chipping the slab edges. Clean the joint and confirm that it separates areas requiring independent movement, such as the driveway and garage slab. Install a correctly sized backer rod or replacement joint material, then apply a traffic-rated flexible sealant at the manufacturer’s specified depth. Do not fill a movement joint with rigid mortar because it can transfer pressure into adjacent concrete. Repair spalled joint edges before sealing, while preserving the joint’s full path. A smooth, straight sealant line can make the entire driveway appear better maintained. Keeping incompressible debris and moisture out of joints also supports more reliable seasonal movement. ()
18. Correct Drainage Around A Cracked Concrete Driveway
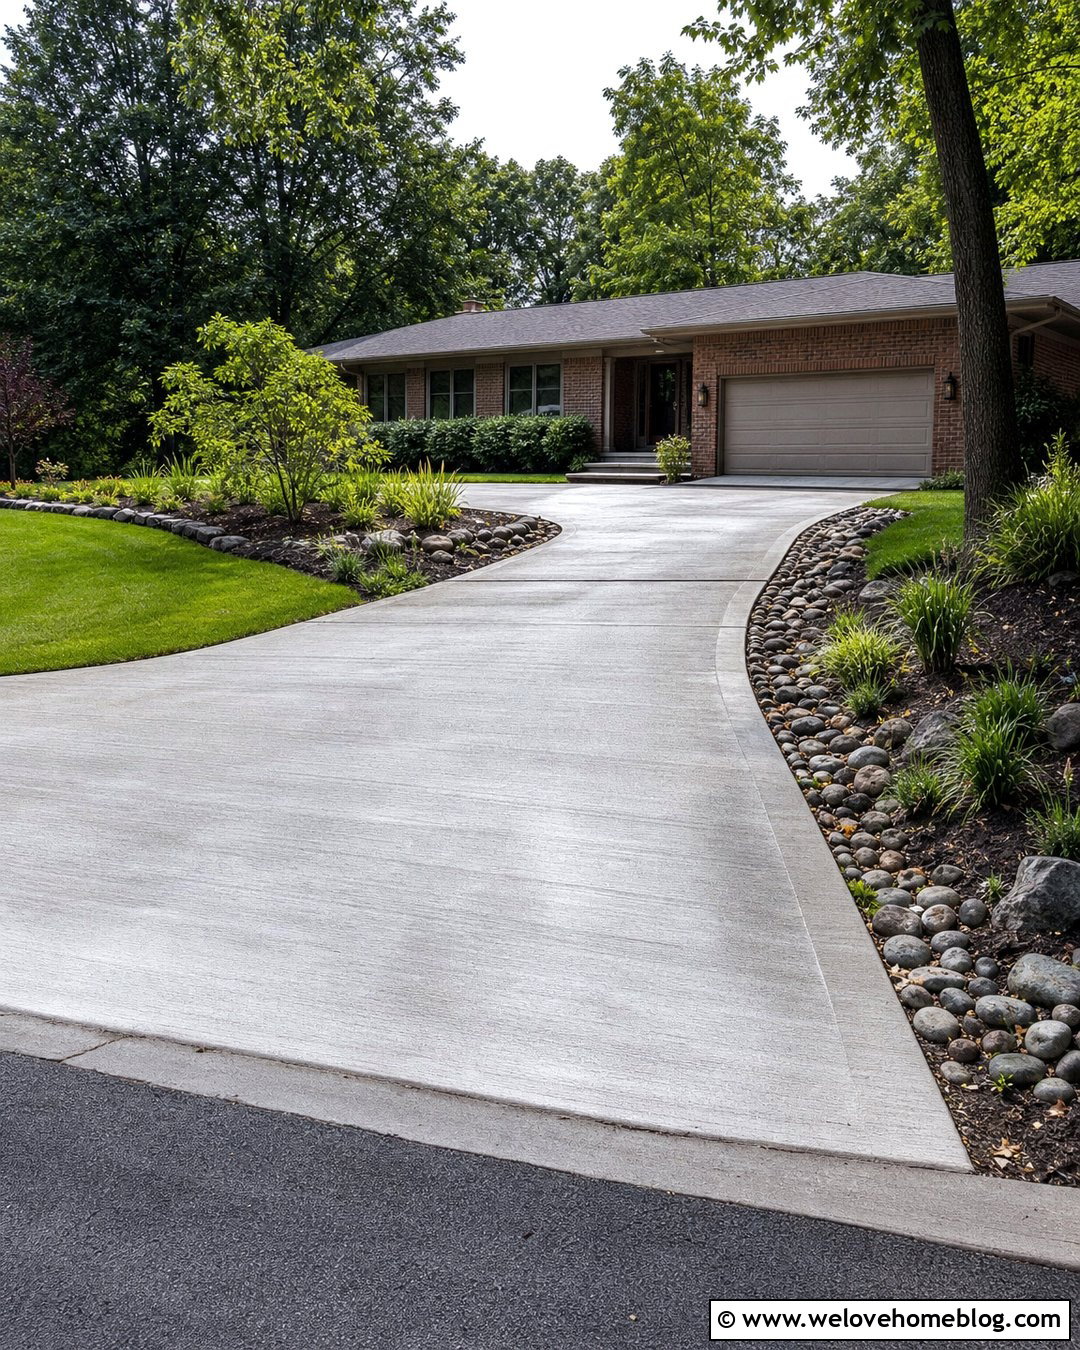
Water often reveals the real reason a driveway repair keeps failing. Watch the surface during rain and note puddles, downspout discharge, eroded edges, and runoff flowing through cracks. Extend roof drainage away from the concrete and regrade planting beds that slope toward the driveway. A channel drain may be useful near a garage or low entrance, but it must discharge to a lawful, suitable location. Repair washed-out shoulders with compacted base material and stable edging. Once drainage problems are corrected, lift settled panels if needed and complete the appropriate crack repair. Maintain the driveway’s cross-slope so water moves away rather than collecting against the house. A repaired broom-finished concrete surface framed by permeable planting beds can combine practical water management with clean residential curb appeal.
19. Replace One Cracked Concrete Driveway Panel
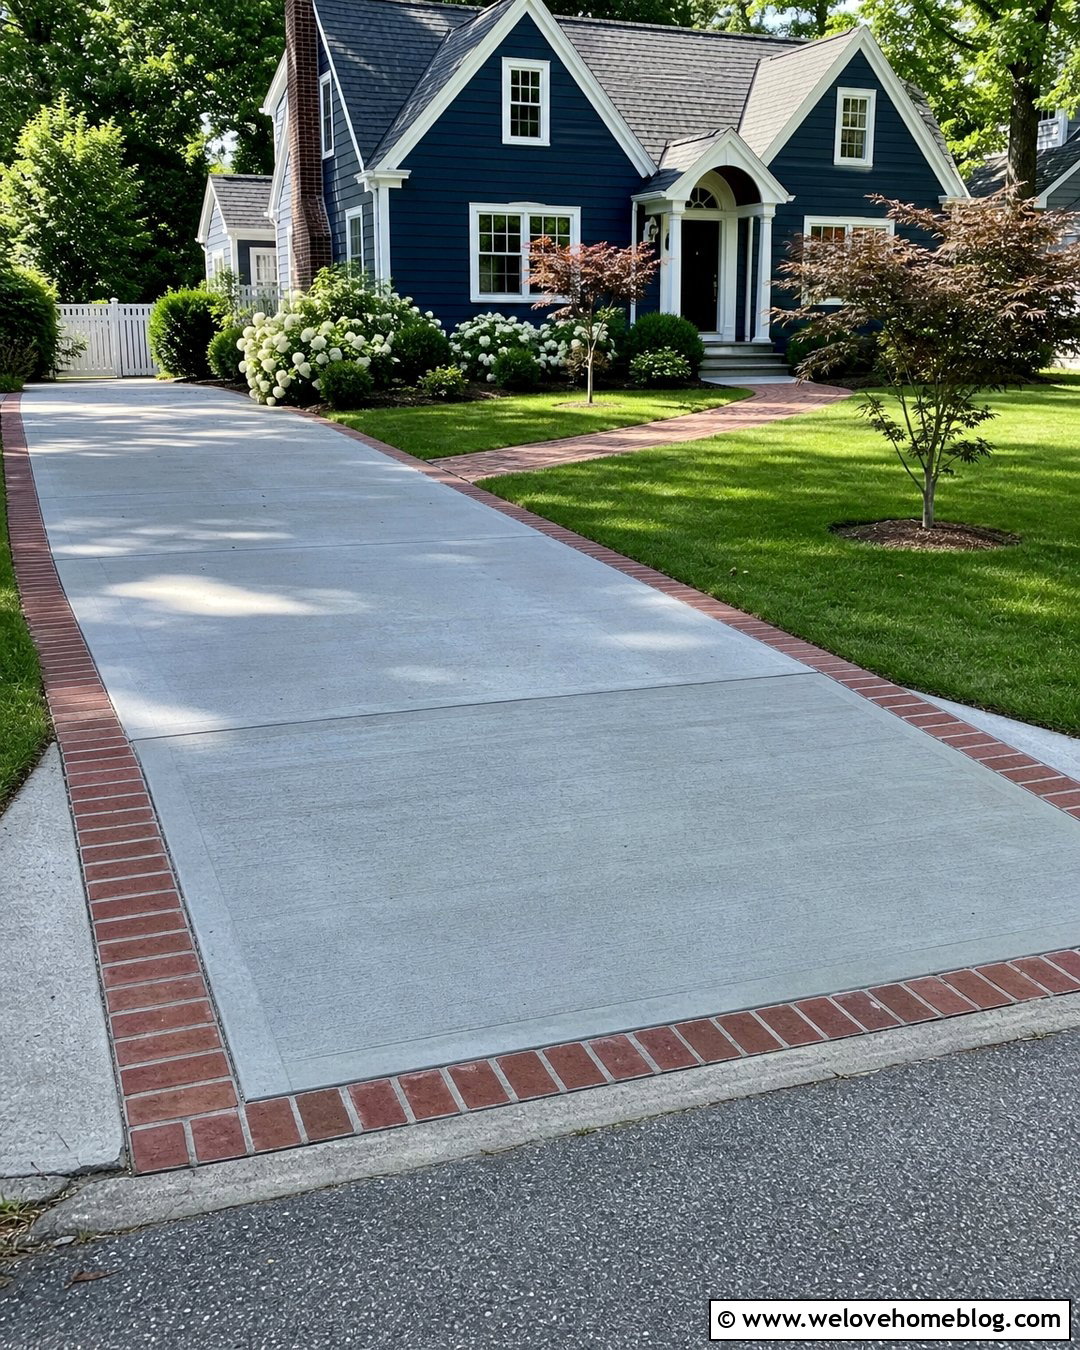
A single panel with intersecting cracks, severe spalling, or vertical movement may be beyond reliable surface patching. Removing that panel can preserve the remainder of an otherwise serviceable driveway. Saw the boundaries at existing joints when practical and remove the damaged concrete without undermining neighboring slabs. Excavate unstable material and install a properly compacted base. Address drainage, roots, or soil movement before placing new concrete. The replacement should match the original slab’s required thickness, slope, strength, and surface texture. Keep joints active and use load-transfer details if specified by a qualified professional. New concrete will initially look different from weathered panels, so consider cleaning or staining the full driveway later. Full-depth repair is intended for significant damage where restoring the complete slab thickness is necessary. ()
20. Replace A Severely Cracked Concrete Driveway
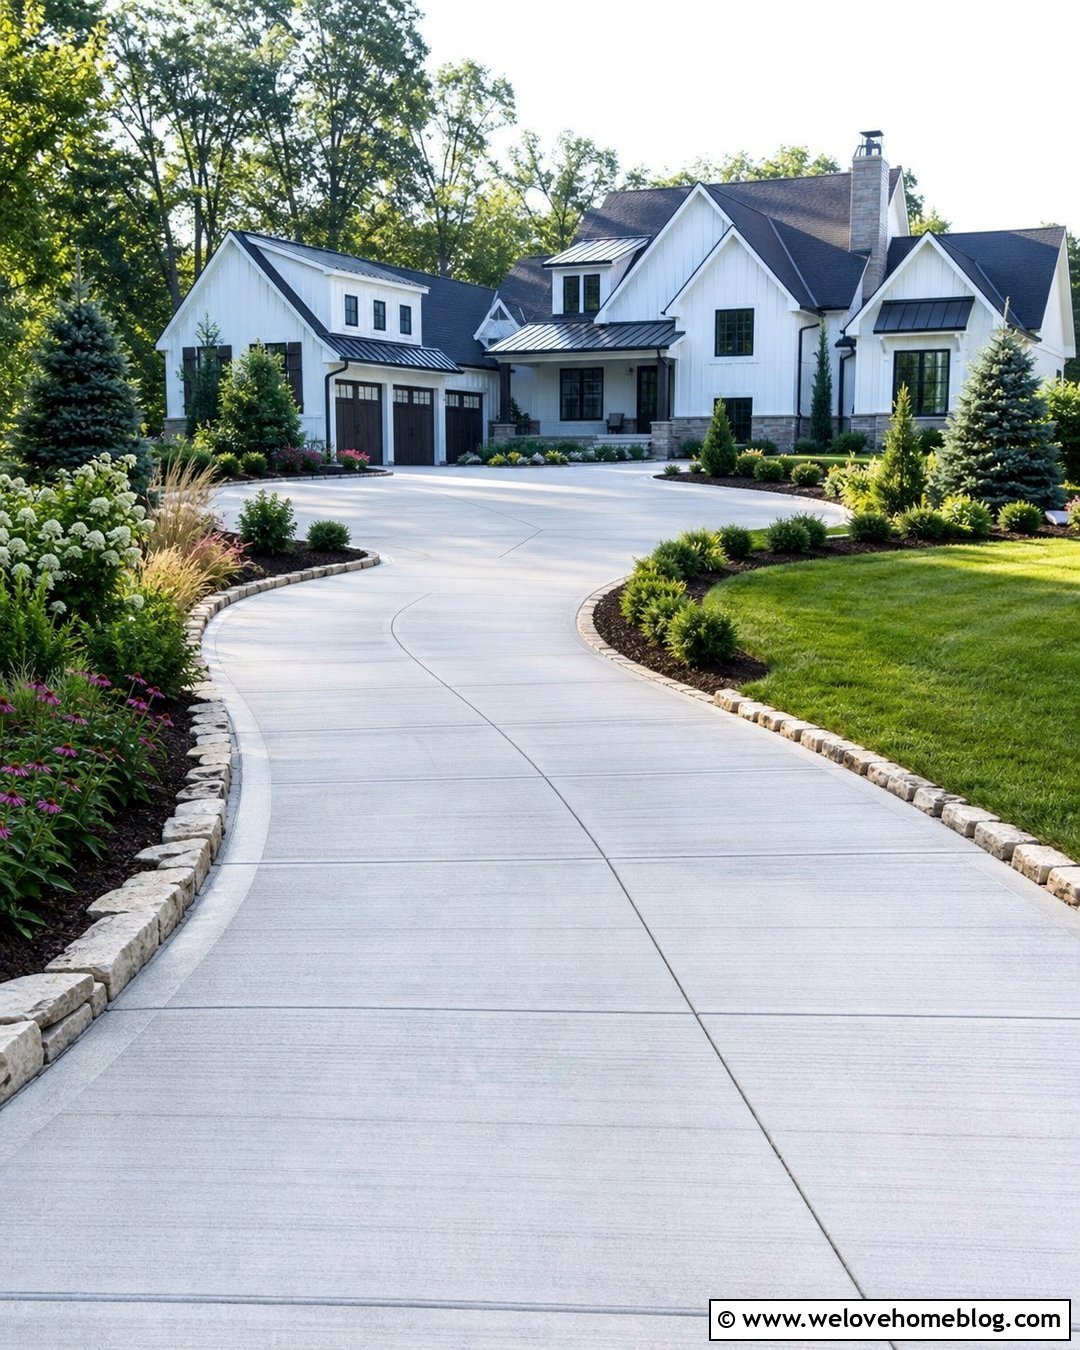
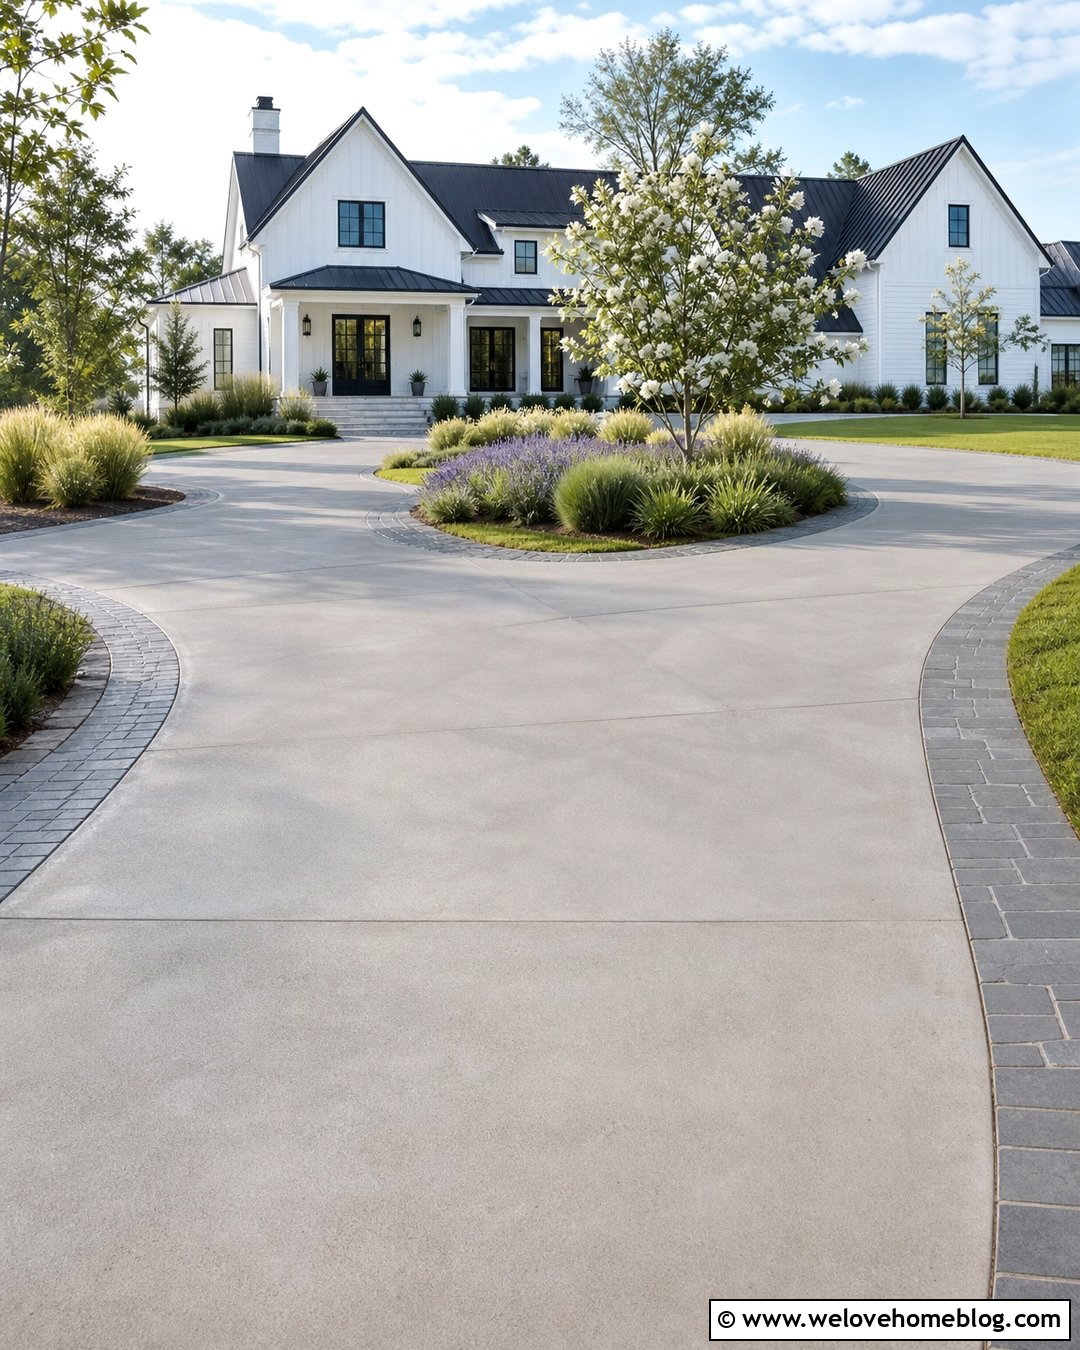
Replacement becomes the practical choice when cracks intersect throughout multiple panels, pieces rock under vehicles, large areas have settled, or repairs repeatedly fail. Begin with a site assessment rather than simply pouring new concrete over the old driveway. Determine whether drainage, expansive soil, frost movement, roots, heavy loads, or an inadequate base caused the damage. Remove the failed concrete and rebuild the foundation with suitable, compacted material. Design the new driveway with proper thickness, reinforcement where required, planned control joints, isolation at fixed structures, and positive drainage. A light-gray broom finish offers dependable traction and a familiar residential look. Add restrained stone edging and planting beds for curb appeal. Correct construction details are more valuable than decorative upgrades when long-term performance is the main goal.
Conclusion:
The right repair begins with understanding why the driveway cracked. Stable hairline openings may only need filler, while deep moving cracks benefit from flexible sealant and backer rod. Settlement, voids, tree roots, poor drainage, and broken joints must be corrected before cosmetic work begins. Resurfacing, staining, and scoring can create a more unified finish after dependable repairs are complete. However, loose pieces, widespread intersecting cracks, and major height differences often justify panel or full-driveway replacement. Follow product instructions, protect functional joints, and use professional help for structural movement, slab lifting, sawing, or extensive deterioration. These **20 How To Fix Cracked Concrete Driveway Ideas** offer practical options for creating a safer, cleaner, and better-looking entrance.

Related posts:



Leave a Reply