
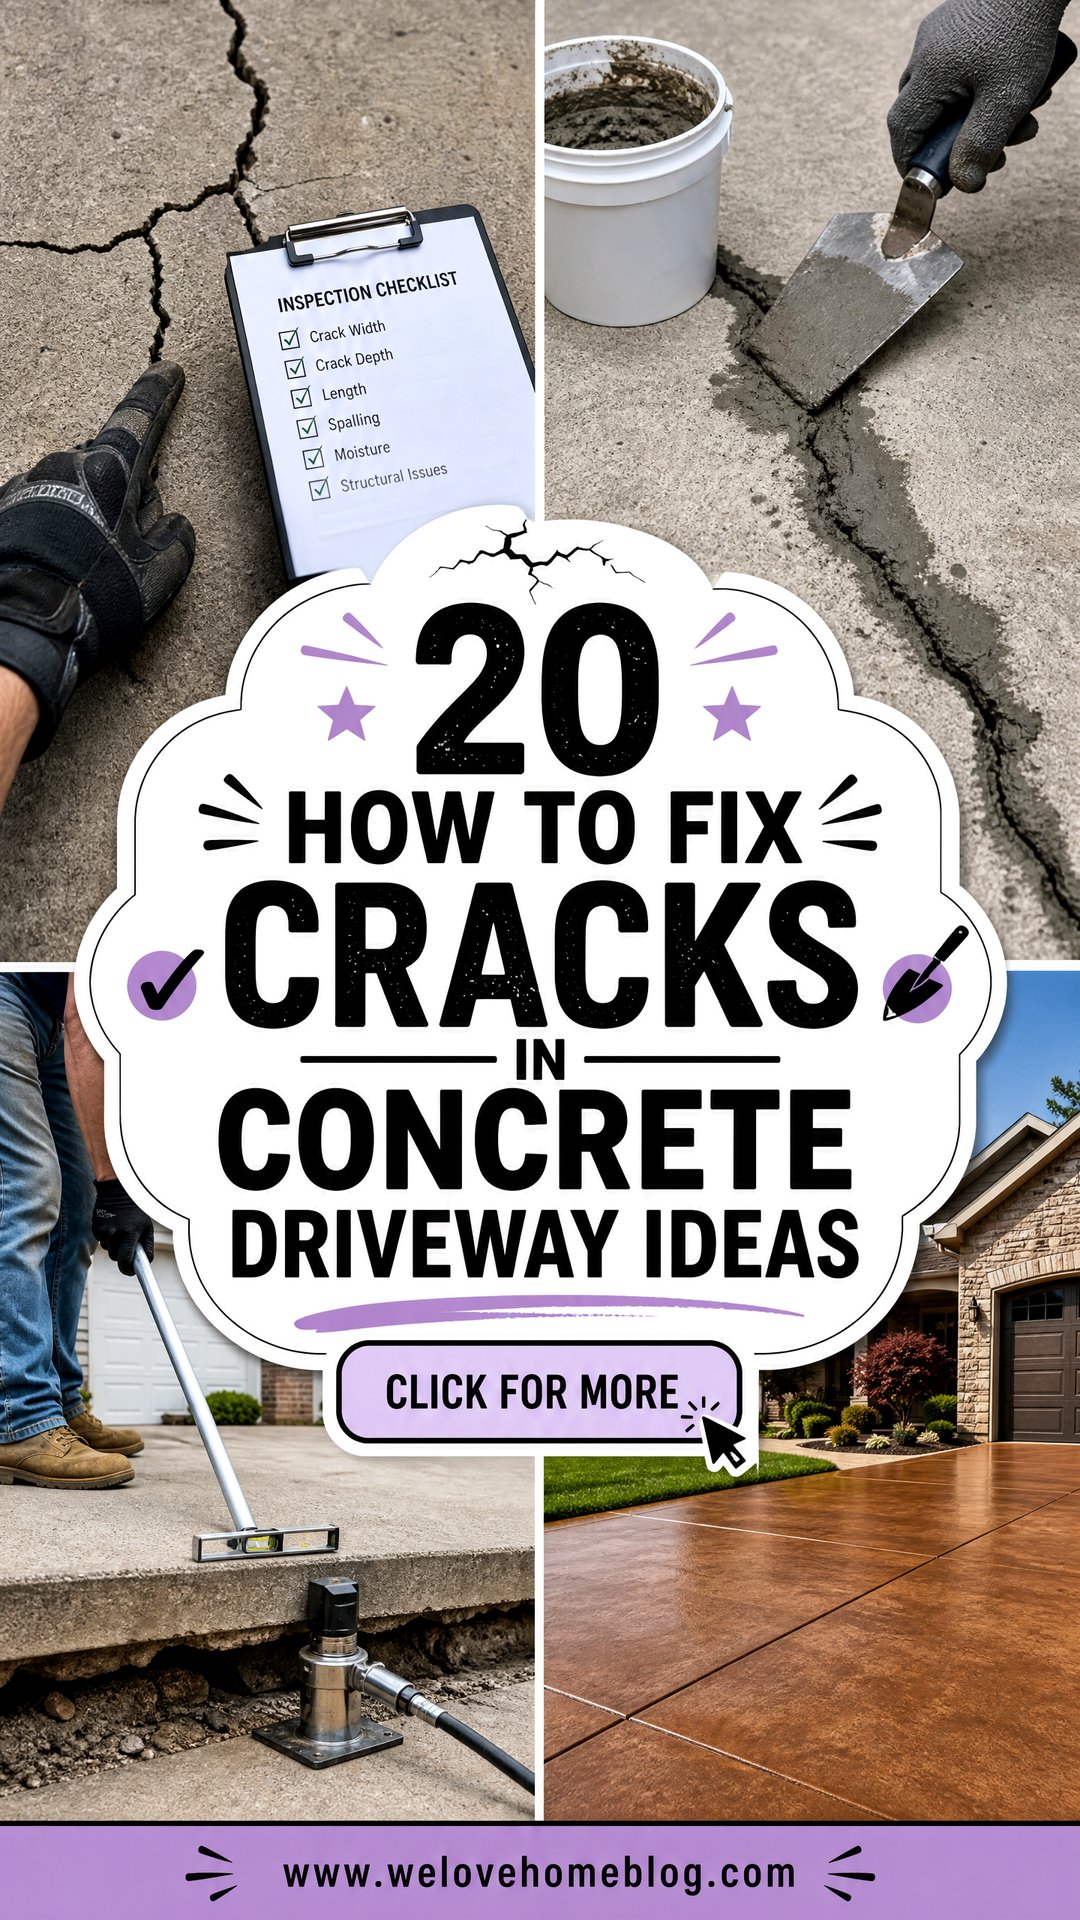
Cracks can make an otherwise clean driveway look neglected, but many can be repaired before water, debris, and seasonal movement worsen the damage. The right solution depends on the crack’s width, depth, location, and whether the surrounding slab remains level. A narrow, stable line may only need flexible filler. A wide opening with broken edges could require backer material and repair mortar. Uneven slabs, recurring cracks, or widespread deterioration often point to deeper support or drainage problems. Always diagnose the cause, prepare the surface carefully, and follow the repair product’s application and curing requirements. The complete approaches below explain **20 How To Fix Cracks In Concrete Driveway Ideas** for different damage levels, budgets, and finished appearances. ()
1. Inspect Concrete Driveway Cracks Before Repairing
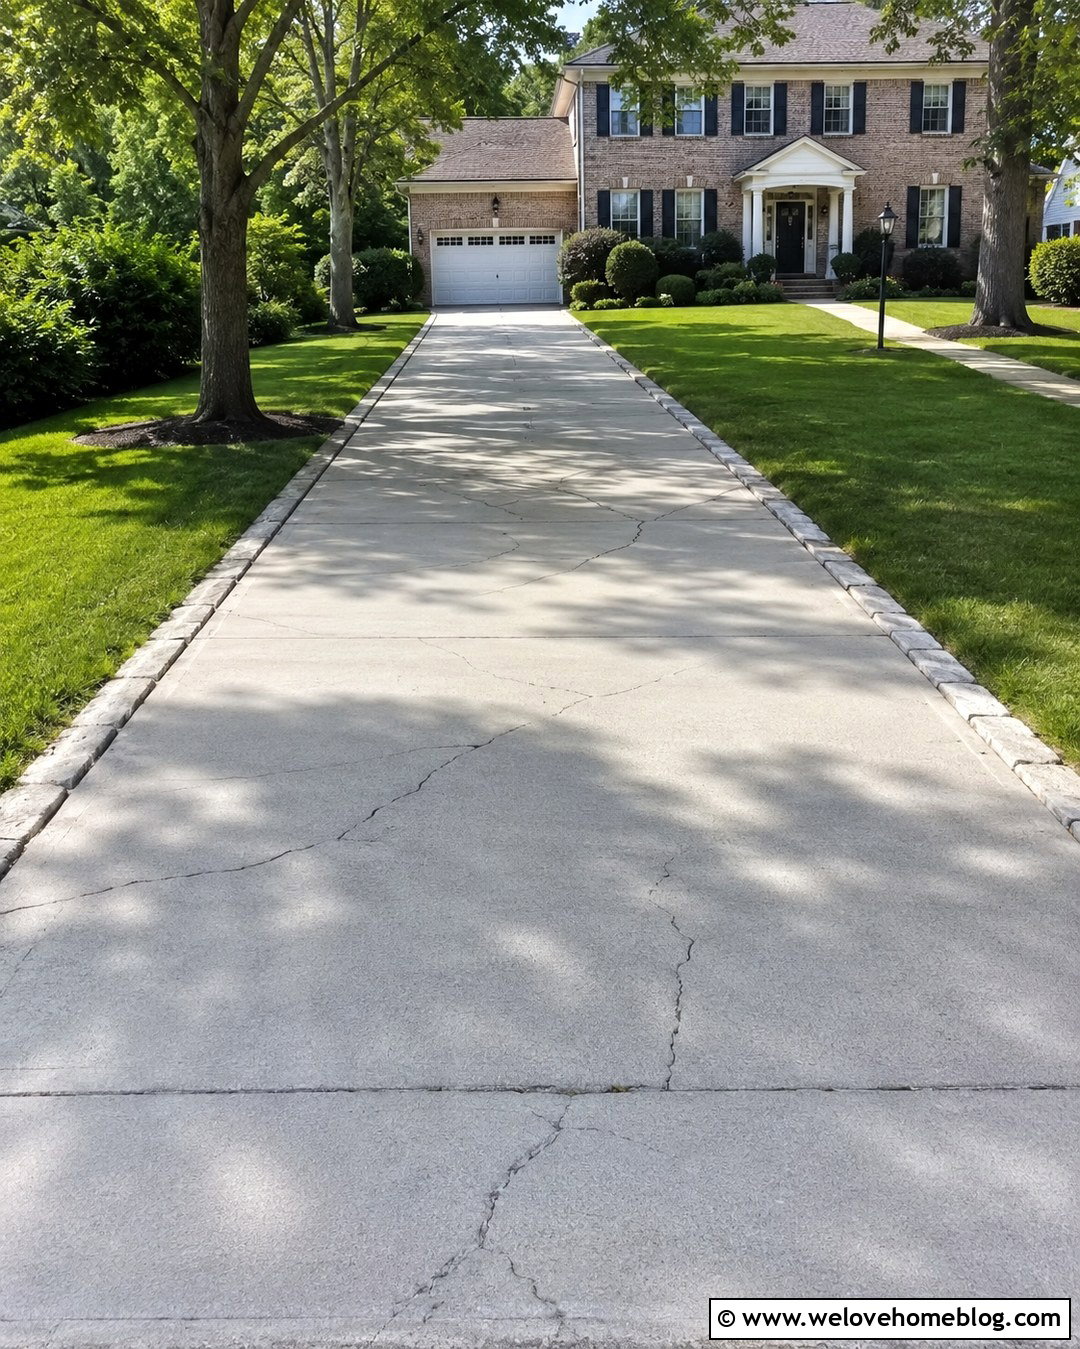
Begin by studying the entire driveway in dry, bright conditions. Mark each crack and note whether it is hairline, wide, deep, branching, or vertically uneven. Check for water collecting nearby, soil erosion along the edges, large tree roots, and movement around drainage channels. A stable crack with level concrete is usually easier to repair than one where one side has lifted or sunk. Measure several points because crack width can change along its length. If the driveway has extensive spiderweb cracking, loose concrete, or major displacement, isolated filling may only hide the symptoms. Taking photographs and measurements also helps you monitor movement before committing to a decorative finish. ()
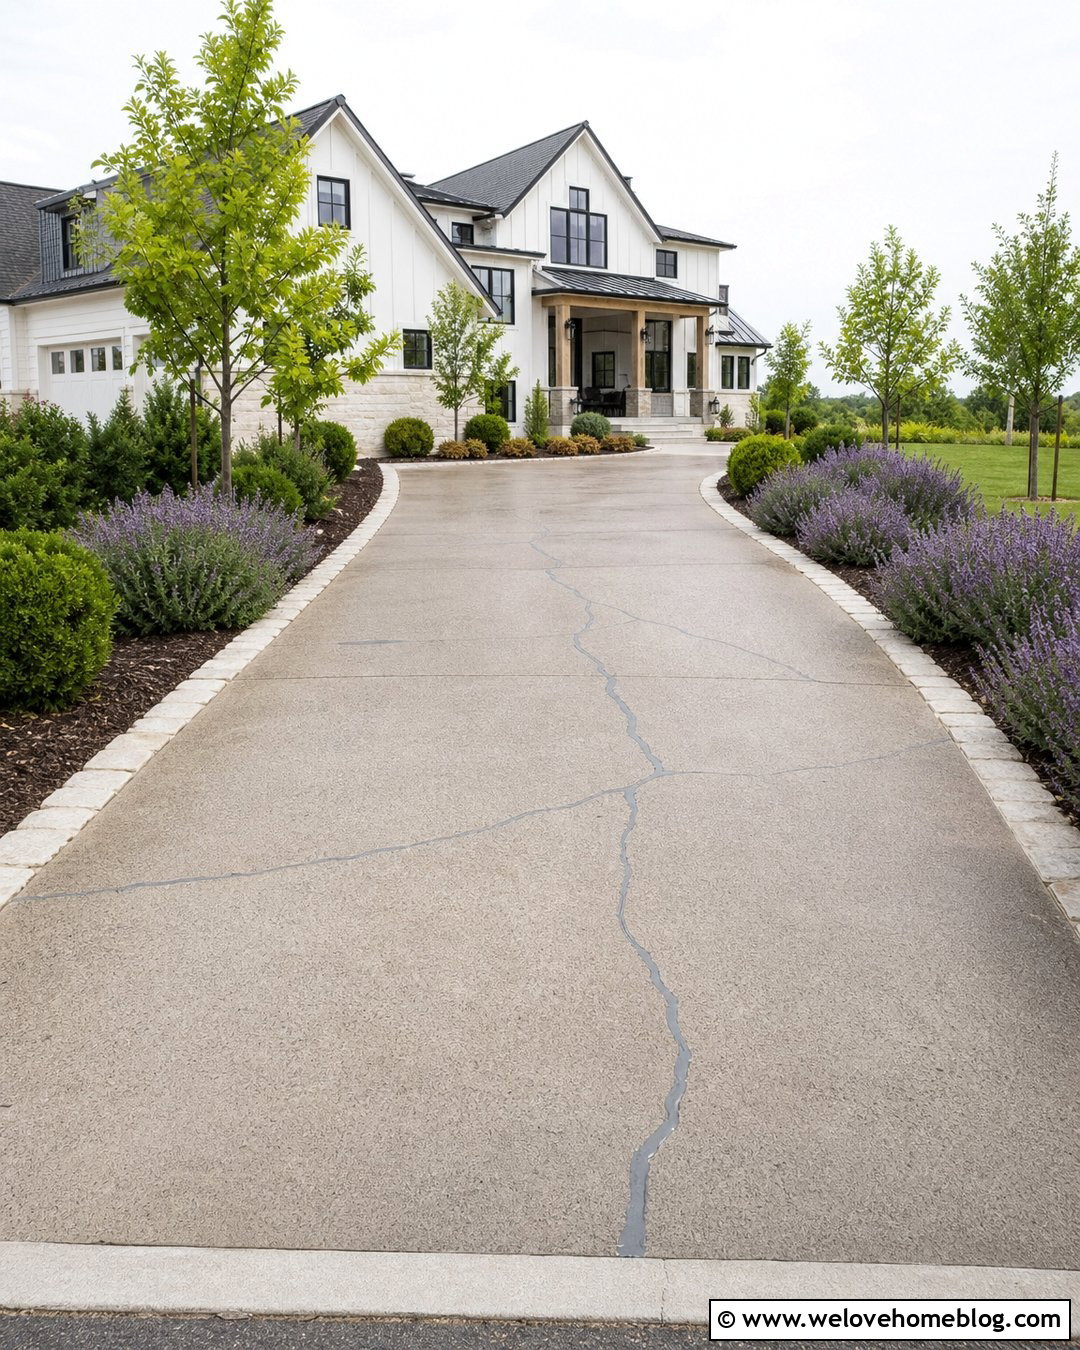
2. Clean Concrete Driveway Cracks With A Wire Brush
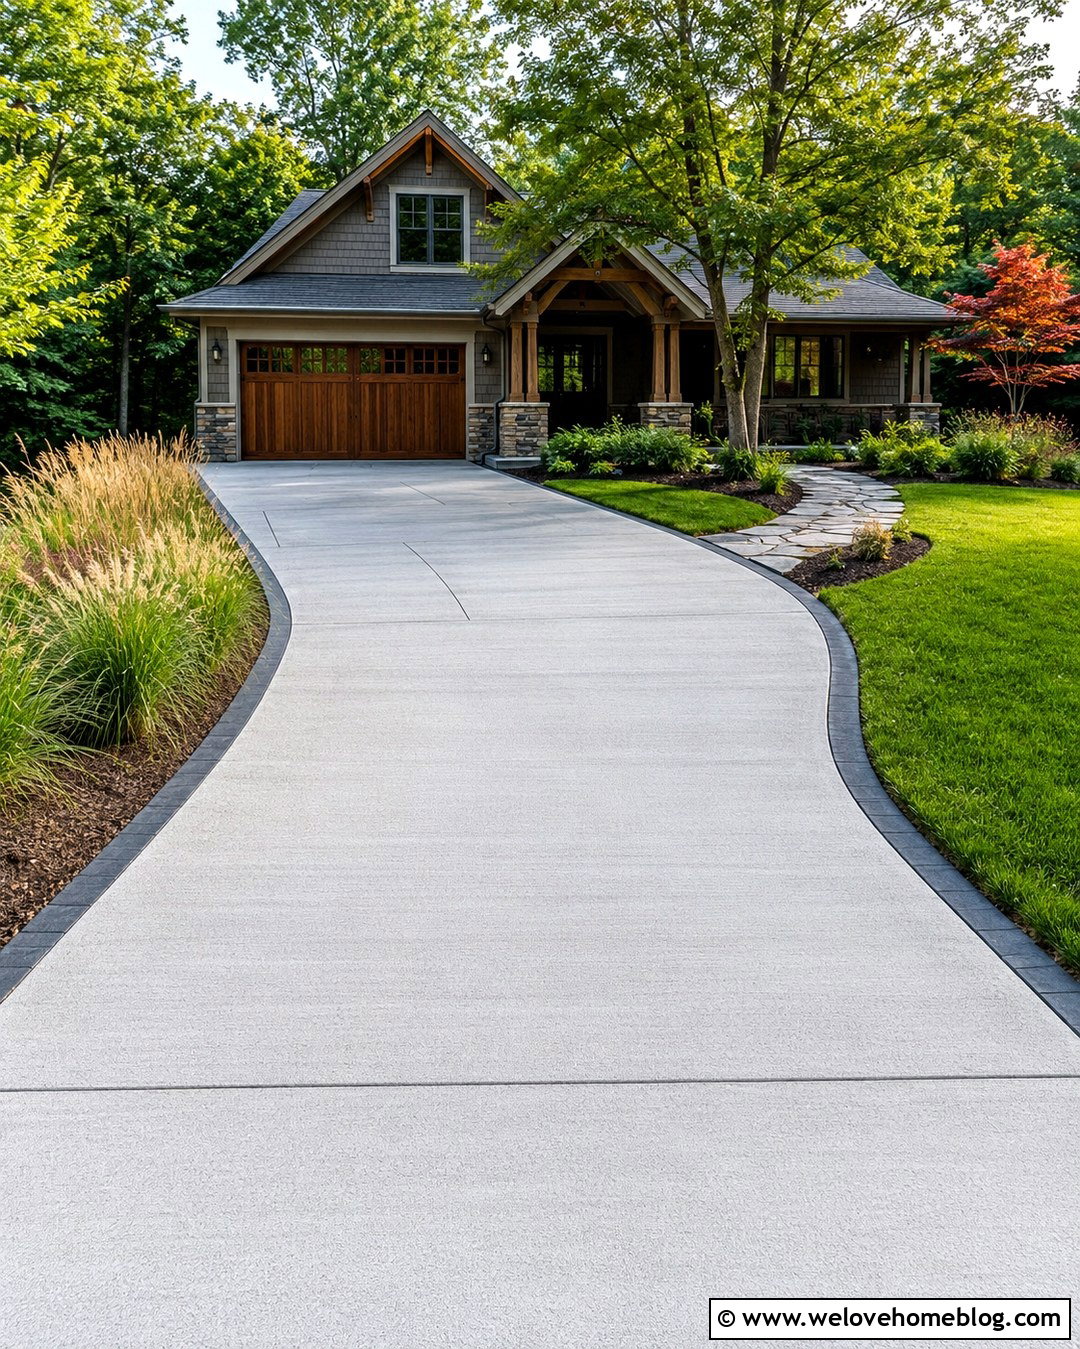
Even the best filler can loosen when it is applied over dust, weeds, or crumbling concrete. Pull out vegetation first, including roots growing inside the opening. Scrub the crack with a stiff wire brush, working along both edges to dislodge weak particles. A shop vacuum can then remove the fine debris from deeper areas. Wash oily sections with a concrete-compatible cleaner because filler may not bond well to a contaminated surface. Allow the opening to dry unless the selected product specifically permits damp application. This preparation creates clean, sound contact points for the repair material. It also reveals hidden deterioration that may need chiseling or patching before the crack can be filled properly. ()
3. Fill Hairline Concrete Driveway Cracks With Liquid Filler
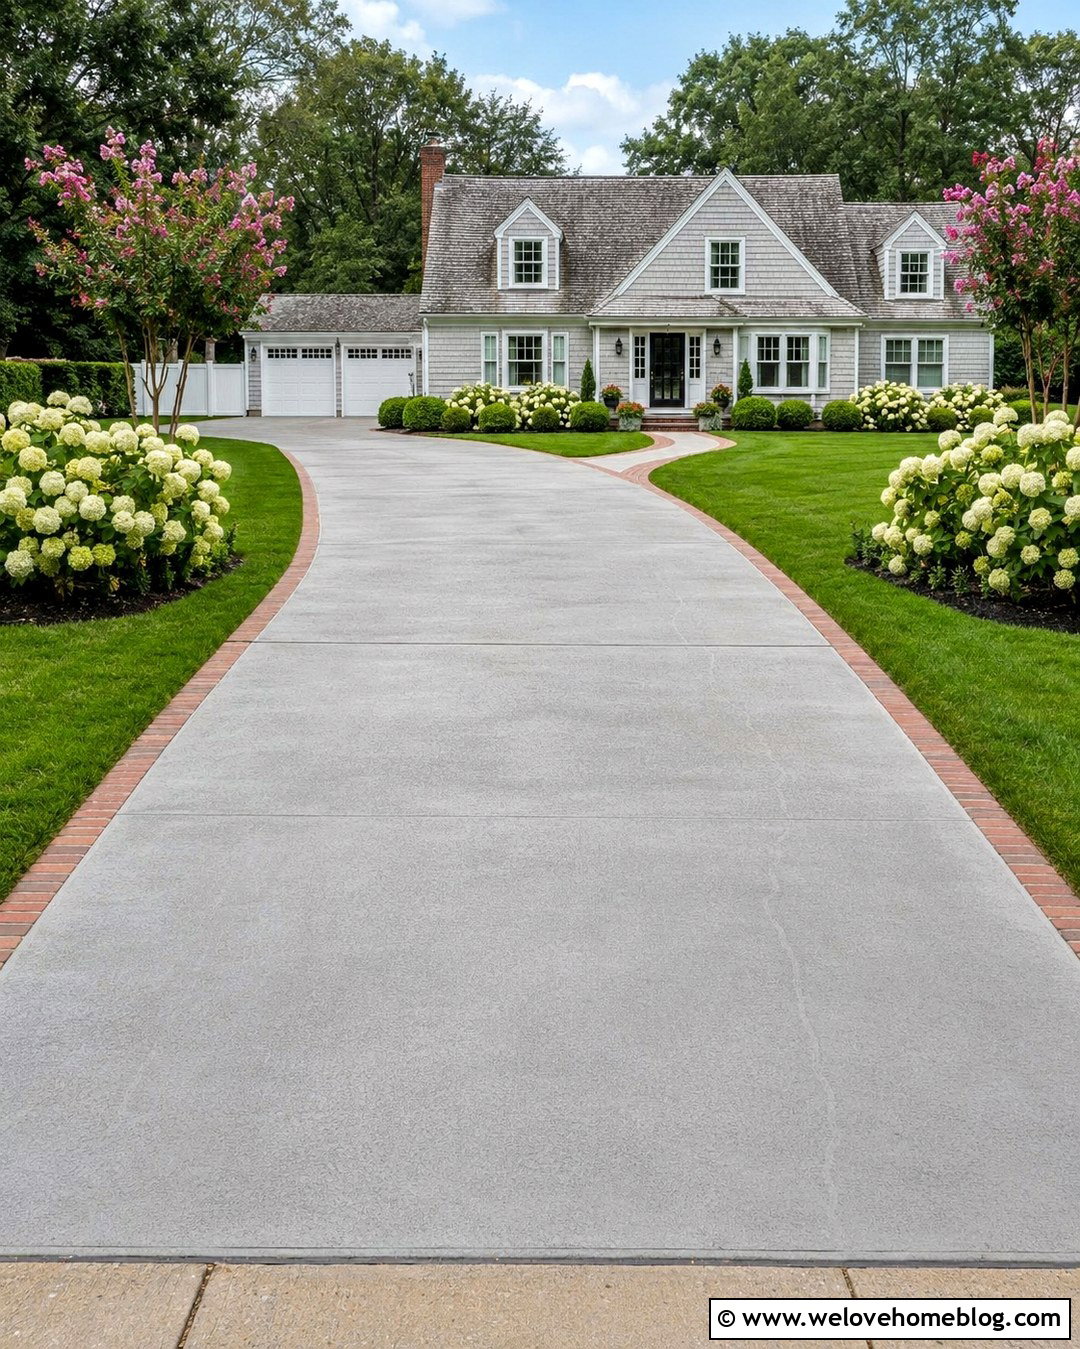
Thin, stable cracks can often be treated with a low-viscosity liquid crack filler designed for horizontal concrete. Clean the line thoroughly and verify that the slab is not shifting or vertically displaced. Shake or prepare the product according to its label, then guide it slowly into the opening. Several light applications may penetrate and settle better than one heavy pour. Avoid spreading excessive filler across the surrounding concrete because the repaired stripe may remain visible. Keep rain, sprinklers, vehicles, and foot traffic away during the stated curing period. This straightforward treatment works especially well on otherwise sound gray concrete where early sealing can reduce the entry of water and debris. ()
4. Seal Moving Concrete Driveway Cracks With Flexible Caulk
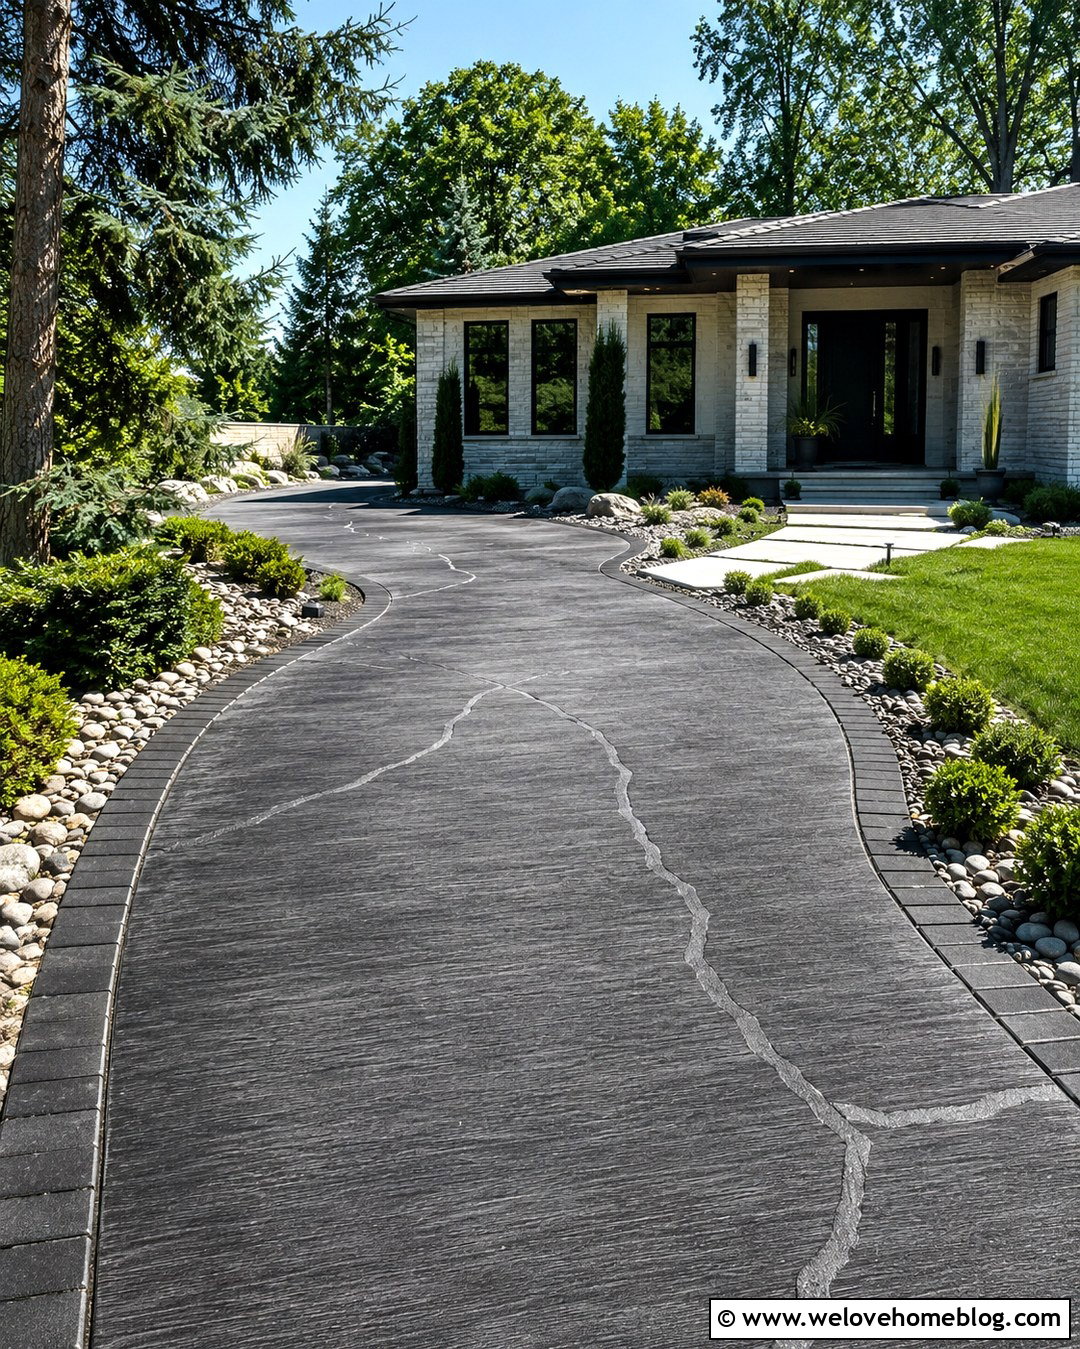
Does the crack open slightly during temperature changes? A flexible concrete sealant is generally more suitable than a rigid cement patch for movement-prone openings. Choose an exterior product labeled for horizontal concrete and driveway exposure. Cut the nozzle to match the crack, load the cartridge into a caulk gun, and apply one continuous bead. Push the material into the opening rather than laying it loosely on top. Depending on the product, the sealant may be self-leveling or require careful tooling. A textured gray finish helps the repair blend with broom-finished concrete. Flexible sealants are useful where moisture protection and movement accommodation matter more than creating a perfectly invisible repair. ()
5. Add Backer Rod To Deep Concrete Driveway Cracks
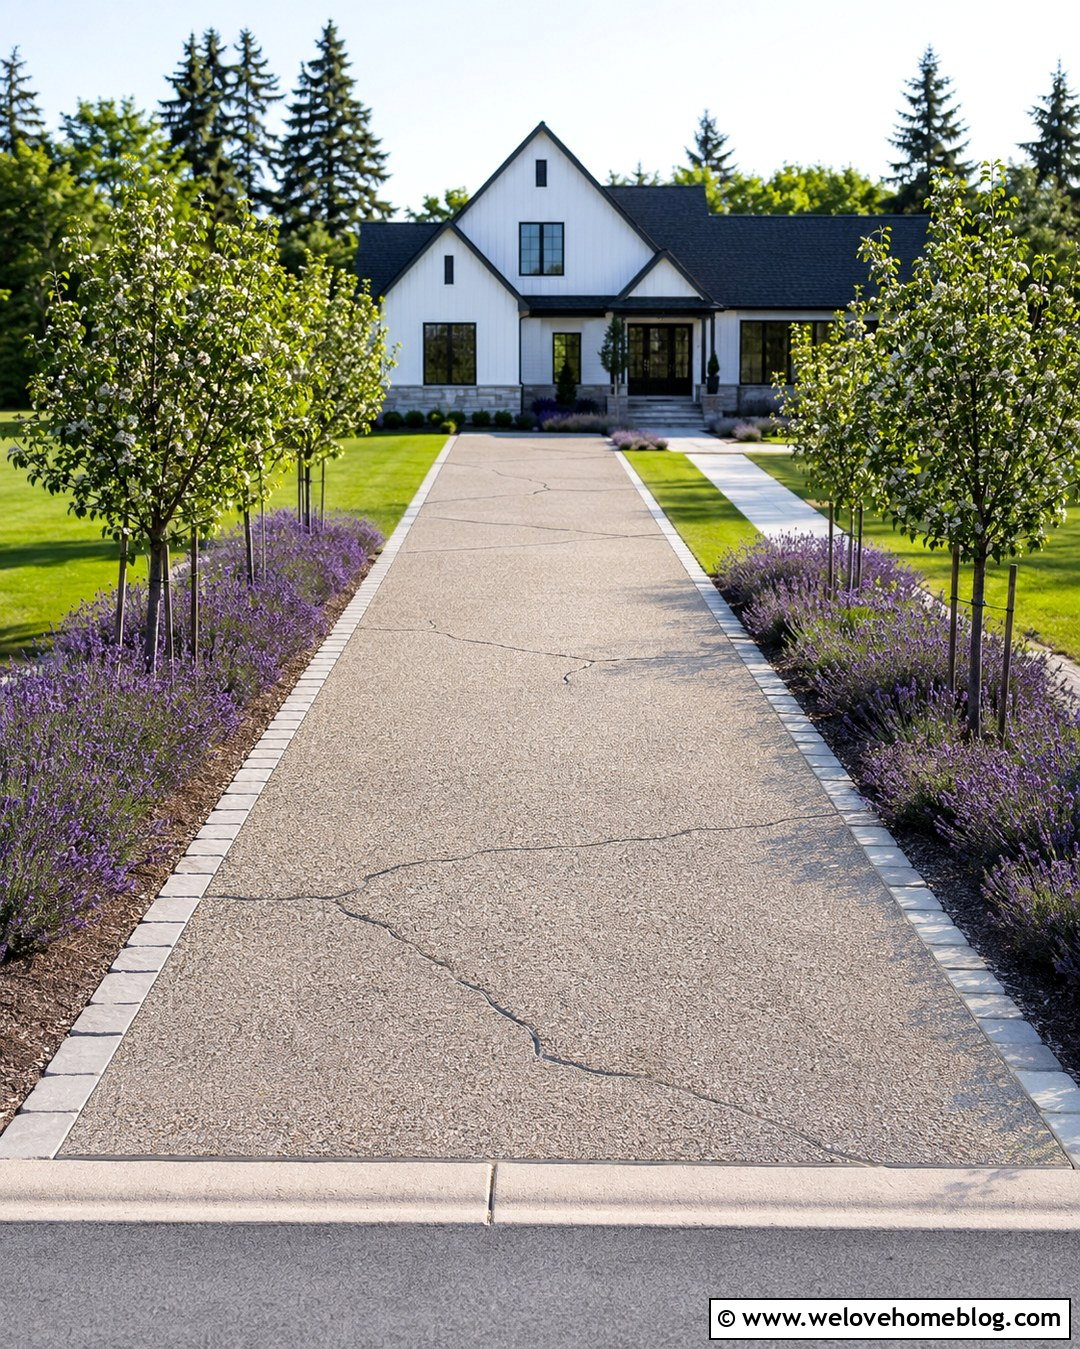
A deep crack can consume too much sealant and leave a weak, poorly shaped repair. Foam backer rod solves this problem by supporting the filler near the surface. Select a rod slightly wider than the opening so it fits snugly without adhesive. Press it evenly into the cleaned crack with a blunt tool, keeping it at a consistent depth. Do not puncture or stretch the foam. Apply a compatible flexible concrete sealant over the rod, leaving enough space for the recommended bead thickness. This method is especially practical for deep, nonstructural cracks with fairly uniform sides. The backer rod controls sealant depth, reduces waste, and helps create a cleaner joint that can accommodate modest movement. ()
6. Widen Narrow Concrete Driveway Cracks Before Filling
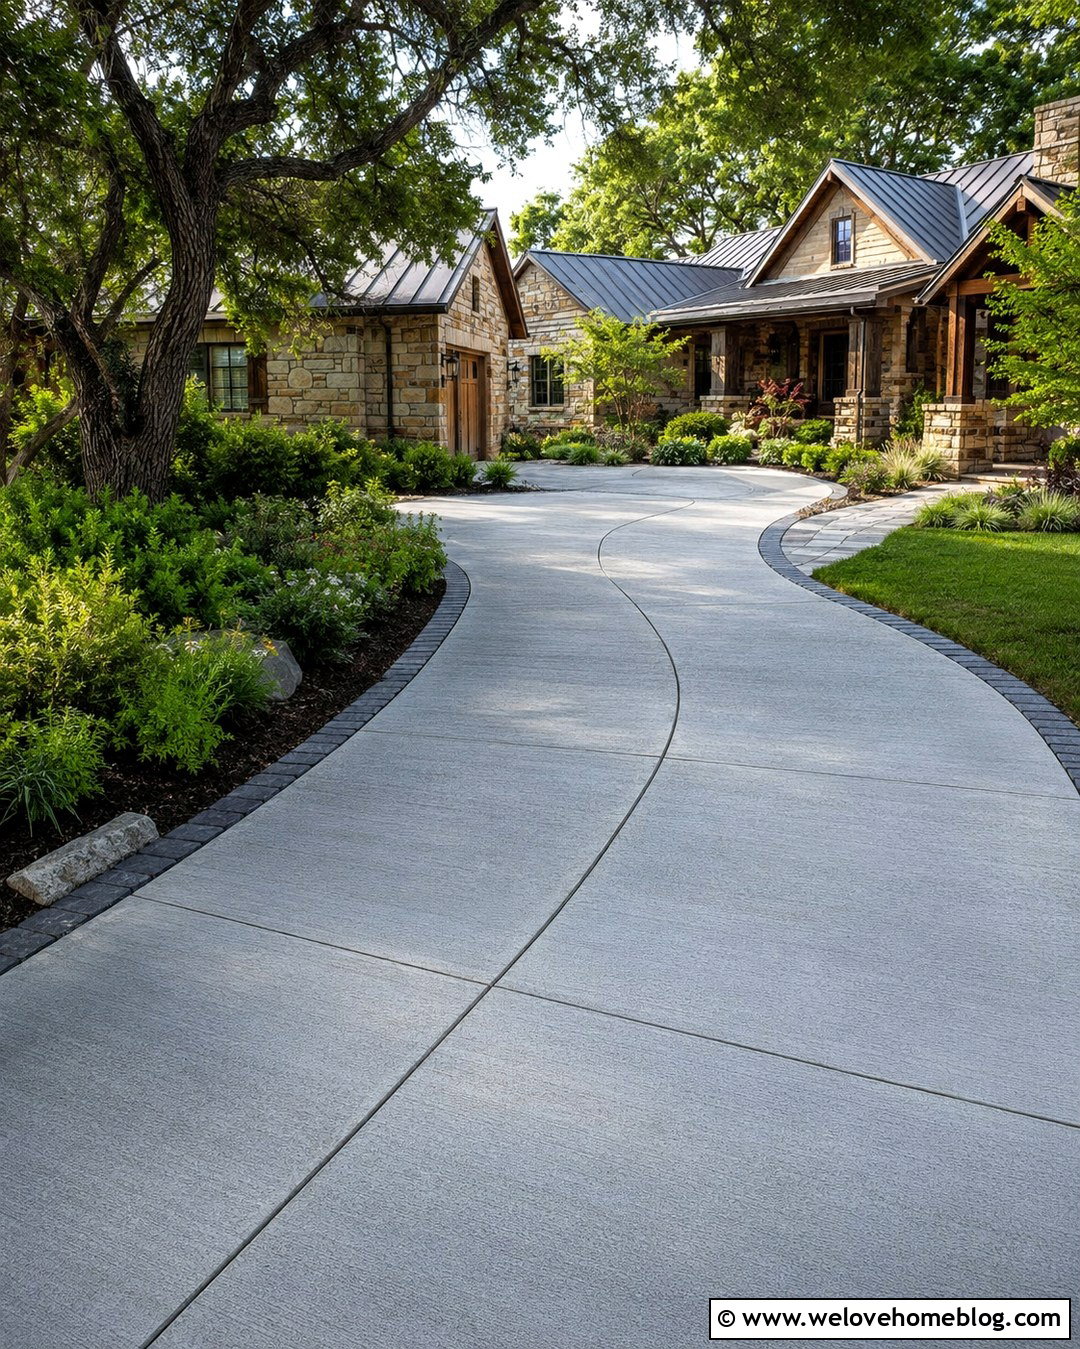
Sometimes a narrow surface opening is too irregular or shallow to hold a durable repair. In that situation, carefully opening the crack can create stronger bonding surfaces. Wear proper eye, hand, hearing, and dust protection. Use a cold chisel and hammer, or an appropriate crack-chasing tool, to remove weak concrete and form clean sides. Do not aggressively cut into reinforcement, utilities, or an unstable slab. Vacuum every particle afterward and inspect the exposed concrete for additional damage. The prepared channel can then accept a compatible sealant or repair compound. This technique takes more work, but it prevents filler from sitting as a thin skin over dirt and fragile edges. Hire a professional if safe tool control is uncertain. ()
7. Patch Wide Concrete Driveway Cracks With Repair Mortar
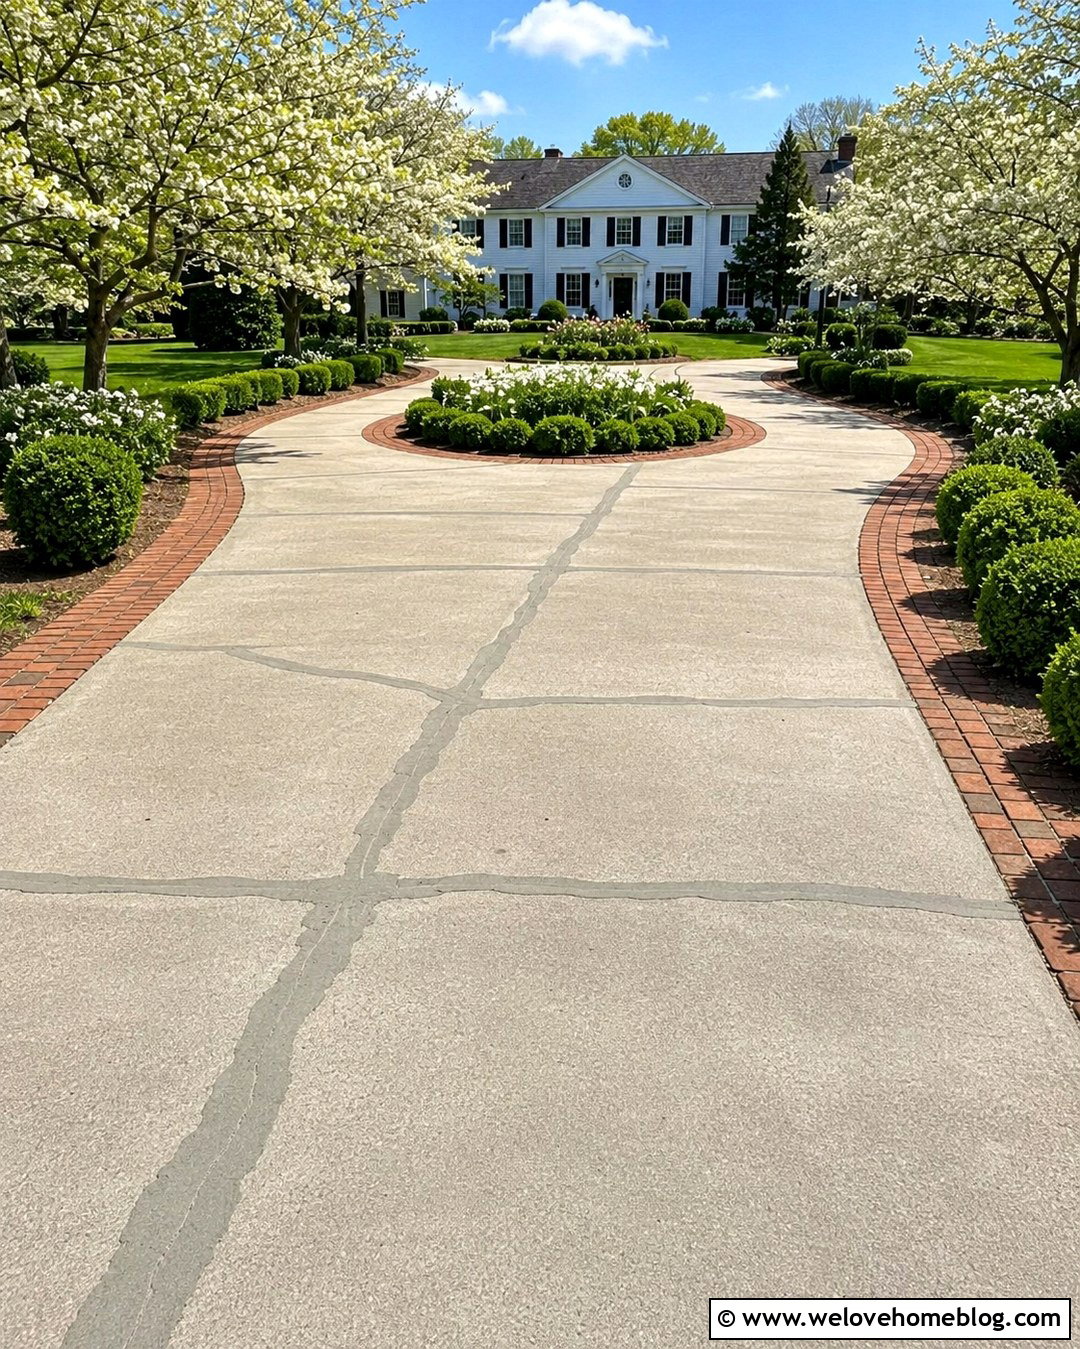
Wide, stable cracks with chipped sides may need a cementitious or polymer-modified repair mortar rather than pourable filler. Remove all unsound material until the edges feel solid. Clean the channel and follow the manufacturer’s instructions regarding moisture conditioning and bonding adhesive. Pack the repair mixture firmly into the opening so air pockets do not remain underneath. Finish the top level with the driveway while the material is workable. Match the surrounding broom texture rather than leaving a polished strip, which can become slippery and visually obvious. Protect the patch from traffic and harsh weather during curing. Repair mortar is best reserved for stable damage because rigid patches may crack again when the slab continues moving.
8. Repair Broken Concrete Around Driveway Cracks
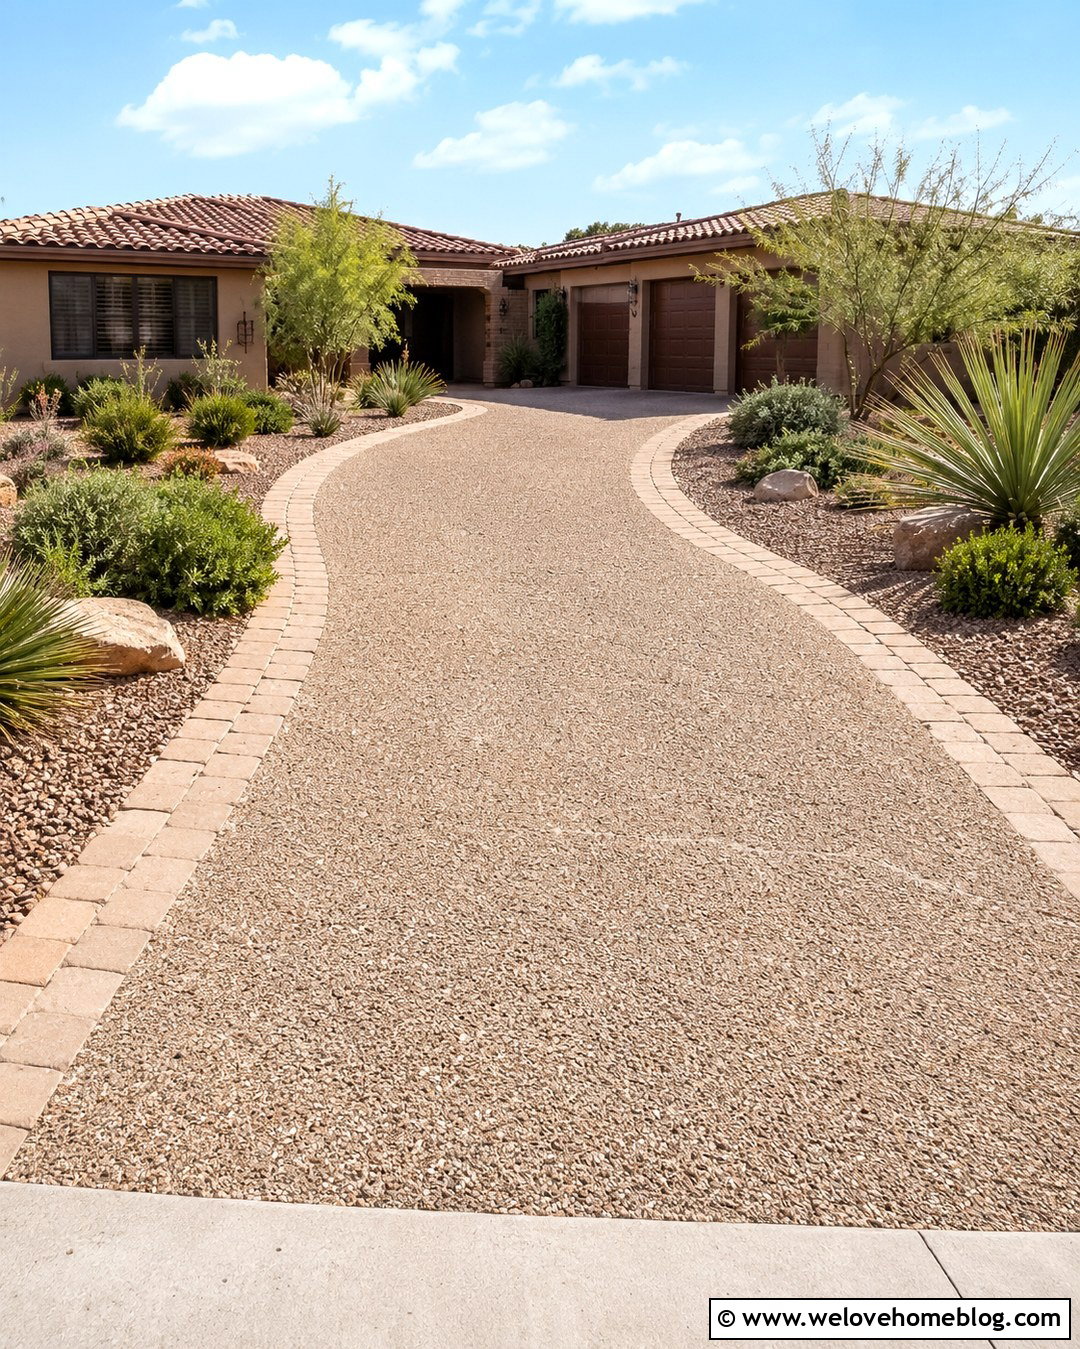
Crumbling edges often turn a simple crack into a shallow spalled area. Start by tapping and scraping away every loose fragment. Extend the repair boundary to sound concrete rather than spreading patching compound over flakes. A square or gently undercut edge can give the patch more support, depending on the selected product. Clean the exposed area, apply bonding primer when required, and press an exterior concrete patcher into the damaged section. Shape the surface to preserve the driveway’s slope so rainwater does not collect beside the repair. Finish with a texture similar to the existing slab. This approach rebuilds the broken surface while sealing the connected crack as one coordinated repair. ()
9. Use Two-Part Concrete Driveway Crack Repair
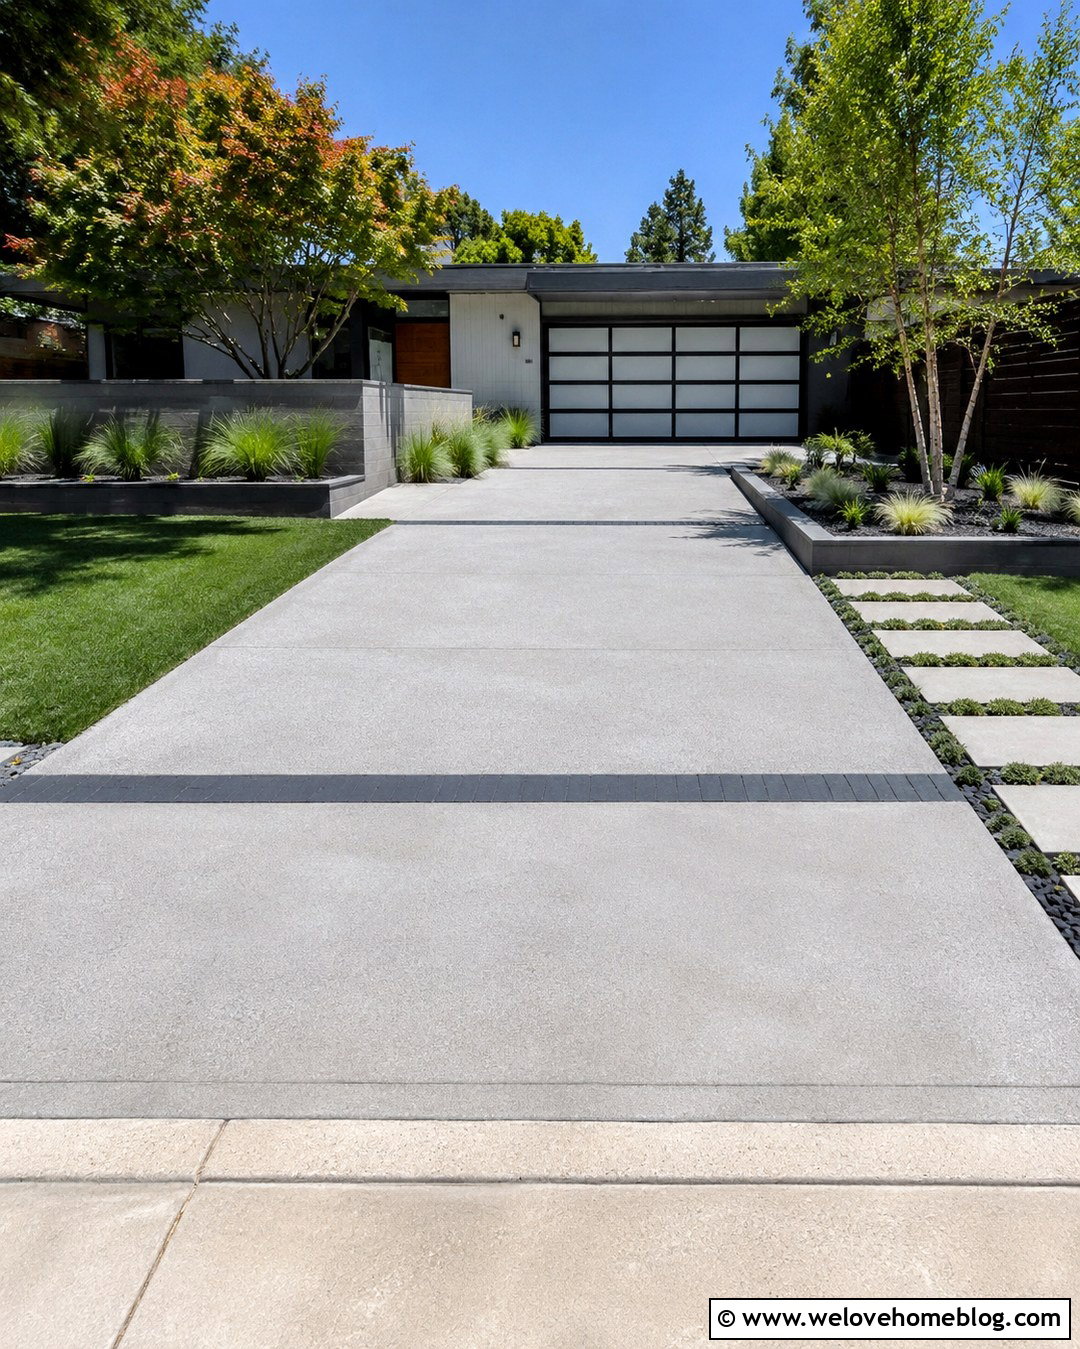
A rapid-curing two-part repair material can be useful for stable cracks that need a stronger, faster return to service. These products may use epoxy, polyurethane, or hybrid chemistry, so suitability varies considerably. Confirm that the cartridge is approved for exterior horizontal concrete and the measured crack width. Clean and prepare the opening exactly as directed. Use the required mixing nozzle because it combines the components in the correct proportion. Dispense a small amount first to verify consistent mixing, then fill the crack without trapping air. Two-part materials can cure quickly, leaving limited working time. Plan the application beforehand and never substitute estimated cure times for the manufacturer’s instructions. ()

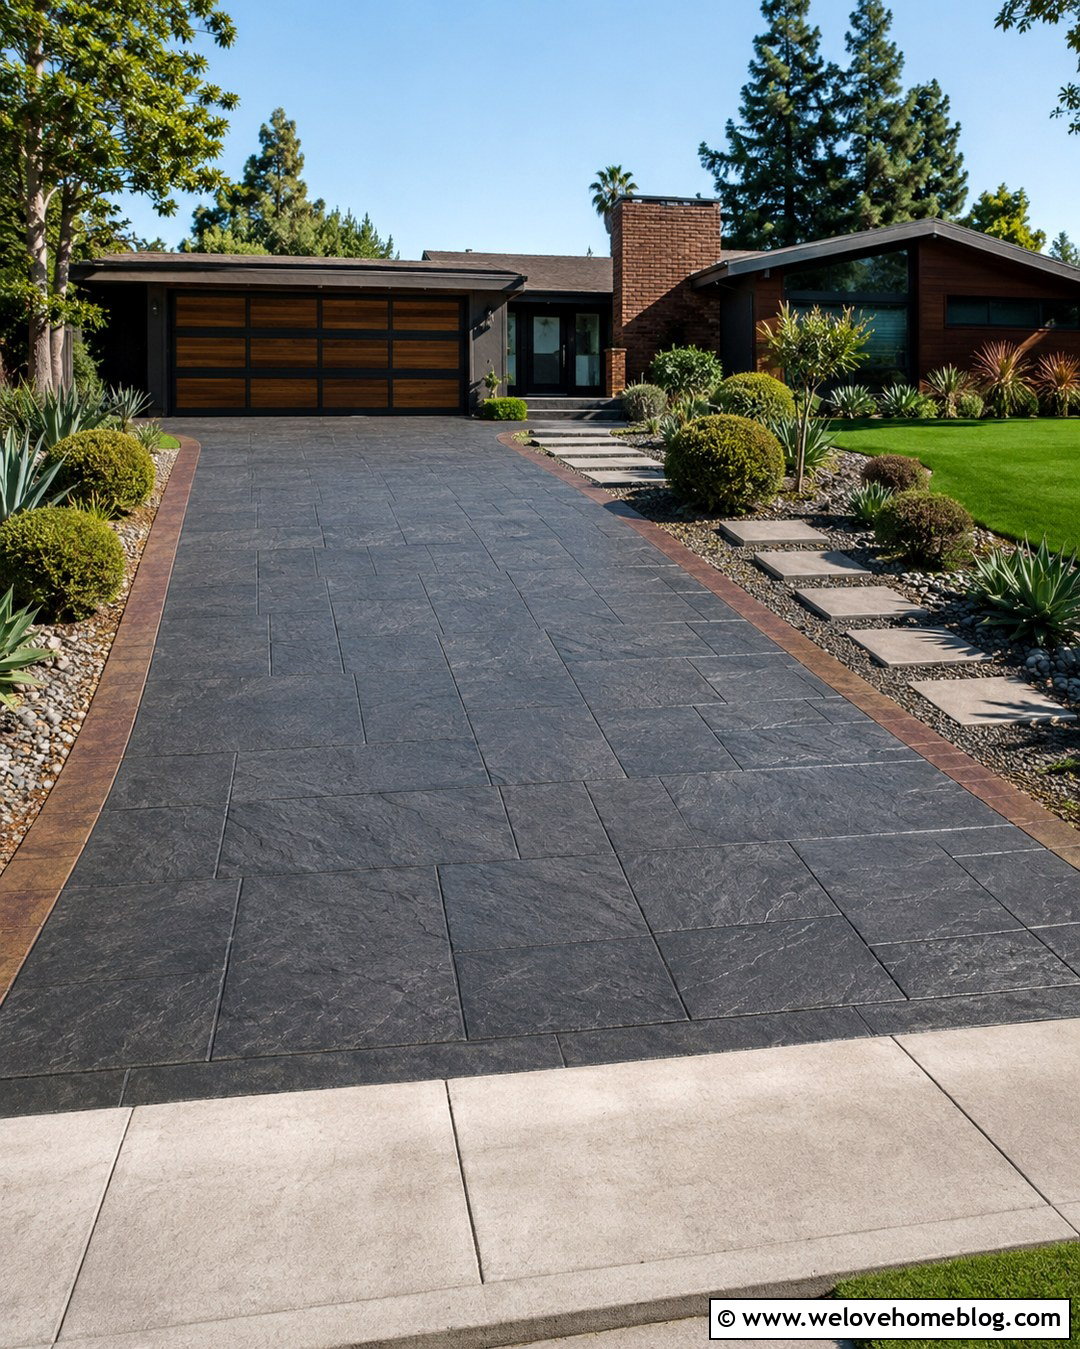
10. Apply Self-Leveling Sealant To Concrete Driveway Cracks

Long cracks across a flat driveway can be easier to finish with self-leveling concrete sealant. Unlike stiff caulk, this material flows into a smooth horizontal bead with little tooling. Clean and dry the crack, add backer rod where required, and block open ends so the liquid cannot escape. Apply the sealant steadily without overfilling the channel. Self-leveling products should not be used on steeply sloped areas unless their instructions specifically allow it. Protect the repair from leaves, insects, rain, and traffic while it cures. The finished line will remain visible, but careful preparation creates a tidy, intentional appearance. Use a non-sag sealant instead where the driveway grade would cause flowing material to run. ()
11. Repair Concrete Driveway Cracks Near Control Joints
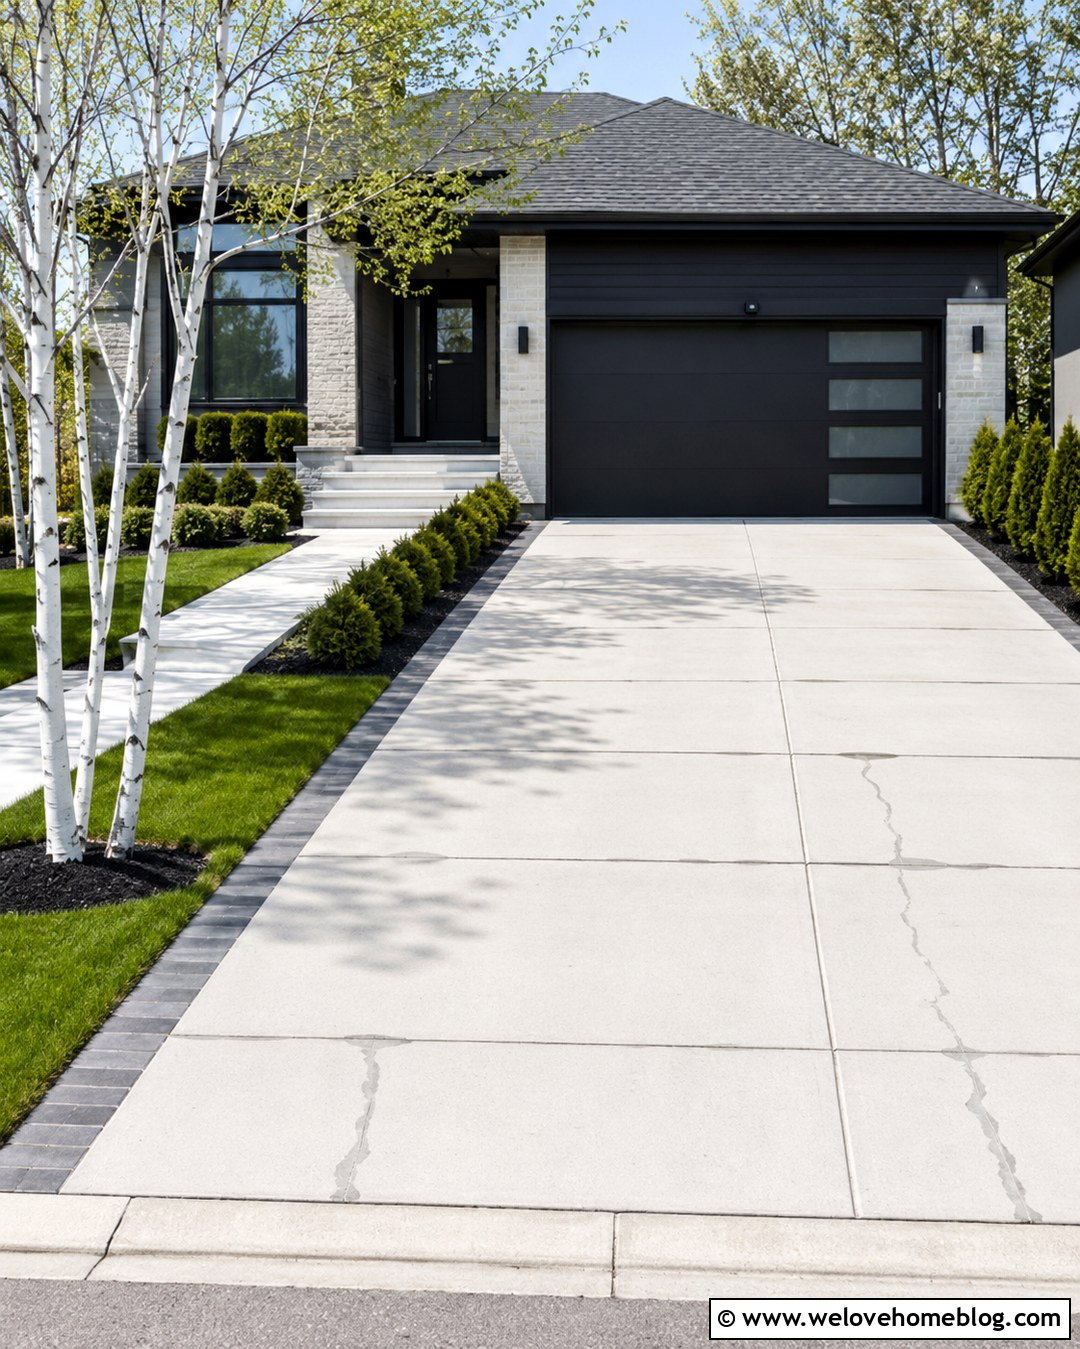
A crack beside a control joint may indicate that movement occurred near, rather than within, the intended line. Clean both areas and determine whether the crack is stable before choosing a repair. Never bridge an active control joint with rigid mortar or a continuous resurfacing layer because the joint must still accommodate movement. Fill the unintended crack with a compatible material, but preserve the original joint as a separate, functional line. Old joint sealant may need careful removal and replacement with flexible sealant and backer rod. If broken corners or vertical displacement appear along the joint, professional evaluation is sensible. A neat repair should restore the surface without locking together sections designed to move independently. ()
12. Seal Concrete Driveway Cracks Near The Garage
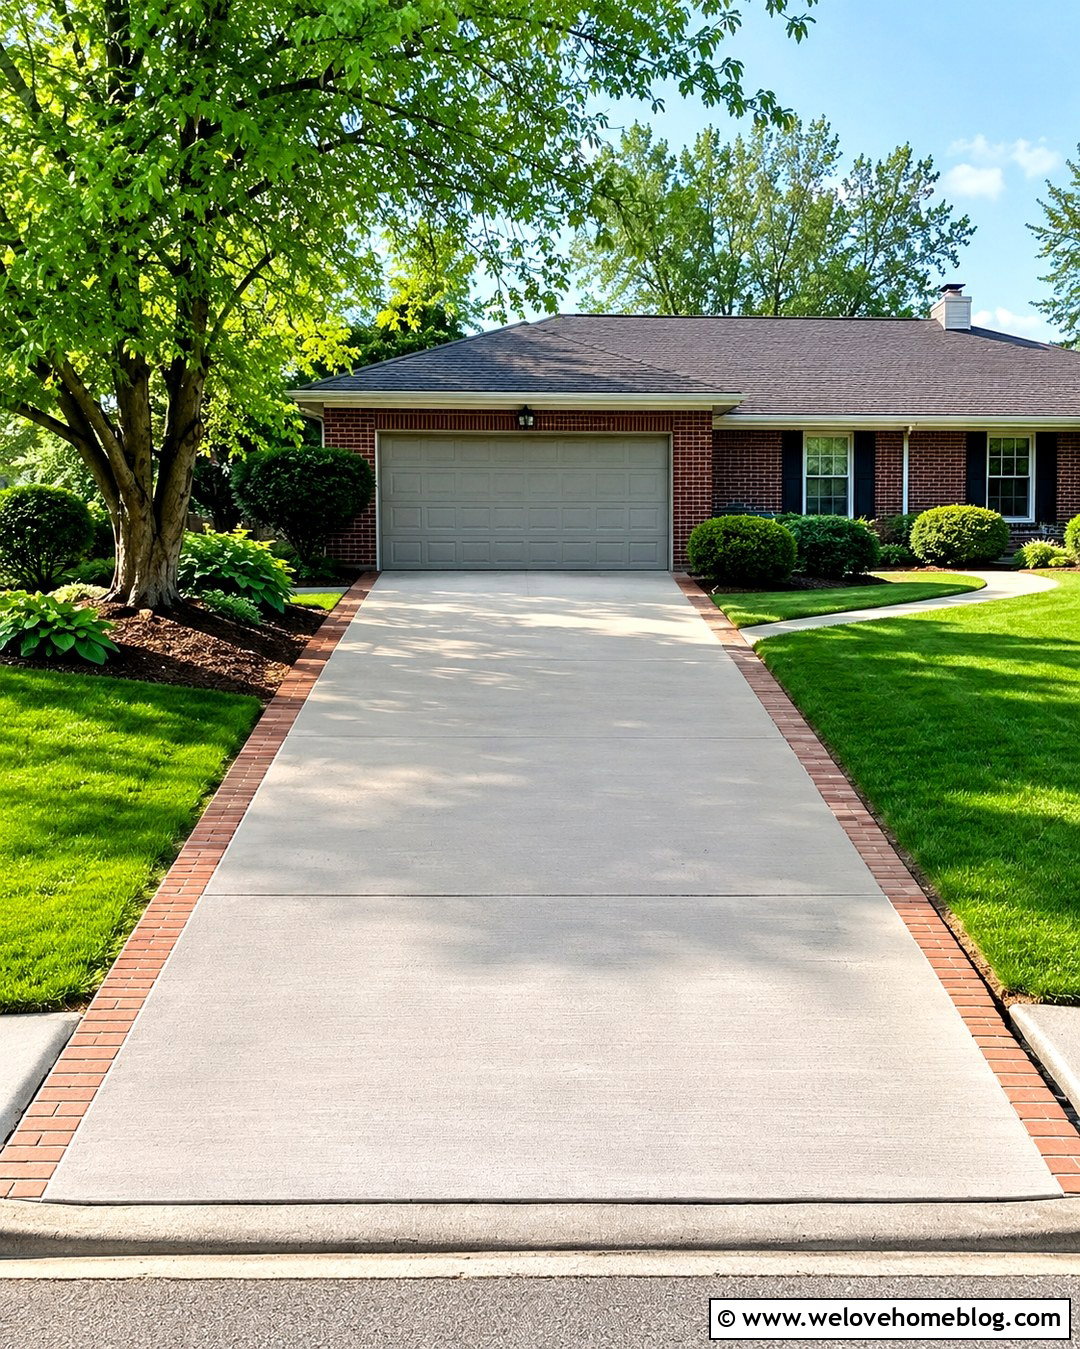
Cracks at the garage threshold deserve prompt attention because runoff can travel toward the building. First, confirm that the driveway slopes away from the garage and that the crack is not connected to foundation movement. Remove dirt, old caulk, and weak concrete from the transition. A flexible, weather-resistant sealant is usually preferable where the driveway and garage slab meet because the two surfaces may move differently. Use backer rod in an oversized joint and maintain a smooth profile that does not trap water. Avoid building a raised bead that interferes with the garage door seal. When poor grading directs water indoors, correct the drainage problem rather than expecting crack filler alone to keep the garage dry.
13. Repair Concrete Driveway Cracks Around A Channel Drain
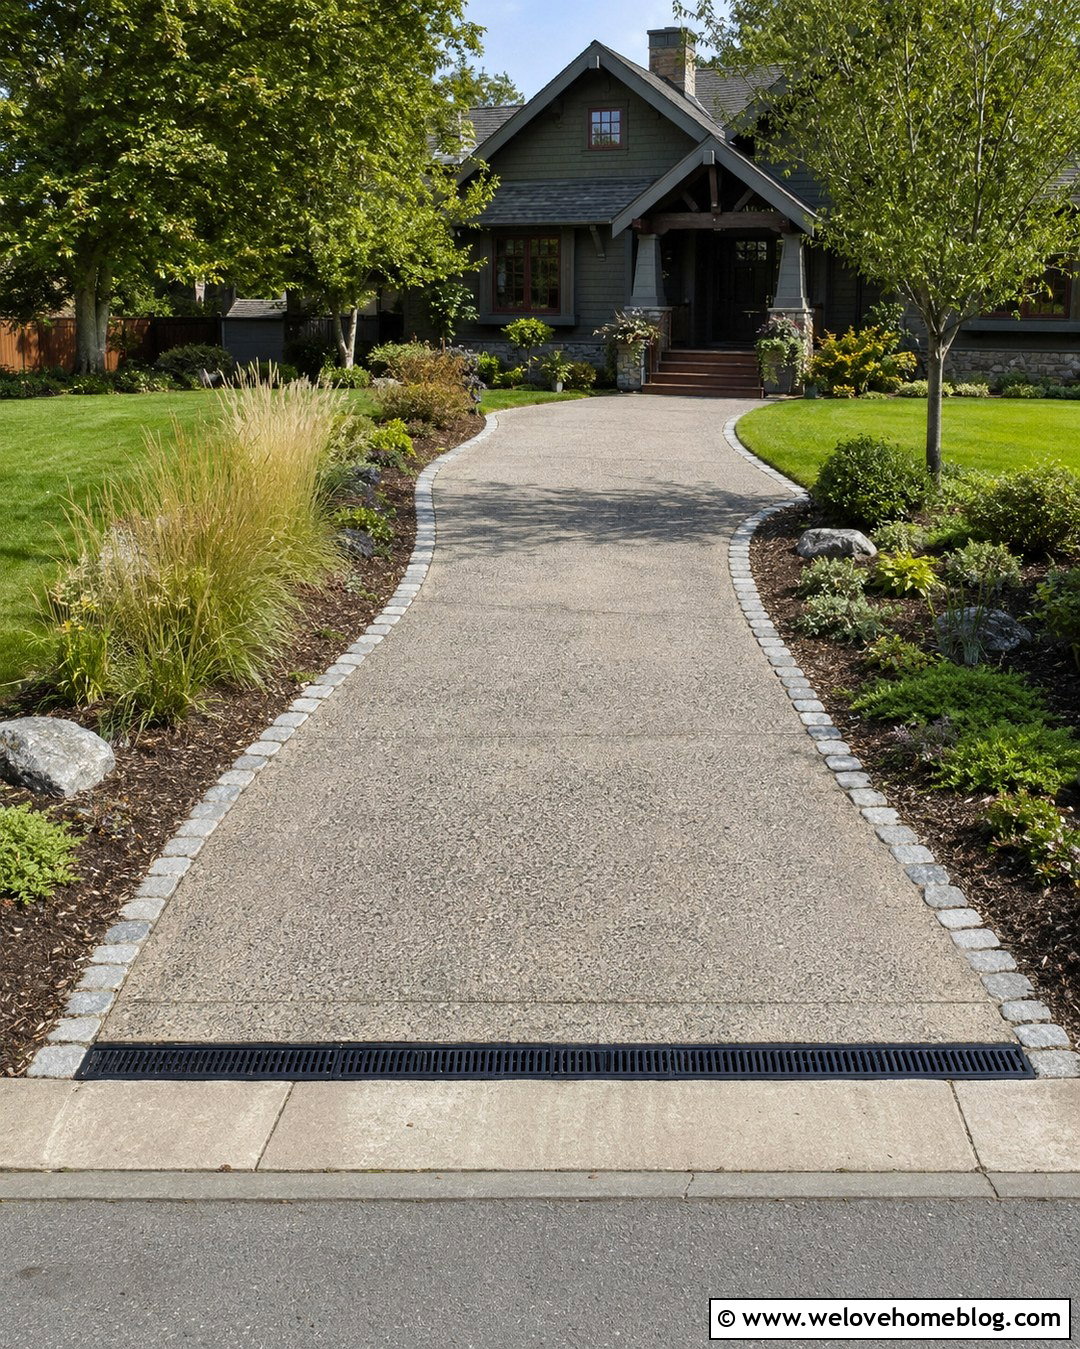
Water, debris, and vehicle loads can damage concrete where a driveway meets a channel drain. Begin by checking whether the drain is secure, properly supported, and flowing freely. Filling the crack without correcting a loose channel may result in another failure. Remove deteriorated concrete and clean both the drain edge and surrounding slab. Depending on the drain manufacturer’s requirements, the repair may need flexible sealant, nonshrink repair material, or partial concrete replacement. Maintain the channel’s open slots and the driveway’s drainage slope throughout the work. The finished transition should direct runoff into the drain without forming a ridge. Significant movement, corrosion, or collapsed support beneath the channel generally calls for professional reconstruction rather than cosmetic caulking.
14. Fix Concrete Driveway Cracks Caused By Poor Drainage
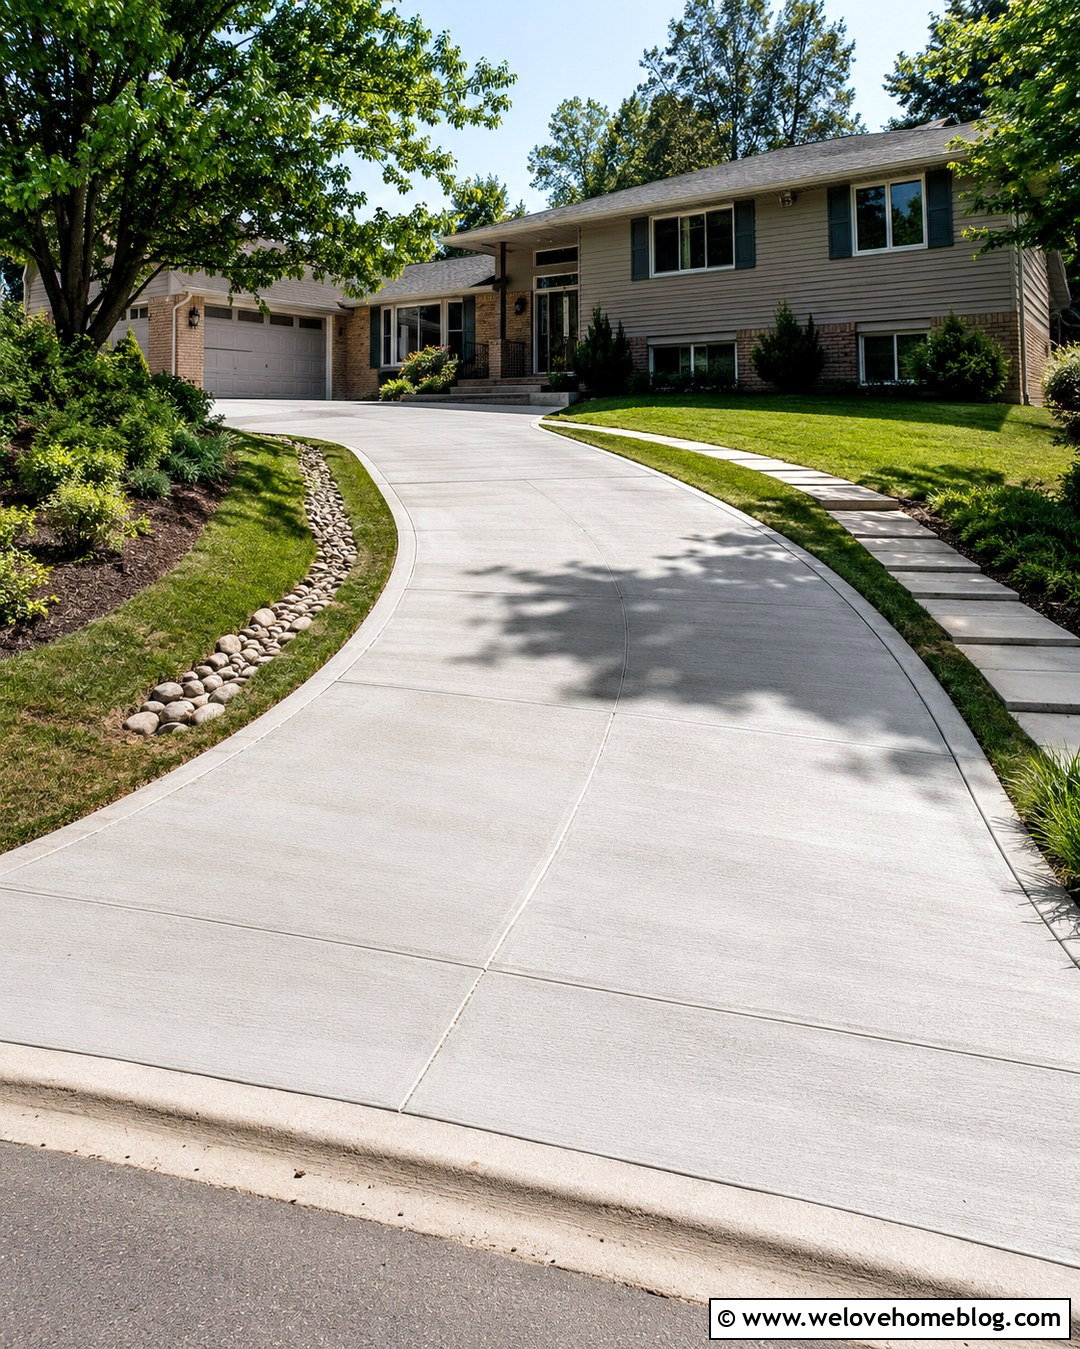
Rainwater repeatedly entering a crack can wash out supporting soil and contribute to freeze-thaw damage in cold regions. Before filling the opening, watch how water moves across the driveway during rain or a controlled hose test. Clean blocked drains, redirect downspouts, repair eroded shoulders, and correct landscaping that sends runoff toward the slab. Small grading changes beside the driveway may keep water from collecting along the edge. Once the moisture source is controlled, clean and fill the crack with a suitable exterior product. Consider a breathable concrete sealer after the repair has fully cured. Addressing drainage first creates a more complete solution than repeatedly patching the visible line while water continues attacking the surrounding concrete.
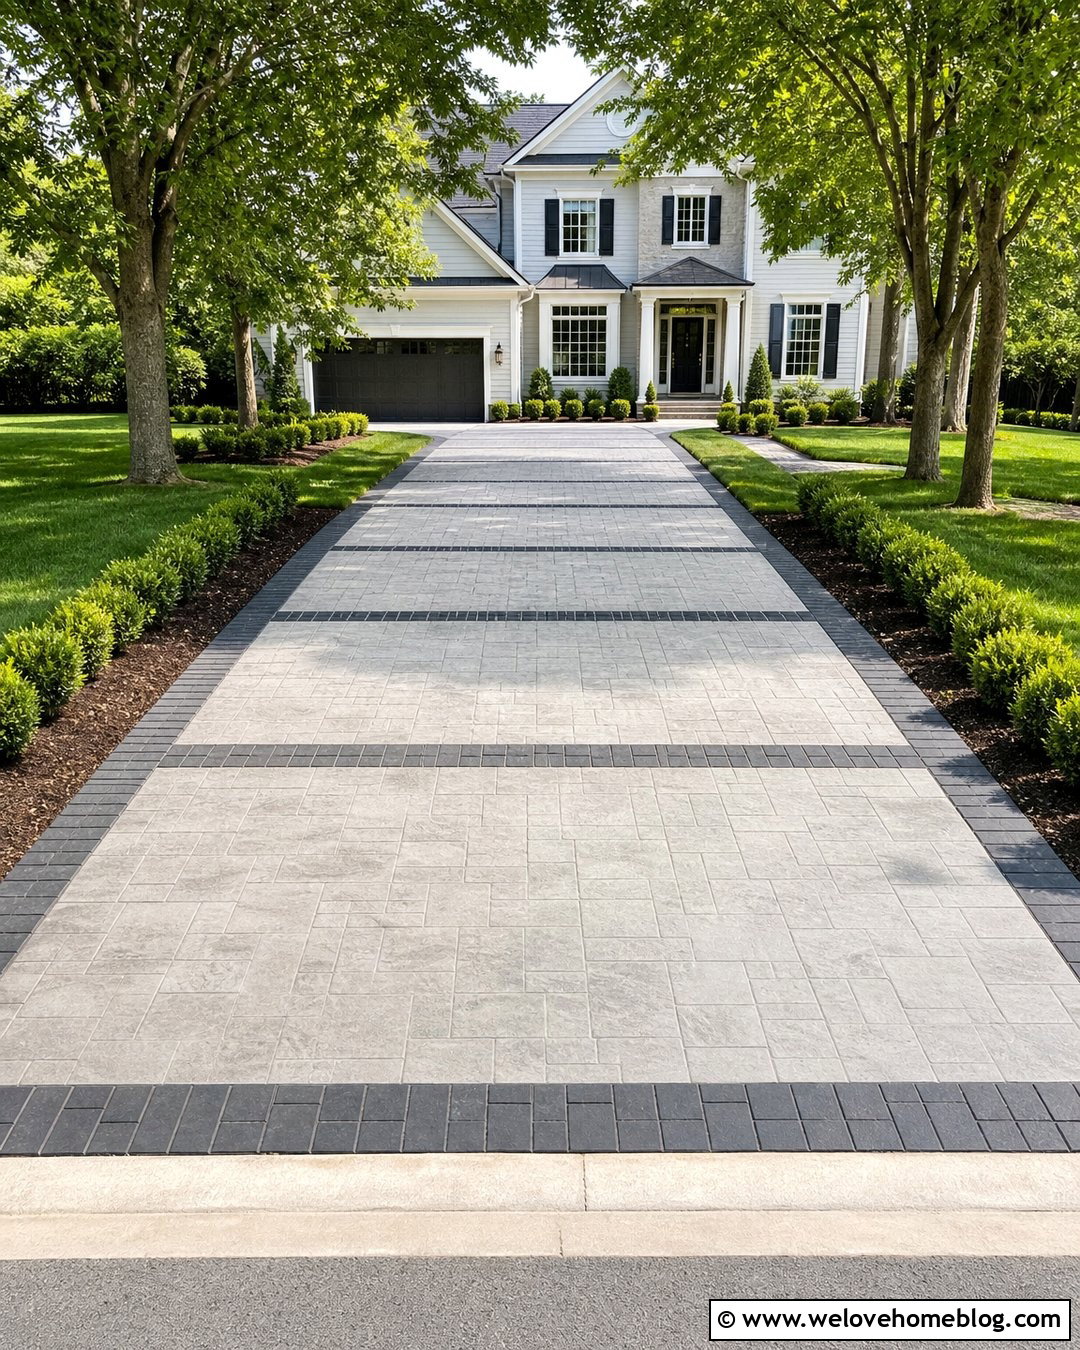


15. Level A Sinking Concrete Driveway Before Crack Repair
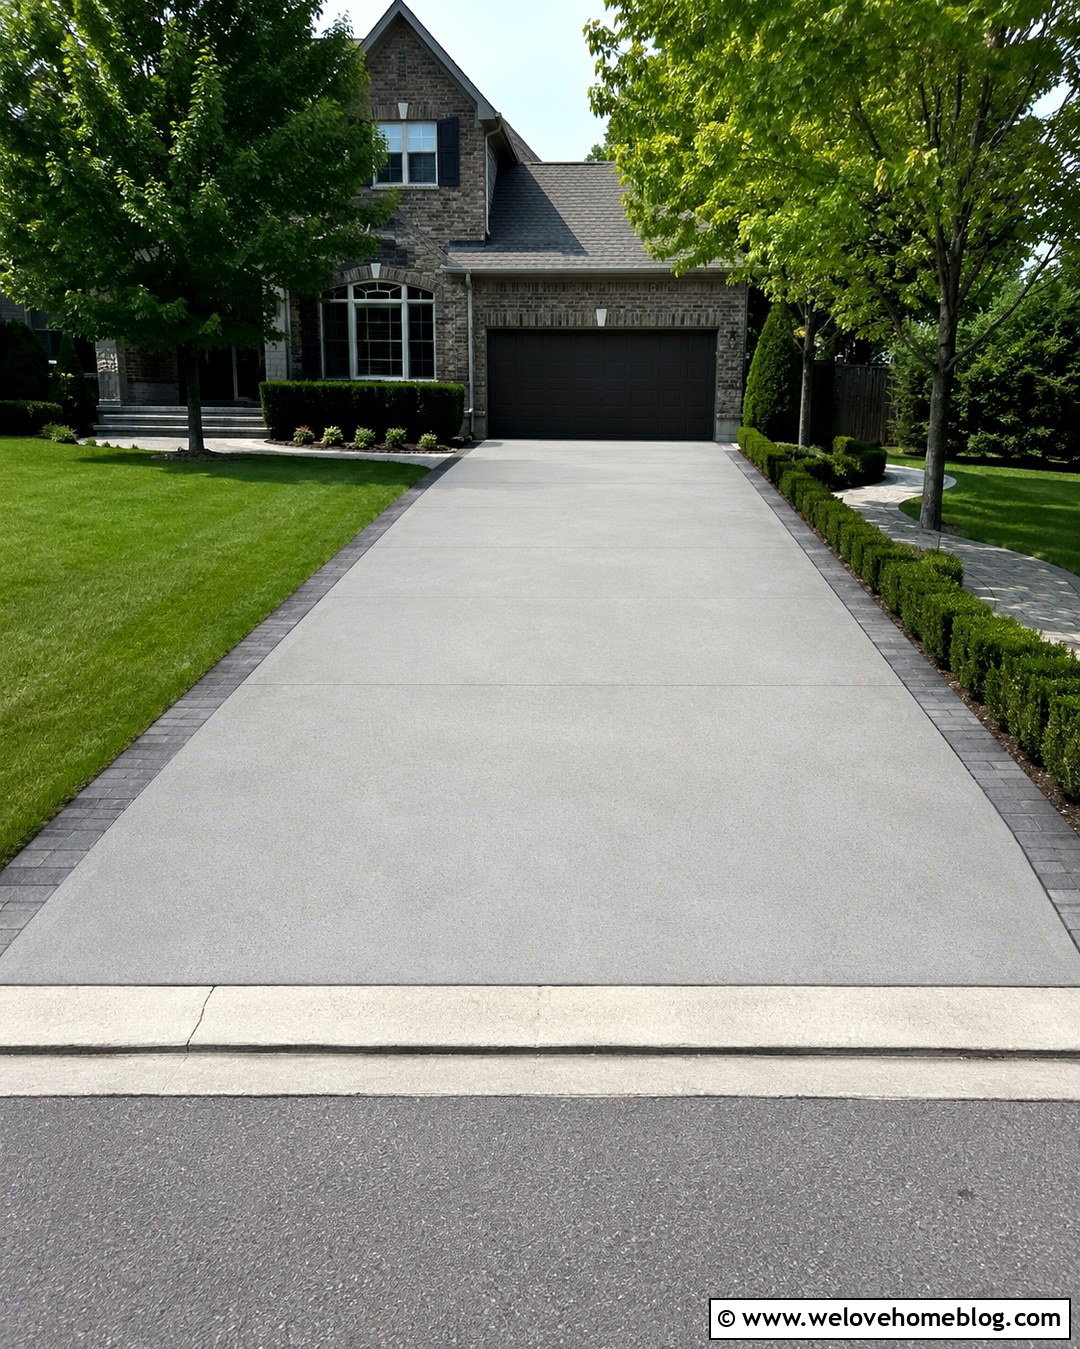
A crack with one side lower than the other usually signals slab movement or loss of support. Filling the gap before leveling may create a temporary stripe that tears apart as movement continues. A qualified concrete leveling contractor can determine whether slabjacking, polyurethane foam injection, base repair, or replacement is appropriate. Leveling methods commonly involve filling voids beneath the slab and raising it toward its intended elevation. After stabilization, the crack can be cleaned and sealed or patched. Avoid grinding away a major height difference without understanding the cause, since thinning the slab does not restore its support. Correcting the underlying settlement first improves drainage, reduces trip hazards, and gives the visible crack repair a better chance of lasting. ()
16. Repair Concrete Driveway Cracks Caused By Tree Roots
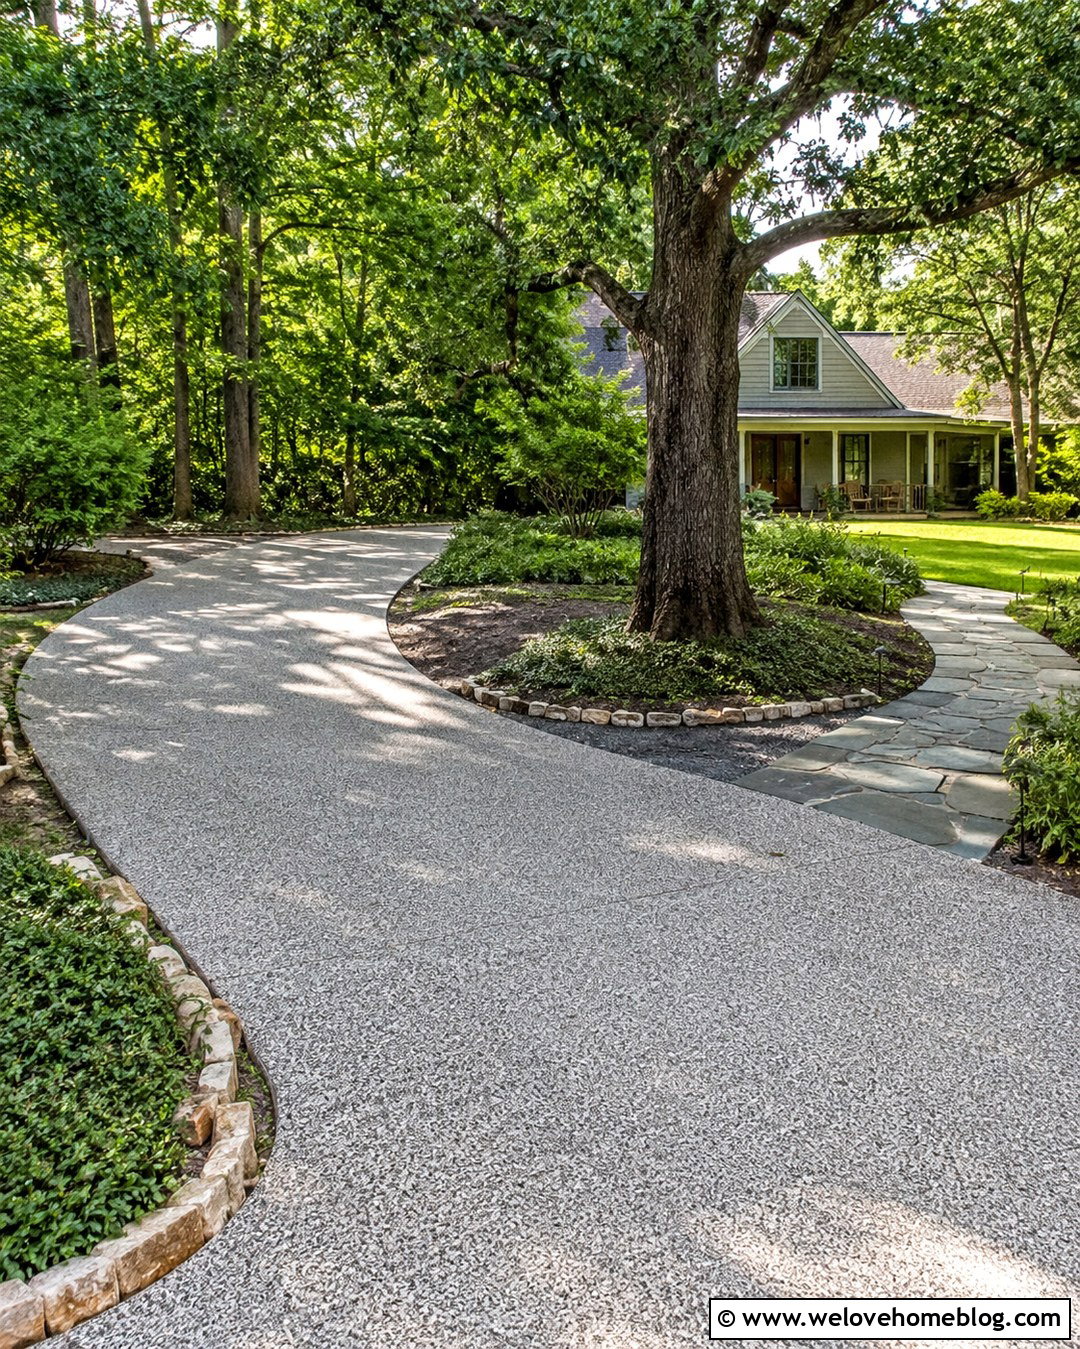
A lifted crack near a mature tree requires more than filler. Roots may be pressing against the slab, while removing major roots without expert guidance could destabilize or harm the tree. Ask a certified arborist and concrete professional to evaluate the conflict. Possible solutions include redirecting small roots, installing a root barrier, modifying nearby landscaping, or replacing the affected panel with a design that provides suitable clearance. Once the pressure source is addressed and the slab is stabilized, repair the crack or replace the broken section. Do not simply pour mortar into an opening that continues widening. A coordinated plan protects the driveway, preserves valuable landscaping where possible, and reduces the chance of recurring uplift along the same route. ()
17. Resurface A Concrete Driveway After Crack Repair
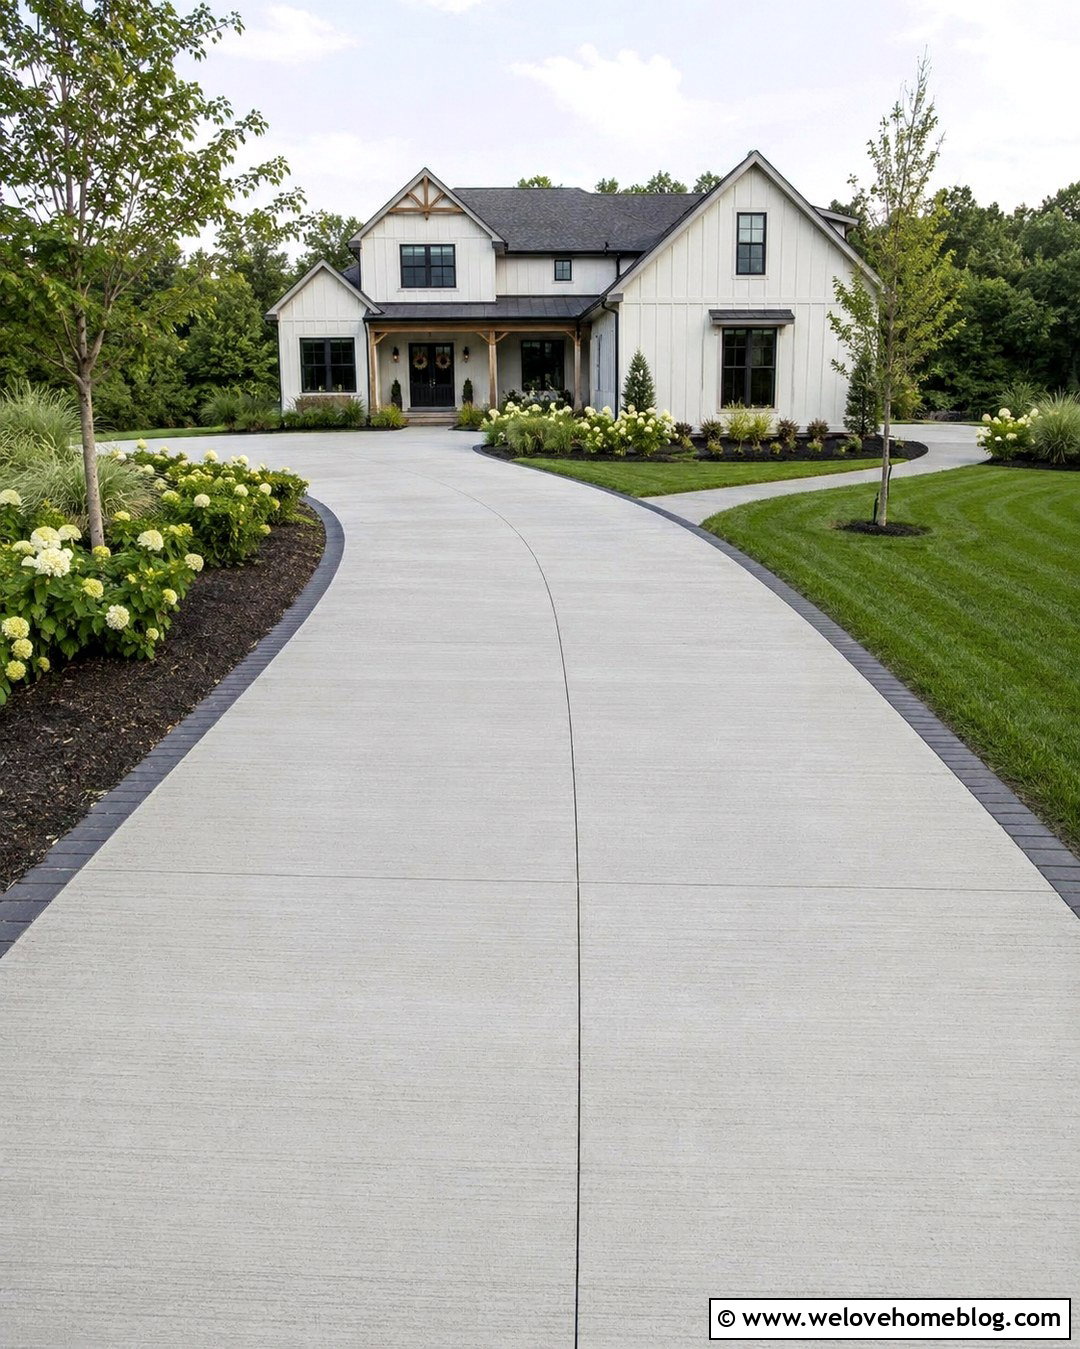
When a structurally sound driveway has numerous visible repairs, resurfacing can create a more consistent finish. Every active crack, loose area, oil stain, and drainage issue must be treated before applying the overlay. Pressure-wash or mechanically prepare the concrete according to the resurfacer instructions. Repair larger defects separately because a thin overlay is not a substitute for structural stabilization. Mix small, manageable batches and maintain a wet edge while spreading the coating. Add a broom texture for traction and preserve all necessary control joints. Resurfacing can visually unify mismatched patches and worn concrete, but movement underneath may eventually reflect through. Choose this option for stable, moderately deteriorated slabs rather than severely settled or fragmented driveways. ()
18. Stain A Concrete Driveway After Filling Cracks
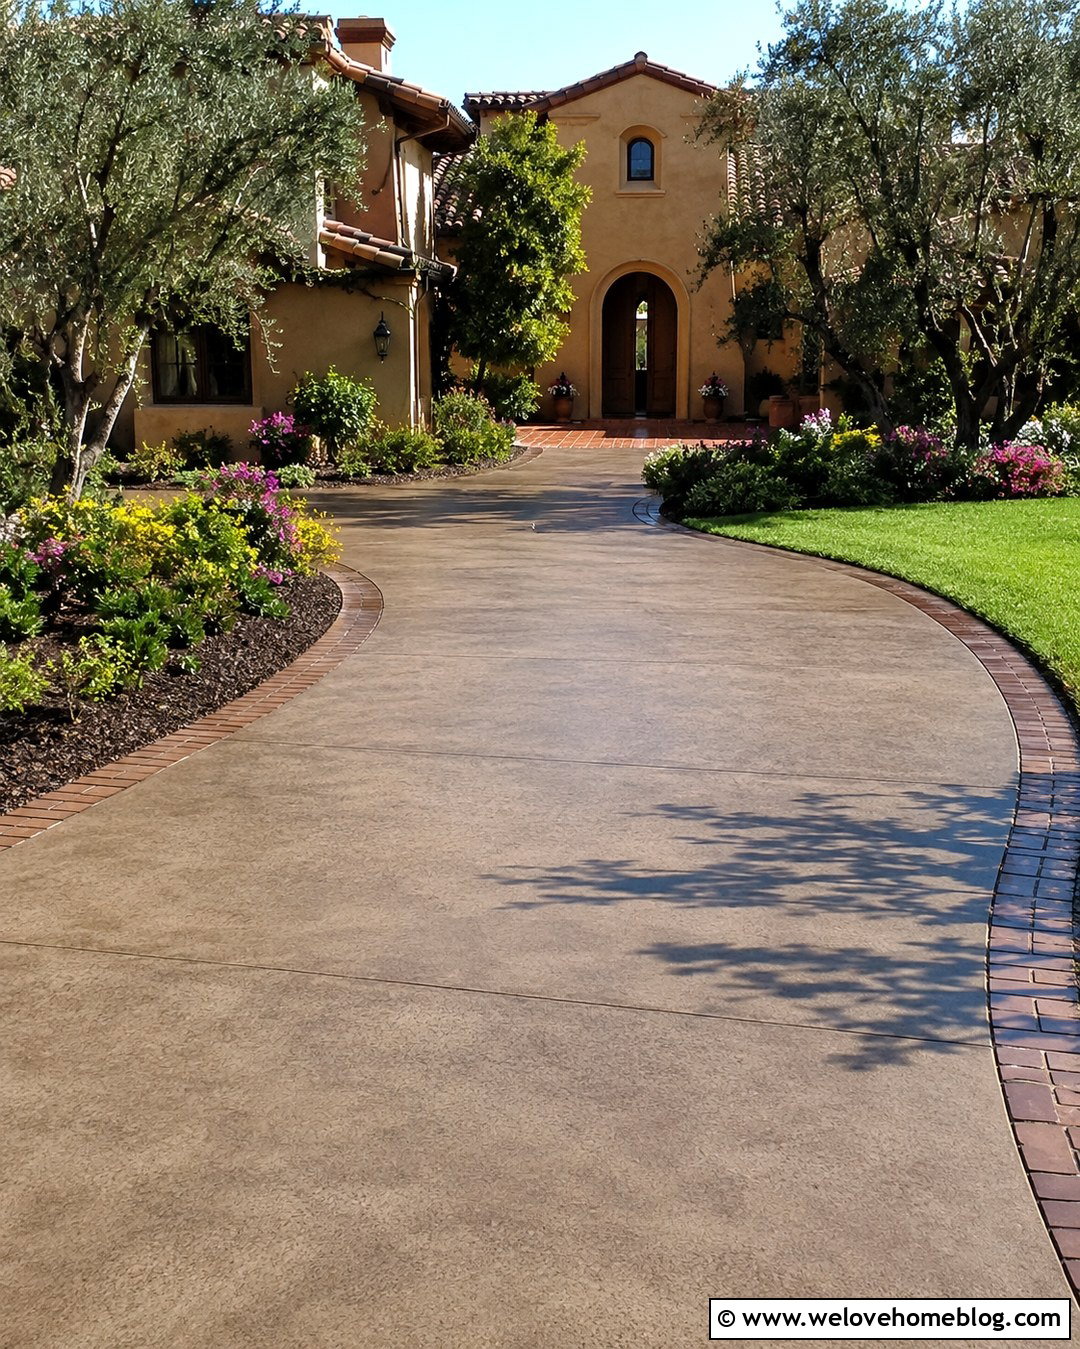
Color can help reduce the contrast between gray filler, pale patches, and weathered concrete. Complete every repair first and allow all materials to cure for the required period. Test the stain on the existing concrete and the patch because they may absorb color differently. Translucent stains often preserve natural variation, while more opaque coatings provide stronger visual coverage but require careful surface preparation. Clean the entire driveway evenly so dirt does not create blotchy areas. Apply the chosen color in controlled sections and avoid filling functional joints with coating. A medium gray, warm taupe, or subtle brown can soften repair lines while complementing brick, stone, or siding. Finish with a compatible exterior sealer if recommended. ()
19. Replace A Severely Cracked Concrete Driveway Panel
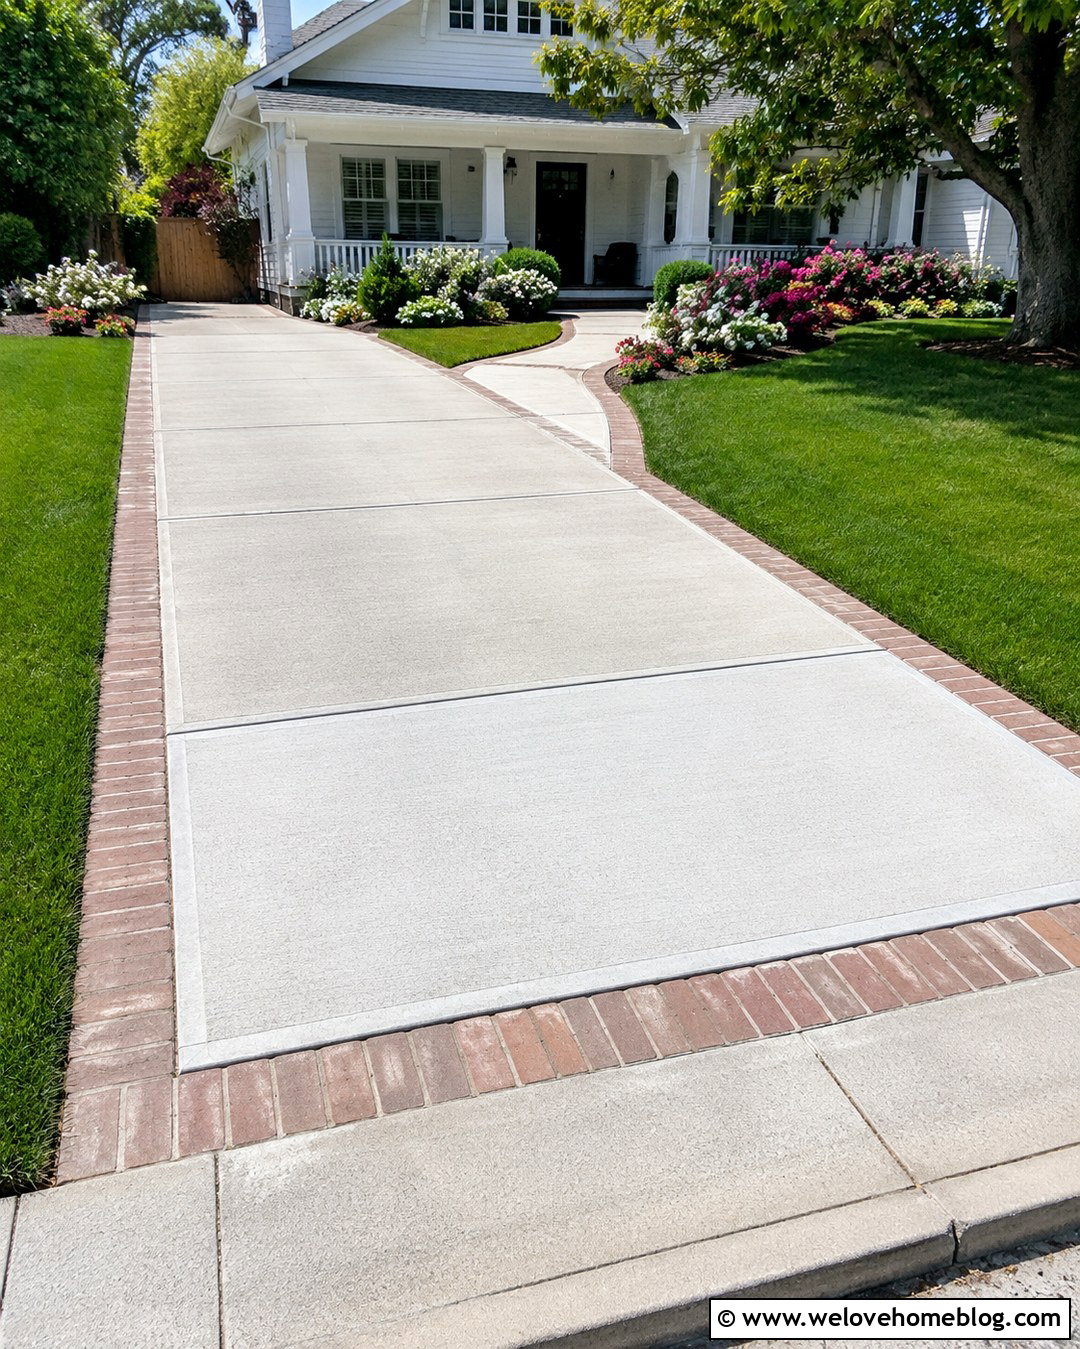
Sometimes removing one damaged panel is more practical than repeatedly patching it. Panel replacement is appropriate when a defined section has deep branching cracks, extensive spalling, severe settlement, or broken corners while neighboring panels remain sound. Saw-cut along suitable boundaries, remove the failed concrete without damaging adjacent slabs, and rebuild the compacted base. The replacement should match the driveway’s thickness, reinforcement plan, drainage slope, surface texture, and joint layout. This is usually professional work because incorrect demolition or base preparation can create new cracking. Fresh concrete may not match the aged driveway immediately, but stain or a broader decorative treatment can reduce contrast later. Full-depth repair restores the affected section rather than covering structural deterioration. ()
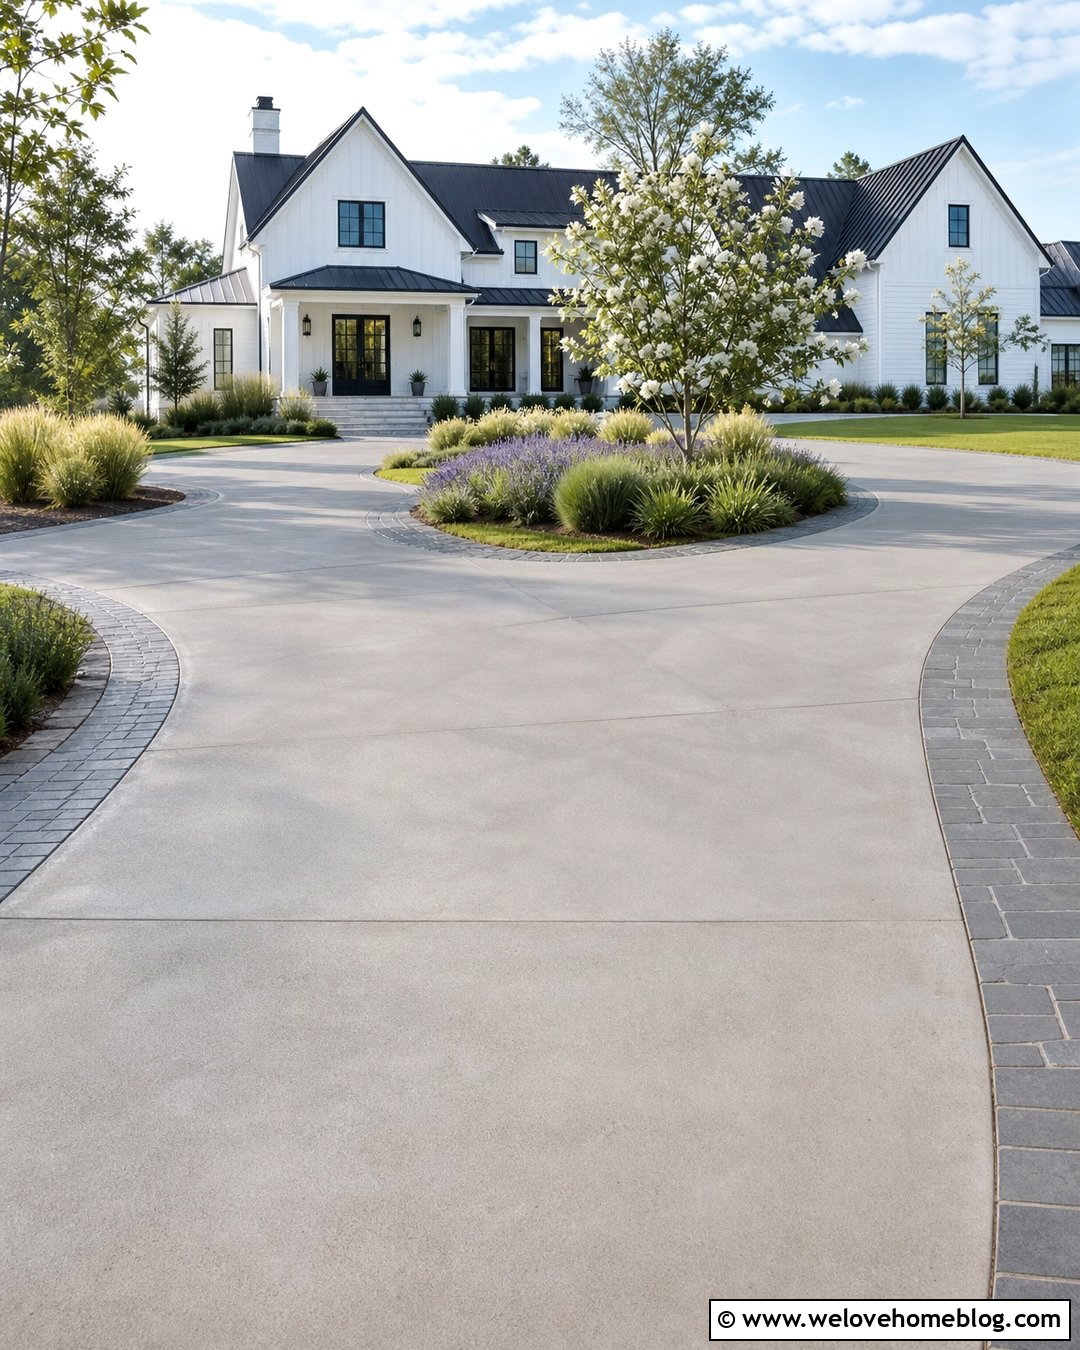
20. Seal A Concrete Driveway After Repairing Cracks
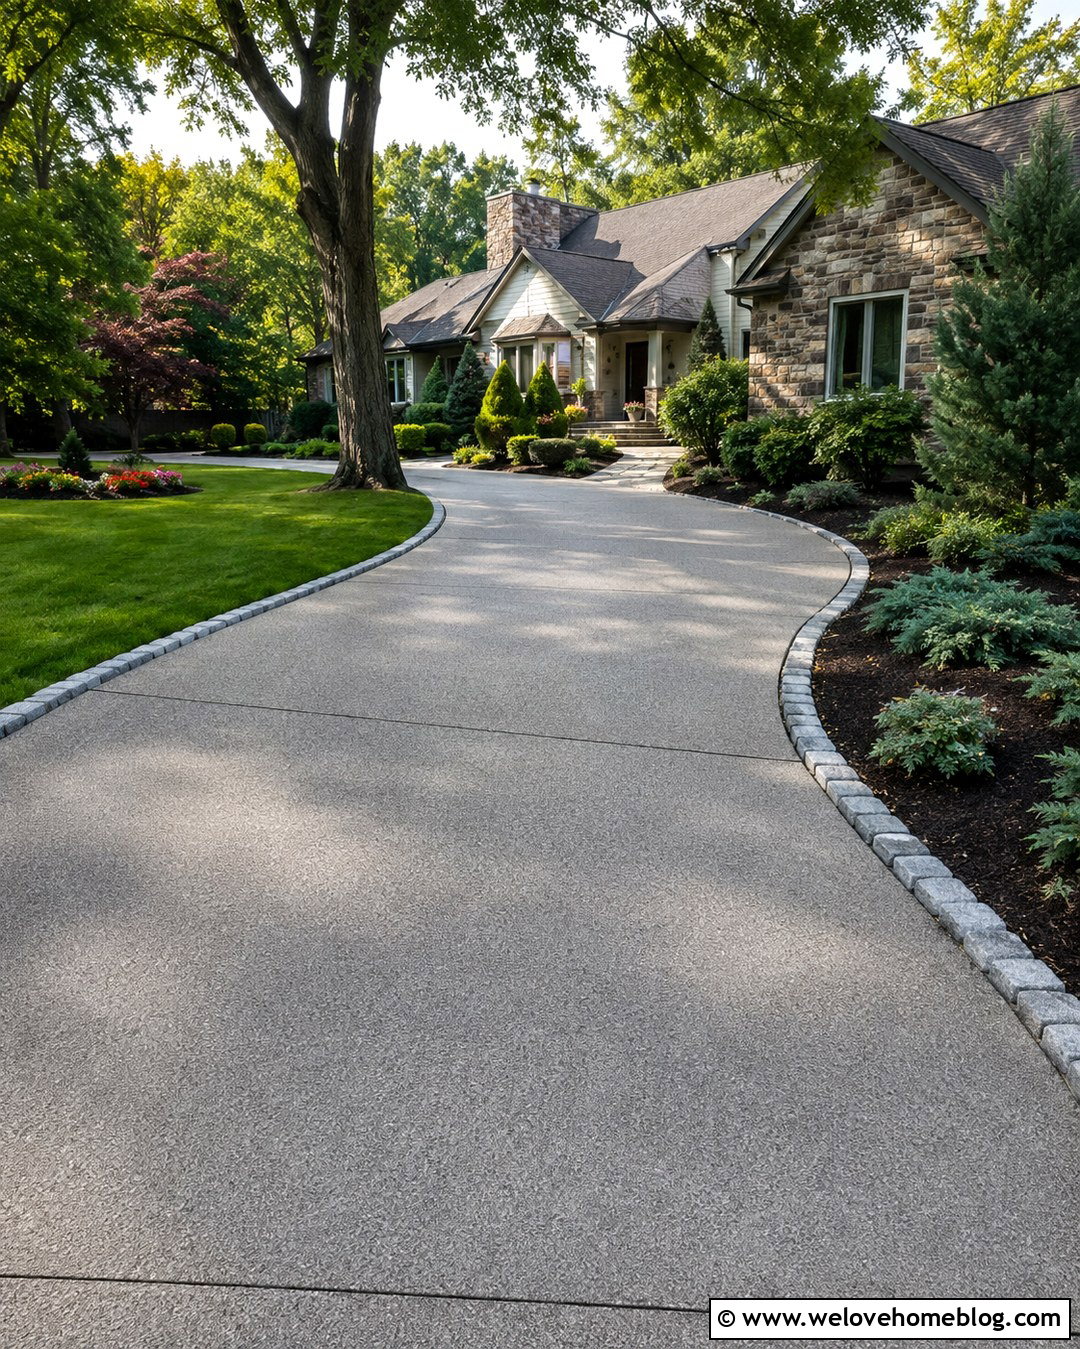
A final sealer can help limit moisture and staining once crack repairs and patches are fully cured. Select a penetrating or film-forming product labeled for exterior concrete driveways and compatible with every repair material used. Clean the surface thoroughly and allow it to dry under suitable weather conditions. Apply thin, even coats while preserving traction, drainage channels, and functional joints. More product is not necessarily better; heavy application can produce uneven color or a slippery finish. Follow label requirements for temperature, drying time, recoating, and vehicle traffic. Sealing will not stabilize a moving slab or conceal major repairs, but it can support a finished maintenance plan and give the repaired driveway a cleaner, more uniform appearance.
Conclusion:
Successful crack repair begins with understanding why the concrete opened, not simply covering the line. Clean, stable hairline cracks may respond well to liquid filler, while deeper openings often benefit from backer rod and flexible sealant. Wide, broken areas can require patching mortar, and sinking or lifted slabs should be stabilized before cosmetic work begins. Resurfacing, staining, and sealing can then bring separate repairs into a more cohesive driveway design. Always use products rated for exterior vehicular surfaces and follow their preparation and curing instructions. With careful diagnosis and realistic expectations, these **20 How To Fix Cracks In Concrete Driveway Ideas** can improve durability, drainage, safety, and curb appeal.

Related posts:


Leave a Reply