
Concrete cracks, pits, uneven slabs, and crumbling edges can make an otherwise attractive home look neglected. Fortunately, many problems can be corrected without removing the entire driveway. These 20 How To Repair Concrete Driveway Ideas cover practical fixes for damage ranging from hairline cracks to settlement. The right method depends on the cause, depth, movement, and overall condition of the slab. Preparation matters just as much as the repair material, so clean away loose concrete and correct drainage or soil problems first. Wear gloves, eye protection, long sleeves, and a suitable dust mask when cutting, grinding, or mixing cement-based products. For a safer, cleaner, and longer-lasting result, work through these 20 How To Repair Concrete Driveway Ideas. ()
1. Inspect Concrete Driveway Damage
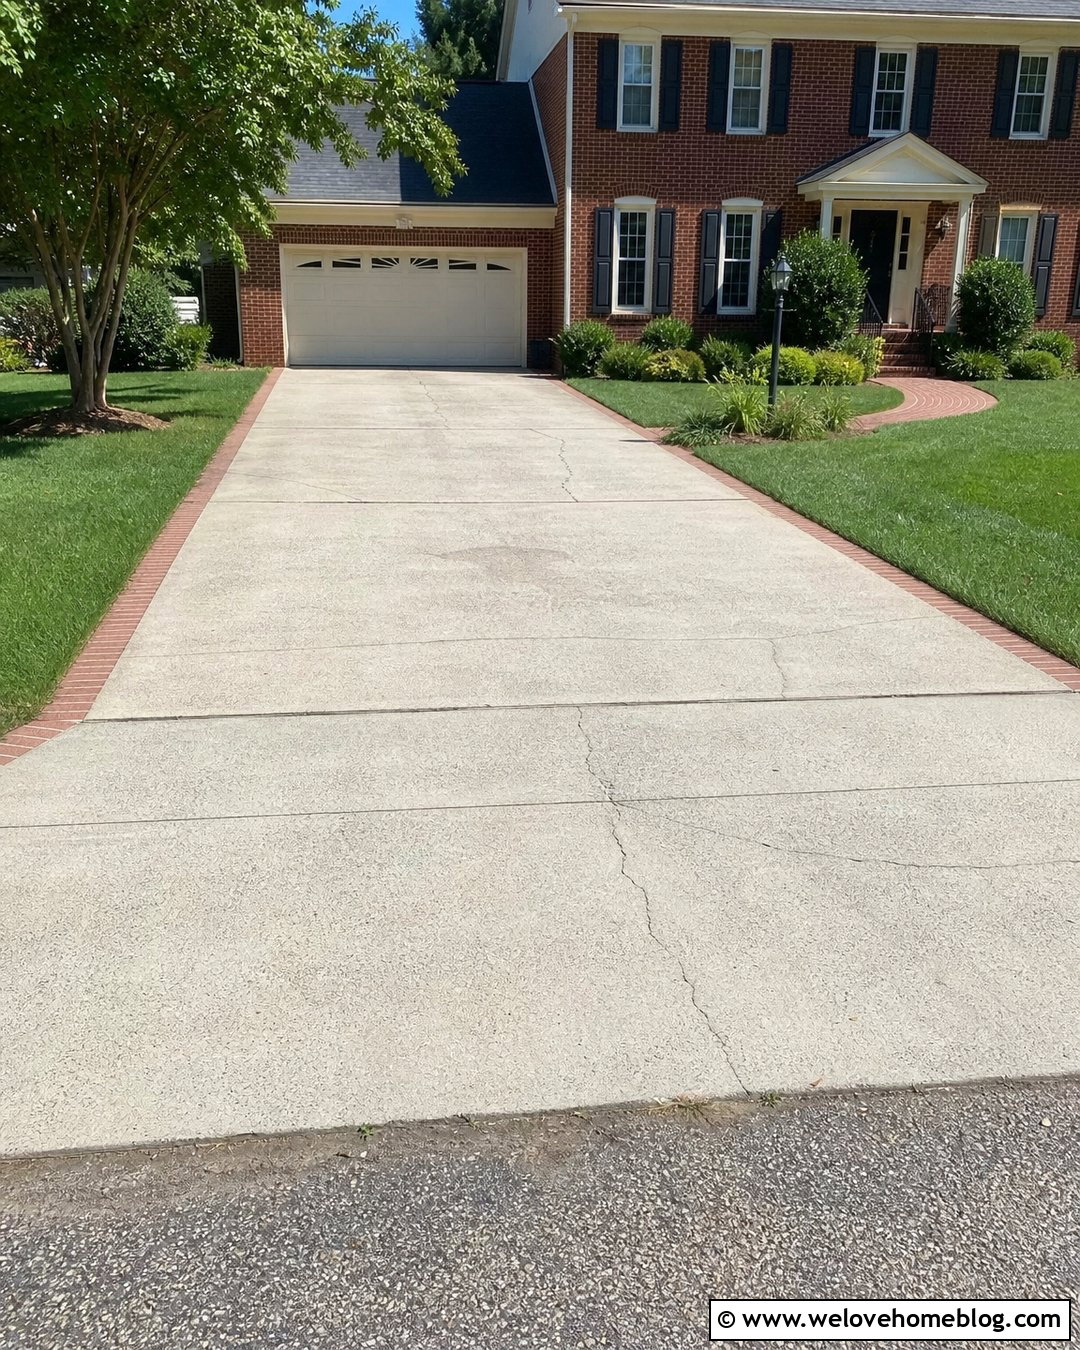
Begin with a slow walk from the street to the garage, marking every crack, pit, raised edge, and low area. Measure crack widths and check whether one side sits higher than the other. Thin, stable cracks are often suitable for filling, while displaced slabs can indicate settlement, erosion, roots, or frost movement. Tap suspicious areas with a hammer handle and listen for hollow sounds that may reveal loose concrete. Also inspect downspouts, nearby slopes, and joints for water entry. Photograph the driveway and monitor questionable cracks for movement before choosing a repair. If cracking is widespread, continually growing, or paired with significant vertical displacement, request a professional evaluation rather than hiding the problem with a surface patch. ()
2. Clean Concrete Driveway Cracks
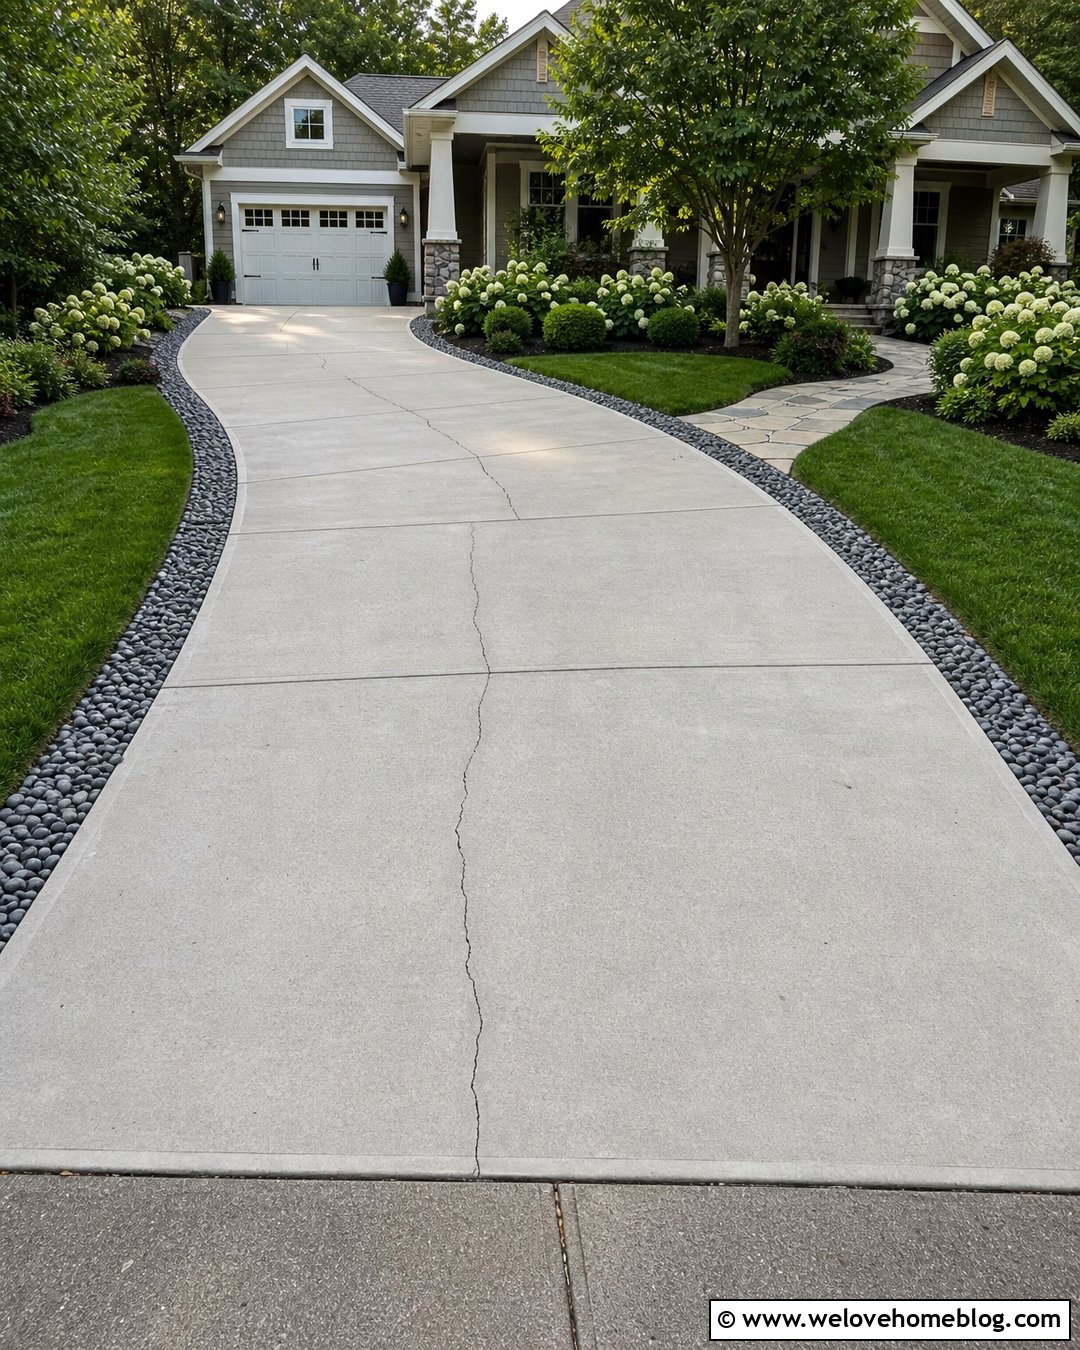
A durable repair starts with a clean bonding surface. Remove weeds, dirt, old filler, and loose fragments from the crack using a stiff brush, shop vacuum, or compressed air. For deteriorated edges, carefully use a cold chisel or grinder to reach solid concrete. Avoid making a small defect unnecessarily large. Wash oily areas with a concrete-safe degreaser, then rinse thoroughly without forcing more debris into the opening. Allow the crack to dry unless the selected product specifically requires a damp surface. Check the manufacturer’s directions for cleaning, priming, temperature, and moisture requirements. This preparation may not create the most dramatic visual change, but it helps the new filler contact sound concrete instead of bonding to dust and failing prematurely. ()
3. Repair Hairline Concrete Driveway Cracks
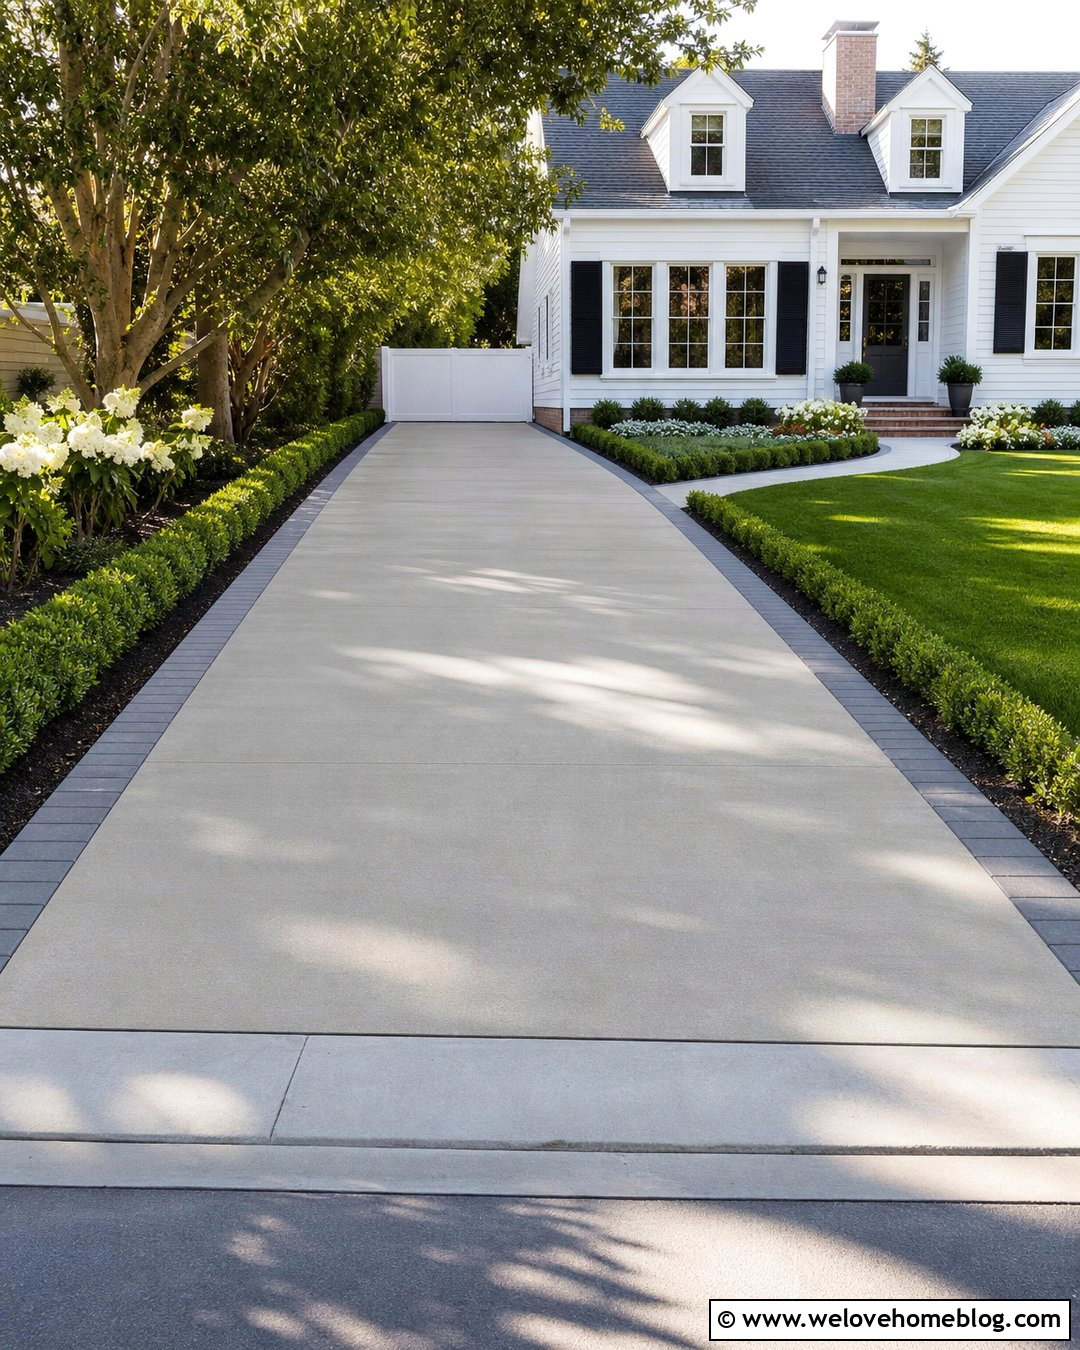
Hairline cracks can be difficult to fill because their narrow openings may prevent thicker repair compounds from penetrating. Clean them carefully, then use a low-viscosity concrete crack filler or repair product specifically labeled for very fine exterior cracks. Apply it slowly so the material reaches the opening rather than forming a film on top. Some products require more than one pass as the first application settles. Wipe away excess material before it hardens, but avoid spreading a thin stain across the surrounding slab. A repaired line may remain visible because new material rarely matches aged concrete perfectly. Treat this method as a way to limit water entry and tidy an otherwise sound driveway, not as a solution for active structural movement or sinking slabs. ()
4. Fill Narrow Concrete Driveway Cracks
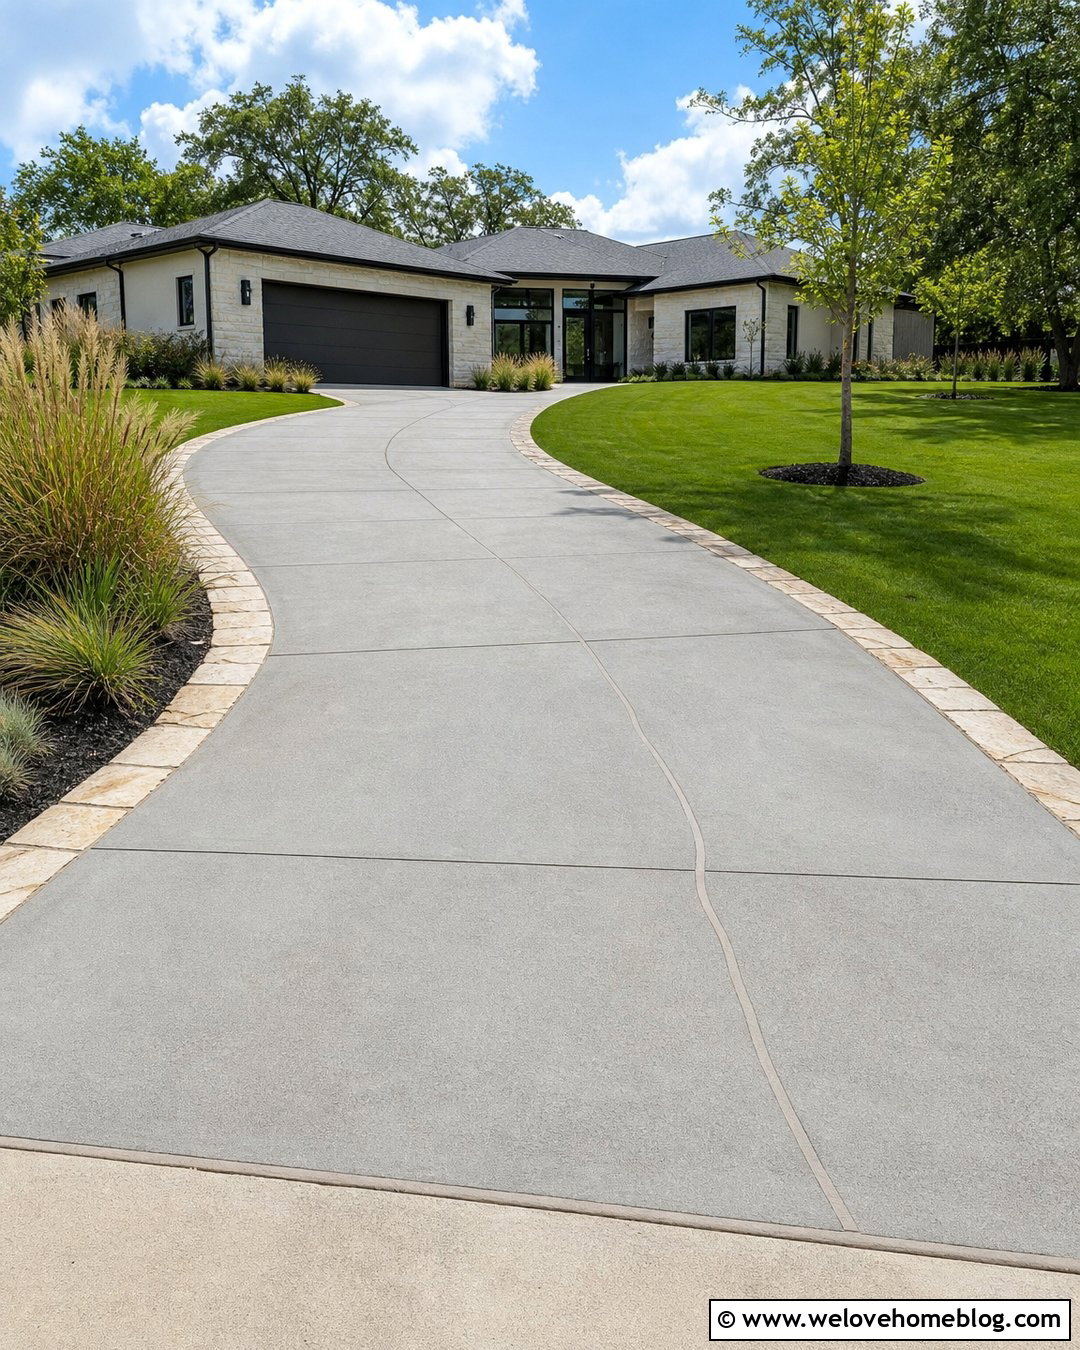
For stable cracks that are wider than hairline fractures but still relatively narrow, use an exterior concrete crack filler compatible with vehicle traffic and local weather. Begin by removing loose particles and checking the recommended crack-width range on the label. Apply the filler with a squeeze bottle or caulk gun, moving steadily along the opening. Slightly overfill only when the manufacturer recommends it, since some formulas shrink while curing. Tool non-self-leveling material with a narrow putty knife for a neat surface. Protect the repair from rain, tires, and foot traffic for the full stated curing period. If the crack quickly reopens, changes width, or develops vertical separation, the slab is probably moving and needs diagnosis rather than repeated cosmetic filling. ()
5. Patch Wide Concrete Driveway Cracks
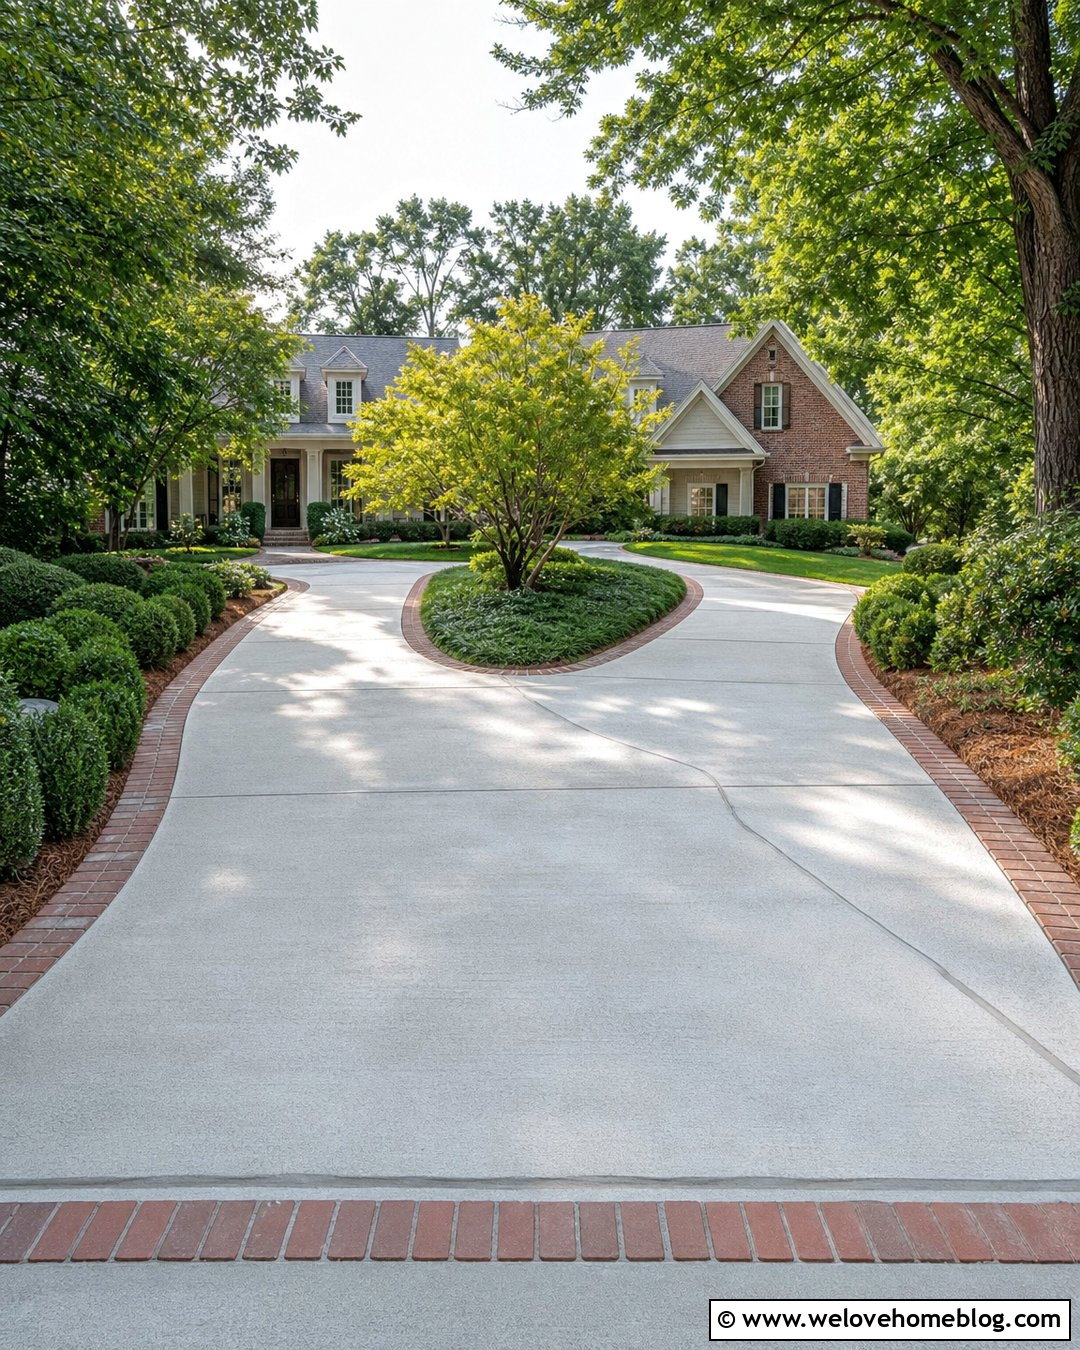
A wide, stable crack often needs more preparation than simply squeezing in filler. Remove weak edges until the opening reaches solid concrete, then vacuum out every loose particle. Use a cement-based repair mortar or polymer-modified patch intended for exterior slabs and wide cracks. Follow the required bonding-primer instructions instead of assuming wet concrete alone will provide adhesion. Pack the compound firmly into the void to reduce trapped air, then shape the top to follow the driveway’s existing broom texture. Feather only as directed because an overly thin repair edge can be vulnerable. Wide cracks accompanied by sinking, heaving, or ongoing movement should be assessed professionally. A rigid patch placed across an active crack may split again even when the installation looks perfect initially. ()
6. Repair Deep Concrete Driveway Cracks
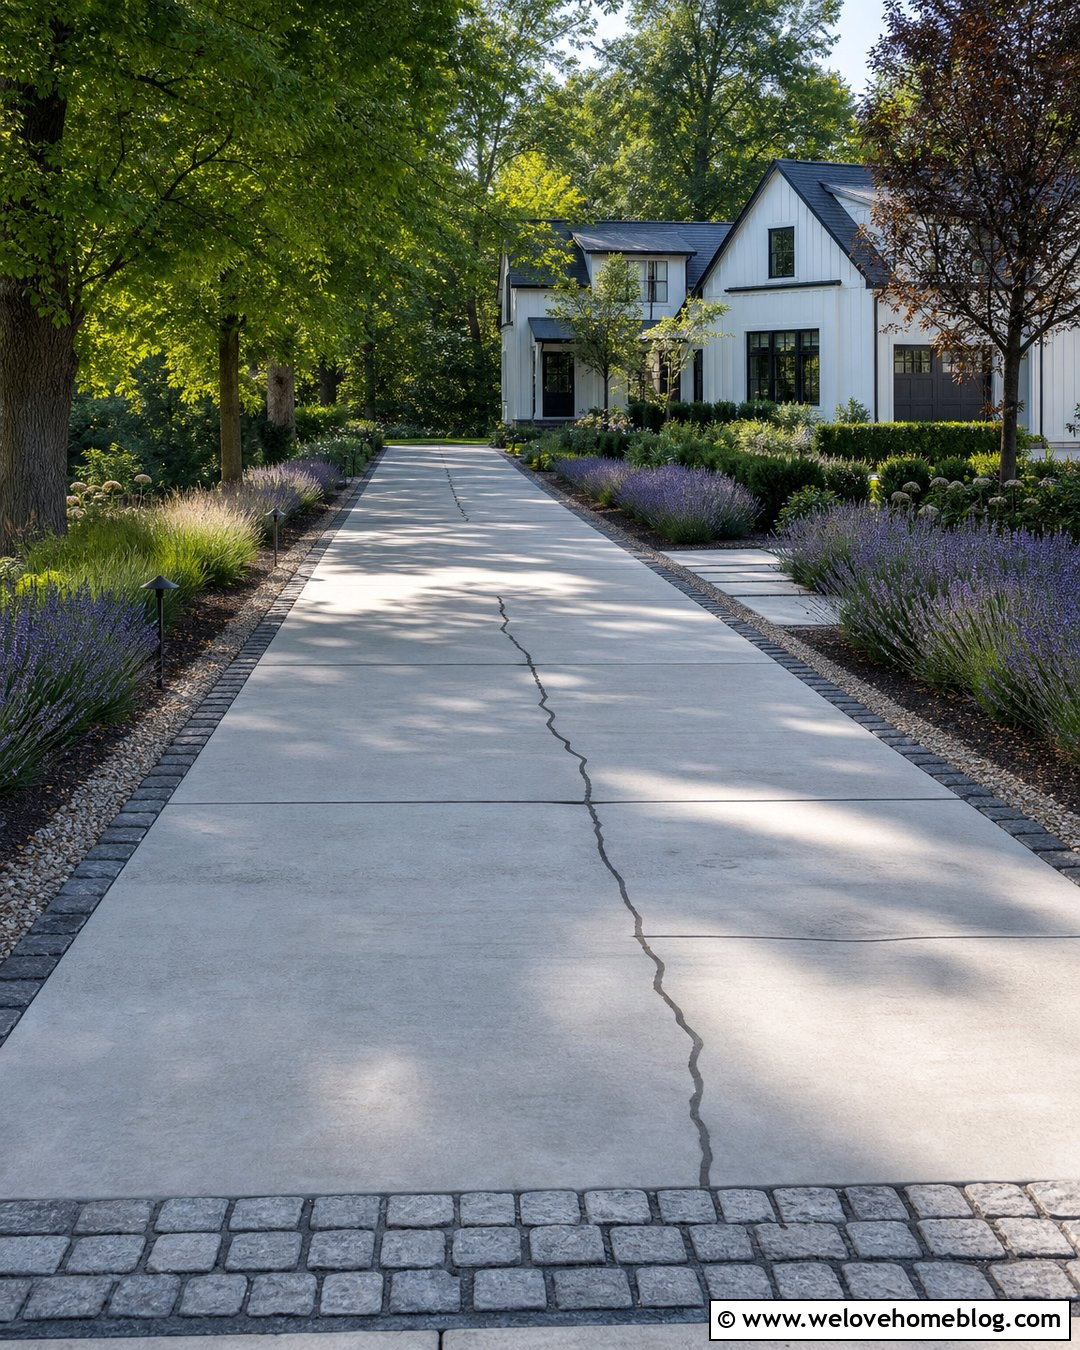
Deep cracks can consume excessive filler and may not support sealant at the correct depth. After cleaning the opening, insert a closed-cell foam backer rod sized slightly larger than the crack. Press it evenly below the surface without puncturing or stretching it. The rod creates a controlled base for a flexible polyurethane or compatible concrete joint sealant. Apply the sealant continuously, avoiding gaps and air pockets, then tool it if the product is not self-leveling. This flexible repair is useful where minor expansion and contraction are expected, but it cannot stabilize a slab with a failing base. Keep the area closed until fully cured. Never fill an unknown deep void blindly; unexplained cavities and continuing settlement may require professional soil or drainage correction. ()
7. Repair Broken Concrete Driveway Edges
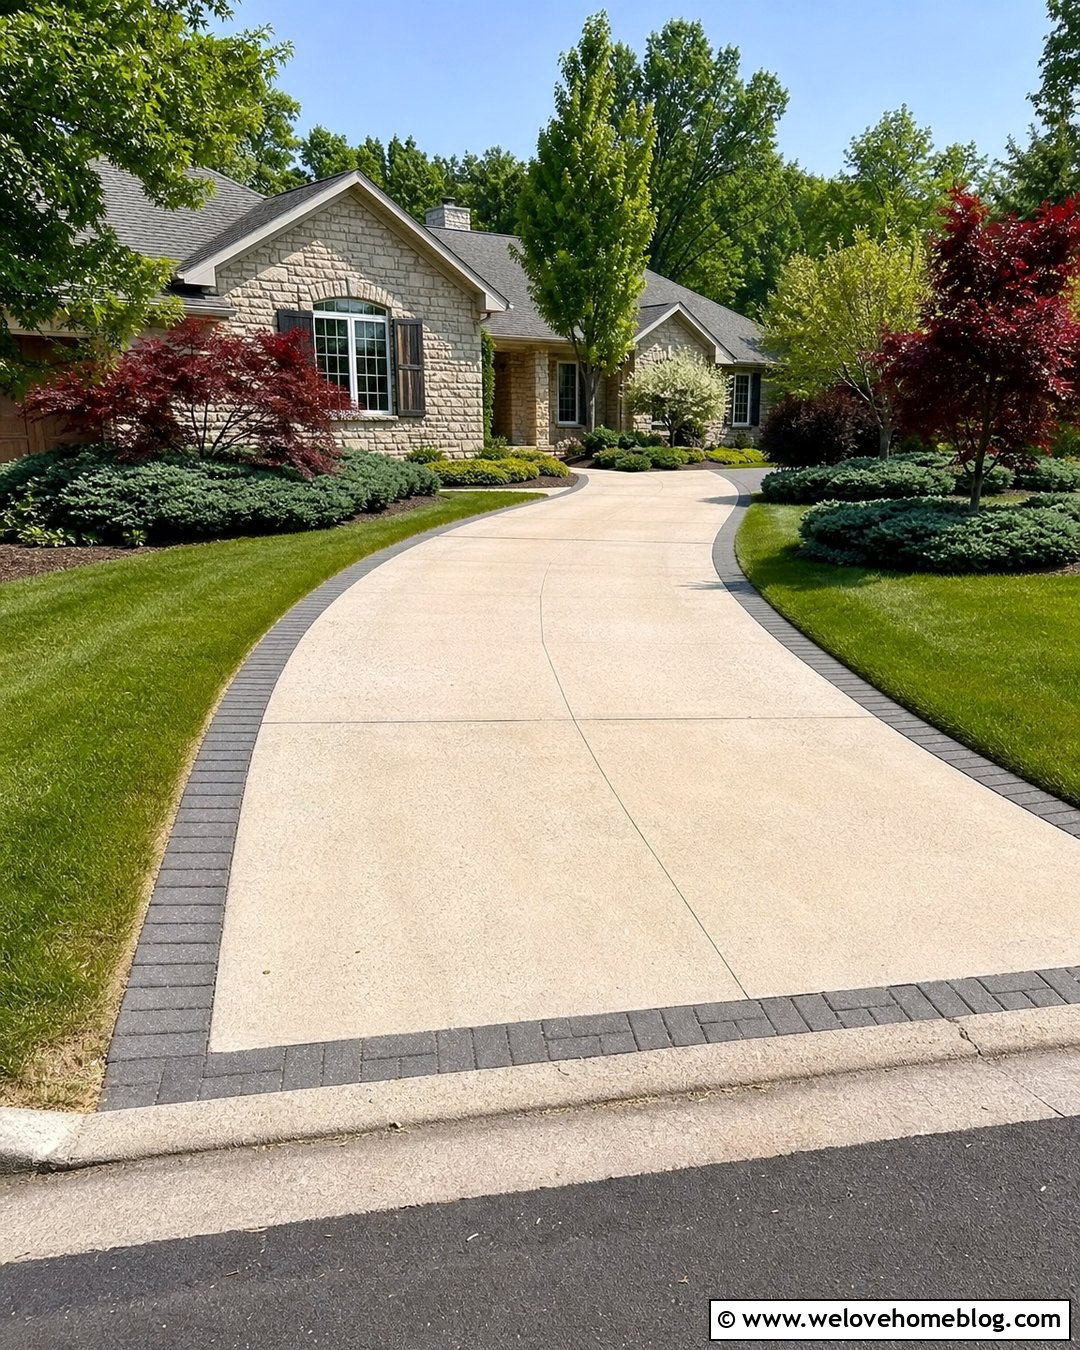
Driveway edges frequently crumble where tires leave the slab or unsupported soil washes away. Start by removing fractured concrete until only solid material remains. Rebuild the base beside the driveway with compacted aggregate so the new patch has proper support. Install a straight form board along the outer edge and coat the prepared surface with any bonding agent required by the repair system. Pack in an exterior structural repair mortar, consolidate it around irregular areas, and finish the top to match the surrounding concrete. Round or tool the exposed edge slightly to reduce chipping. Once cured, backfill the shoulder with compacted gravel, soil, or a reinforced border. The repair will remain vulnerable if vehicles continue dropping off an unsupported edge, so restore the surrounding grade as part of the project. ()
8. Patch Concrete Driveway Holes
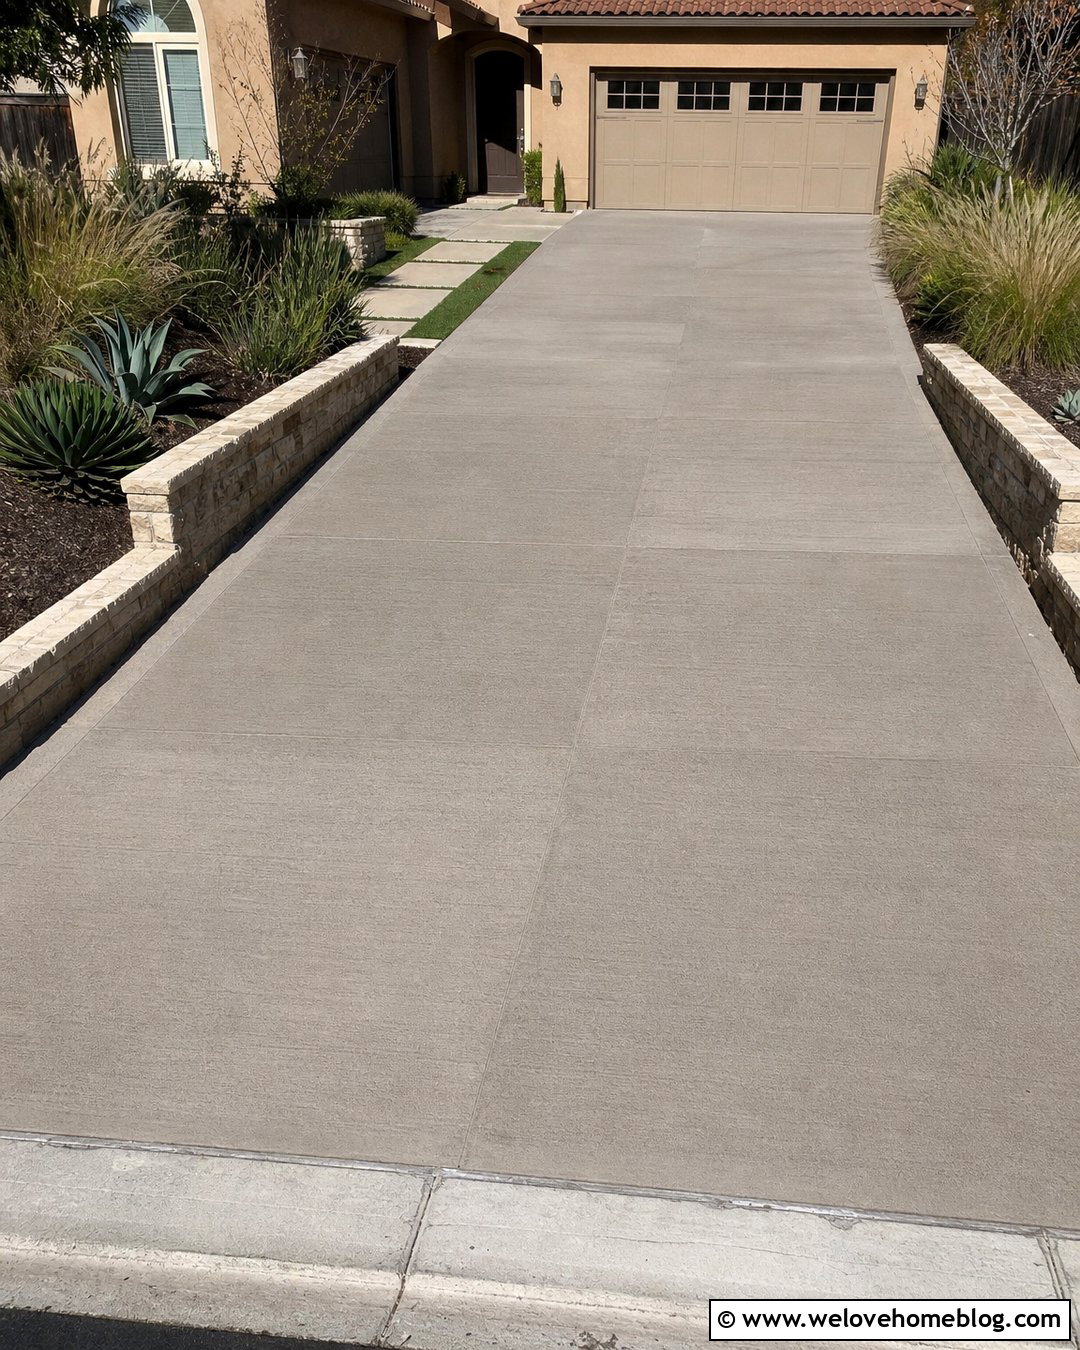
Small holes and pop-outs can collect water and gradually become larger. Outline the damaged area, remove loose material, and continue until the bottom and sides feel solid. Undercut weak edges only when recommended for the selected patching system. Vacuum the cavity, clean away contaminants, and apply the specified primer or bonding coat. Fill deeper holes in the recommended lifts rather than placing an overly thick layer at once. Press the repair mortar into corners and finish it flush with the driveway. Add a light broom texture before the surface becomes too firm. Protect the patch from rapid drying, rain, freezing temperatures, and traffic during curing. Multiple holes spread across the driveway may indicate broader scaling or surface failure, making resurfacing more practical than dozens of visible spot repairs. ()
9. Repair Spalled Concrete Driveway Surfaces
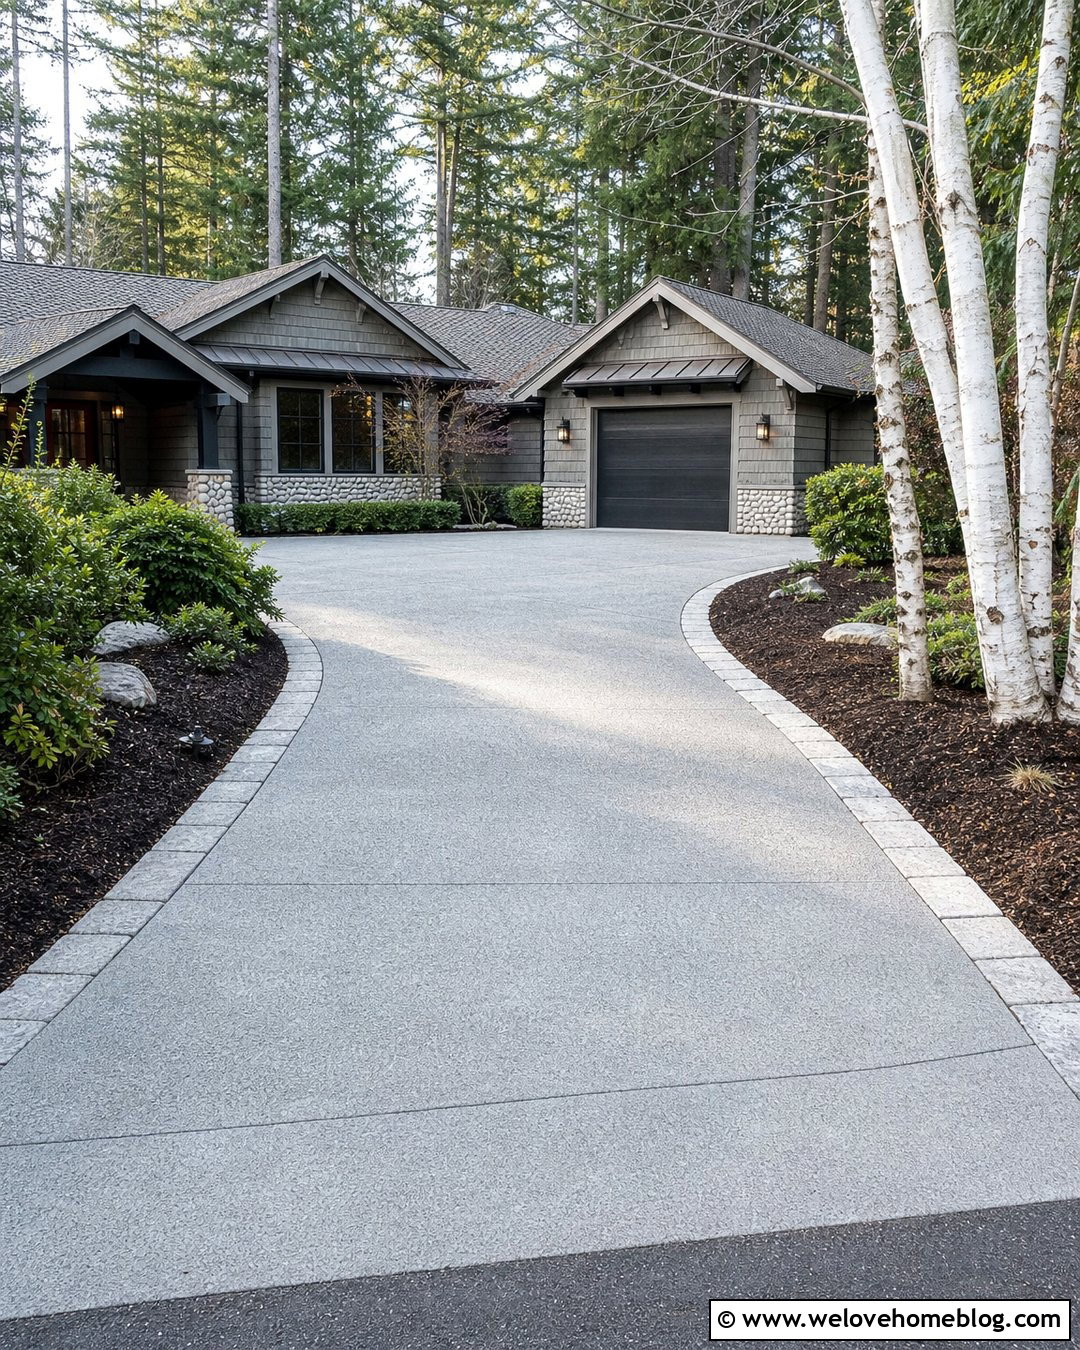
A pitted or flaking surface needs all weak material removed before it can accept a patch. Scrape, grind, or pressure-wash the affected zone according to product instructions, stopping only when sound concrete remains. Feathered flakes left behind can detach beneath the repair. Use a polymer-modified concrete patch for isolated spalls, pressing it firmly into the prepared surface and matching the existing texture. Deeper damage may require several applications or a professional partial-depth repair. Spalling is often associated with moisture, freeze-thaw exposure, deicing chemicals, weak surface concrete, or finishing problems. Correct the contributing issue where possible and avoid applying a thin decorative coating over material that is still separating. Widespread spalling across structurally sound slabs is usually a stronger candidate for complete resurfacing. ()


10. Resurface A Worn Concrete Driveway
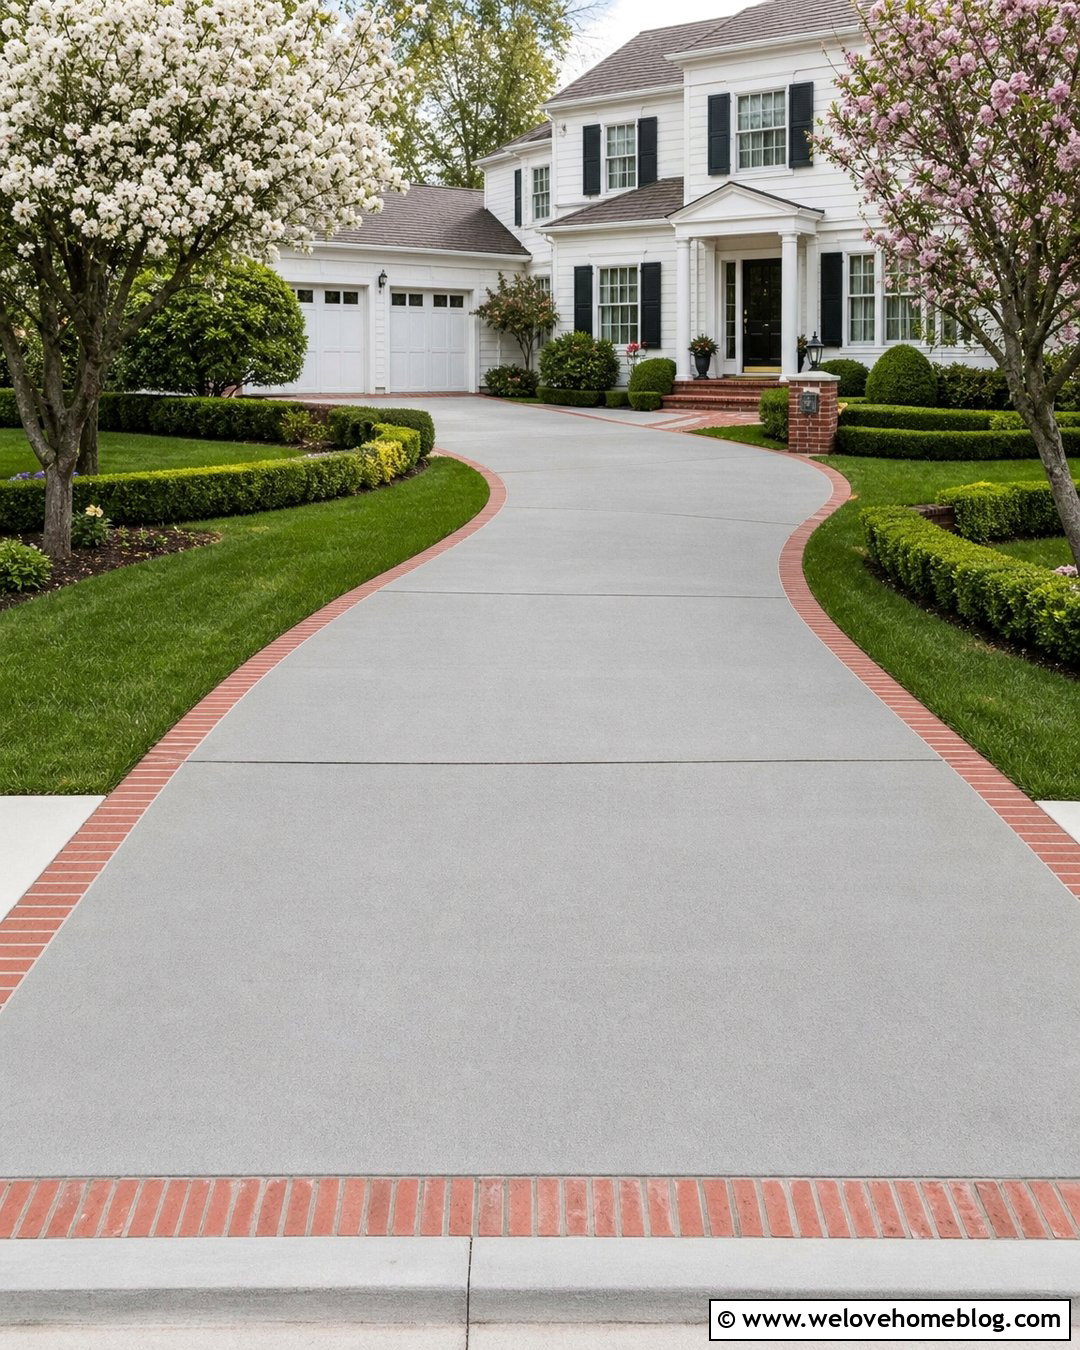
Resurfacing creates a more uniform finish when the driveway has shallow pitting, discoloration, or numerous small repairs but remains structurally stable. First remove coatings, oil, weak concrete, and failed patching material. Repair significant cracks and damaged edges before applying the resurfacer. Mix the product precisely, dampen or prime the slab as directed, and work in manageable sections. Spread an even layer with a squeegee or finishing tool, then add a slip-resistant broom finish. Preserve control joints rather than covering them permanently. Resurfacing will not correct major settlement, unstable cracks, or deep structural failure. Weather conditions are also important because strong sun, rain, wind, or unsuitable temperatures can disrupt placement and curing. Use a contractor when the driveway is large or requires extensive preparation. ()
11. Level A Sunken Concrete Driveway Slab
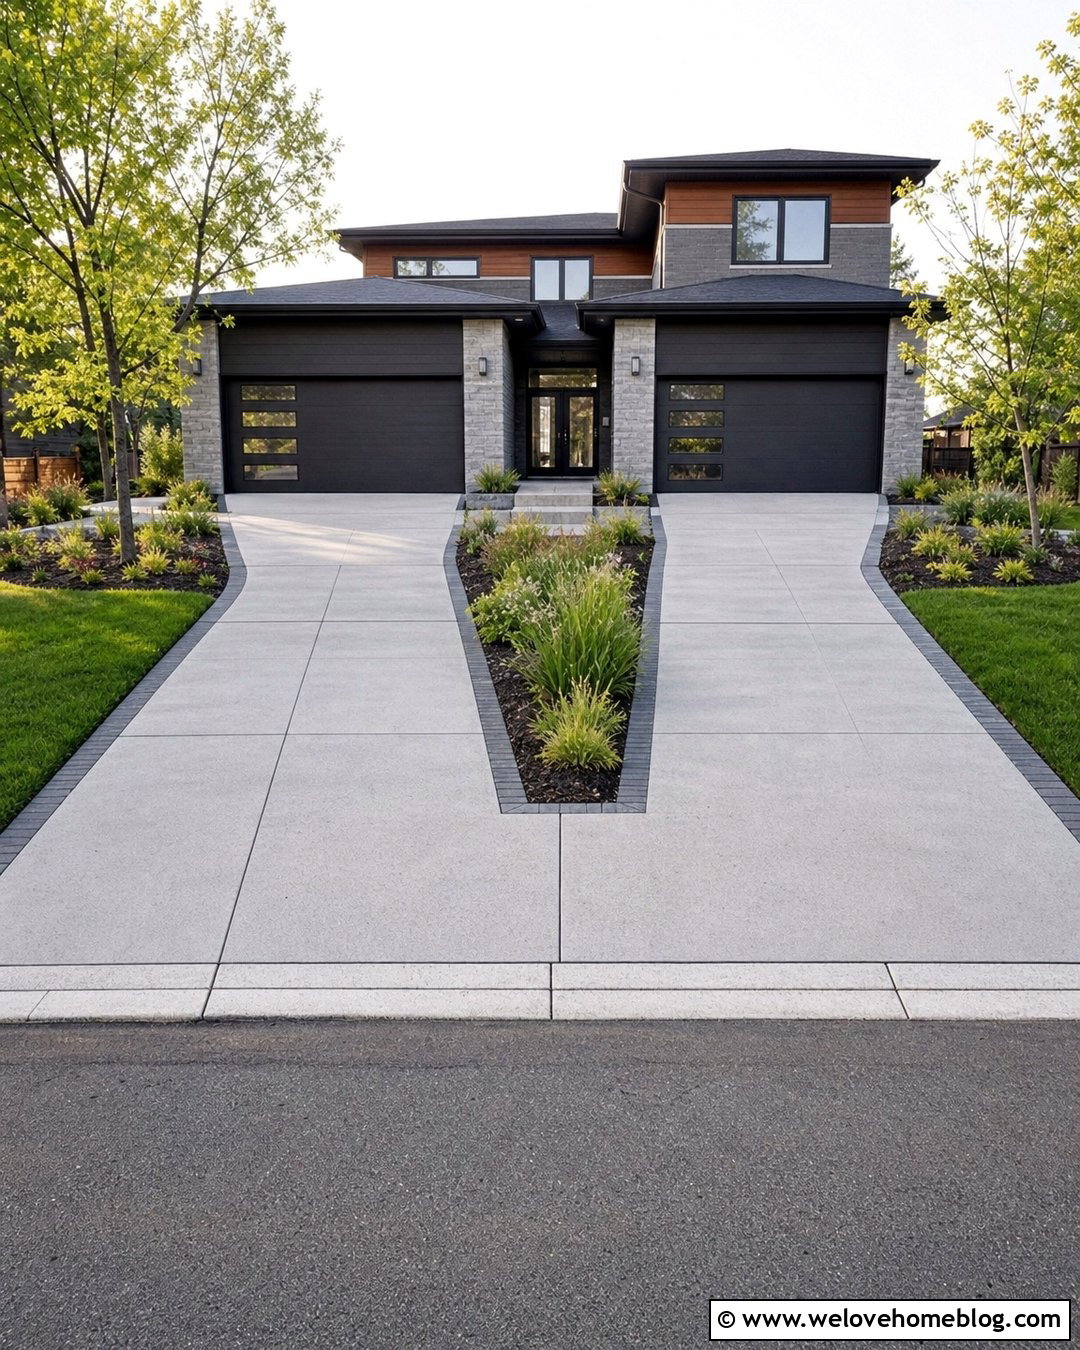
A sunken slab can create puddles, tire bumps, and hazardous vertical edges. Professional slab leveling may raise the concrete by injecting material through carefully placed holes. Traditional slabjacking commonly uses a cementitious mixture, while other systems use expanding polyurethane foam. The best option depends on soil conditions, void size, drainage, slab thickness, and required lift. Leveling can preserve an intact slab and reduce the disruption caused by demolition. However, lifting the concrete without stopping erosion or water flow may provide only temporary improvement. Redirect downspouts, repair leaking pipes, and correct poor grading before or alongside the leveling work. Severely cracked or fragmented panels may not tolerate lifting and could require replacement. Because incorrect injection can crack or overraise a slab, this repair is generally better handled by an experienced contractor. ()
12. Replace One Damaged Concrete Driveway Slab
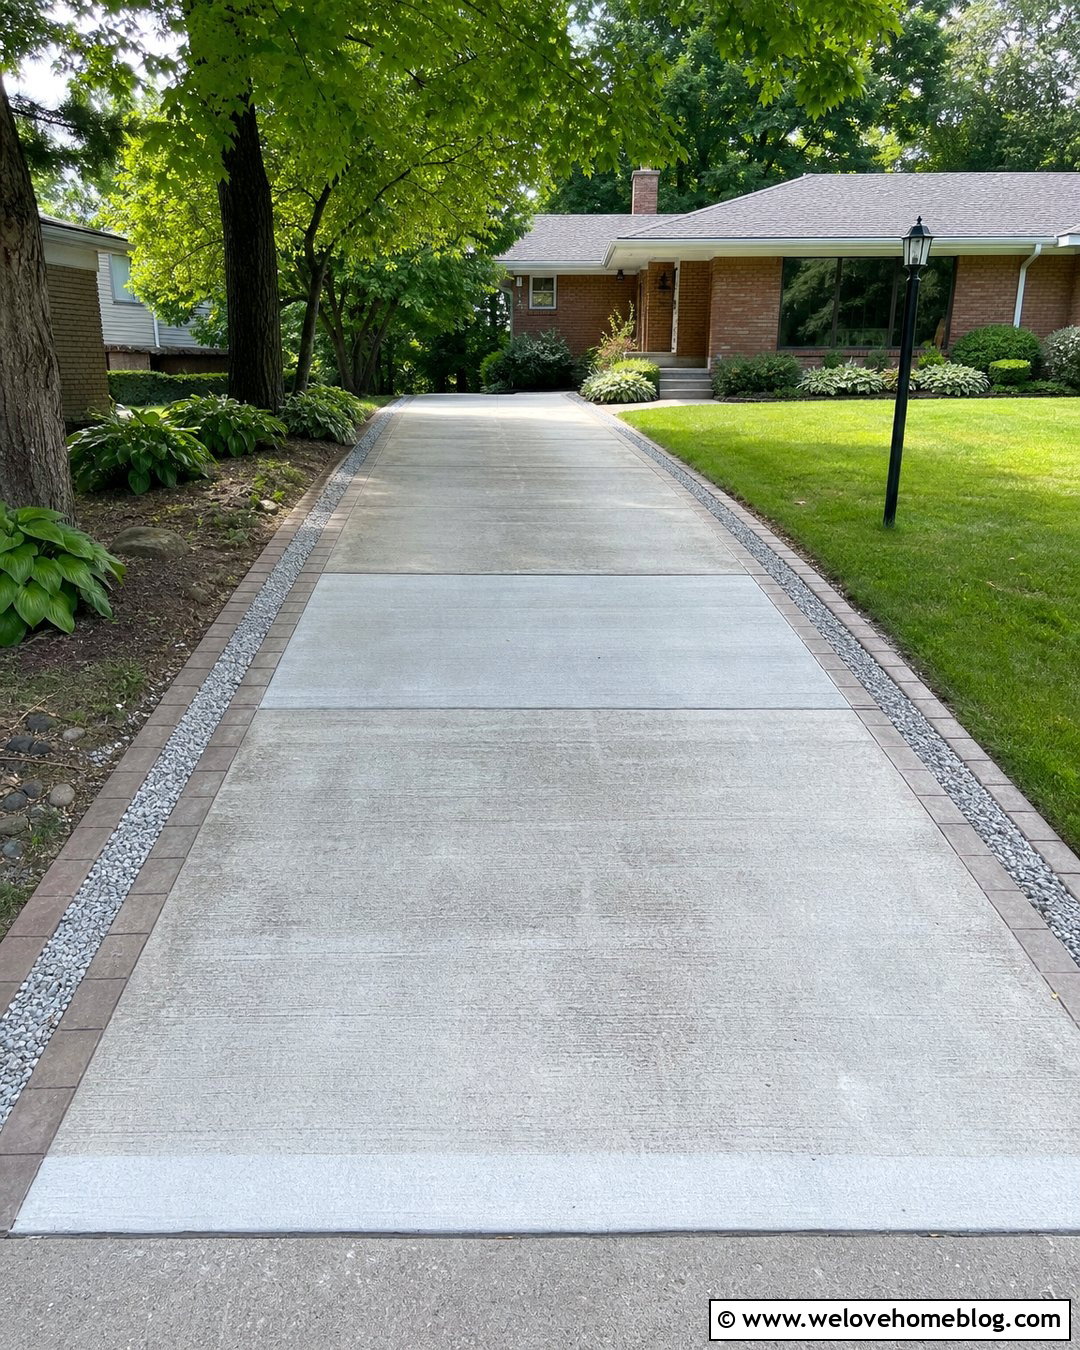
When one panel is badly broken but the remaining driveway is stable, replace the damaged section instead of removing everything. Saw-cut along existing joints or create clean boundaries that produce a balanced layout. Break up and remove the failed concrete without damaging neighboring panels. Next, correct soft soil, drainage problems, or washed-out base material. Install and compact the replacement base in layers, then use forms, reinforcement, joint material, and concrete that suit the original driveway. Match the slab thickness, elevation, slope, and surface texture as closely as practical. New concrete will initially look different from weathered sections, but a clean joint-to-joint replacement usually appears more intentional than an irregular patch. Consult a concrete contractor when reinforcement continues into adjacent slabs or settlement affects several connected panels. ()
13. Repair Concrete Driveway Expansion Joints
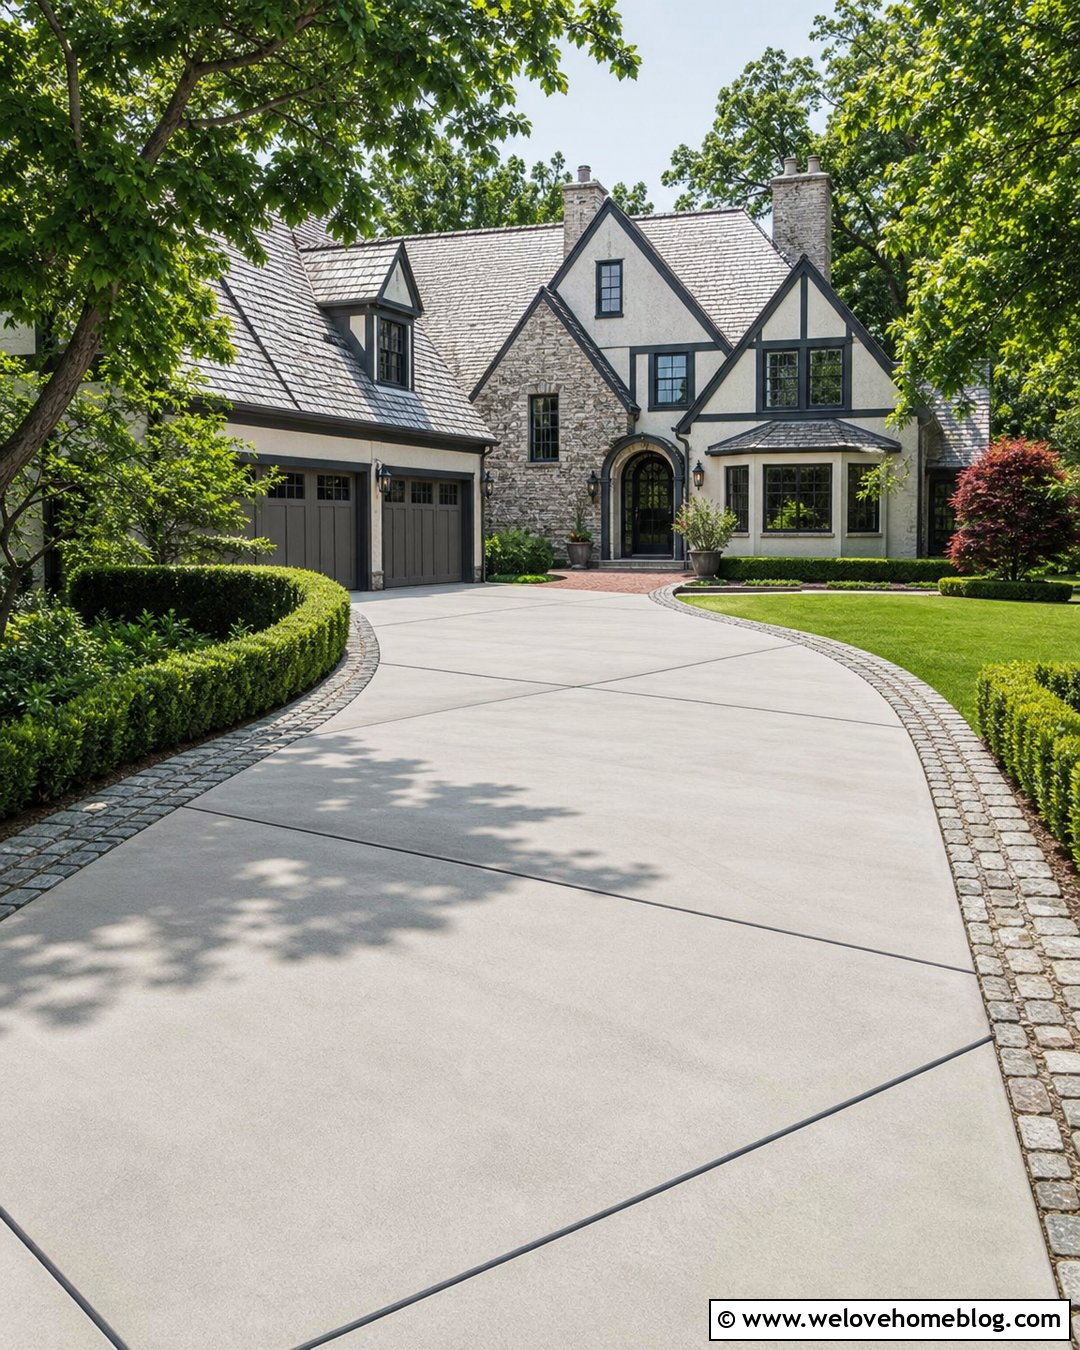
Old expansion-joint material can shrink, rot, or pull away, leaving a channel that traps water and debris. Remove loose filler without chipping the concrete edges. Clean the joint thoroughly, verify its depth, and insert a compressible backer rod when required. Apply a flexible exterior joint sealant designed for horizontal concrete and movement. Keep the finished seal slightly below or flush with the slab according to the product directions. Do not pack the opening solid with rigid mortar because the joint must continue accommodating movement. Where a driveway meets a garage floor, sidewalk, foundation, or another fixed structure, maintaining separation is especially important. Uneven or severely spalled joint edges may need patching before resealing. Work in dry conditions and keep vehicles away until the sealant has completely cured. ()
14. Restore Concrete Driveway Control Joints
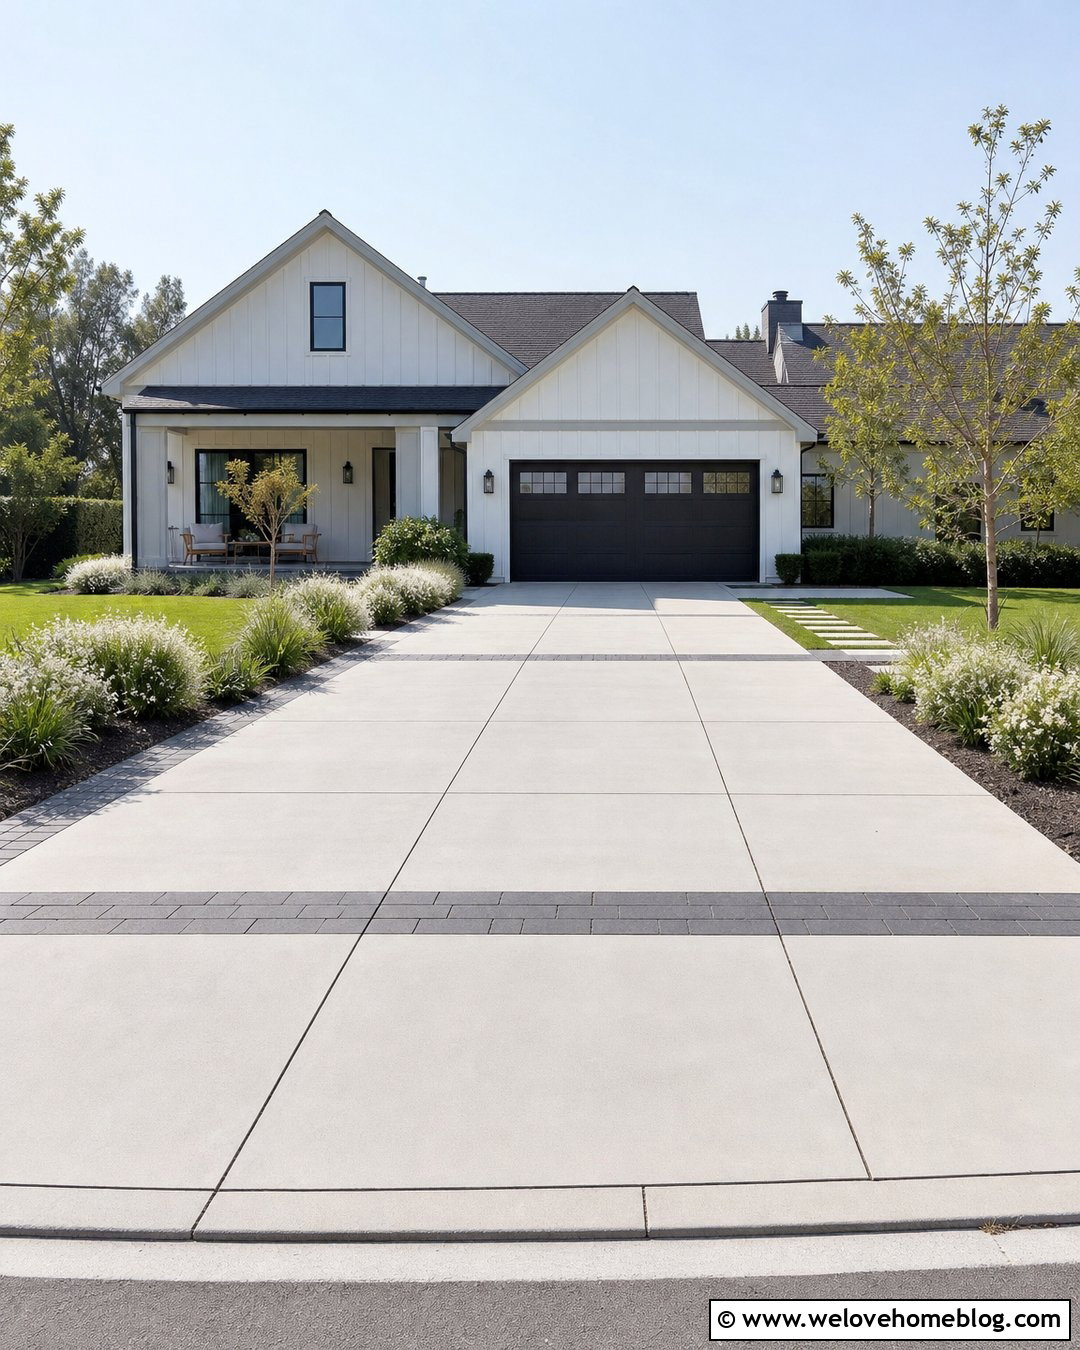
Control joints encourage shrinkage-related cracking to occur along planned lines. They should remain functional after patching or resurfacing. Clean accumulated dirt, weeds, and loose sealant from the grooves. Repair broken joint shoulders with an appropriate edge-repair mortar, but avoid bridging the entire joint with rigid material. When resurfacing, transfer the original joint locations through the new layer before it hardens or recut them at the correct positions afterward. If sealing is needed, use a flexible product compatible with exterior horizontal joints. Turning the grooves into crisp, consistent lines also helps a repaired driveway look deliberate. Random cracks should not automatically be treated as designed control joints, especially when movement or settlement is present. Ask a professional to evaluate unusual cracking patterns before cutting additional joints into an existing slab. ()

15. Fix Concrete Driveway Drainage Problems
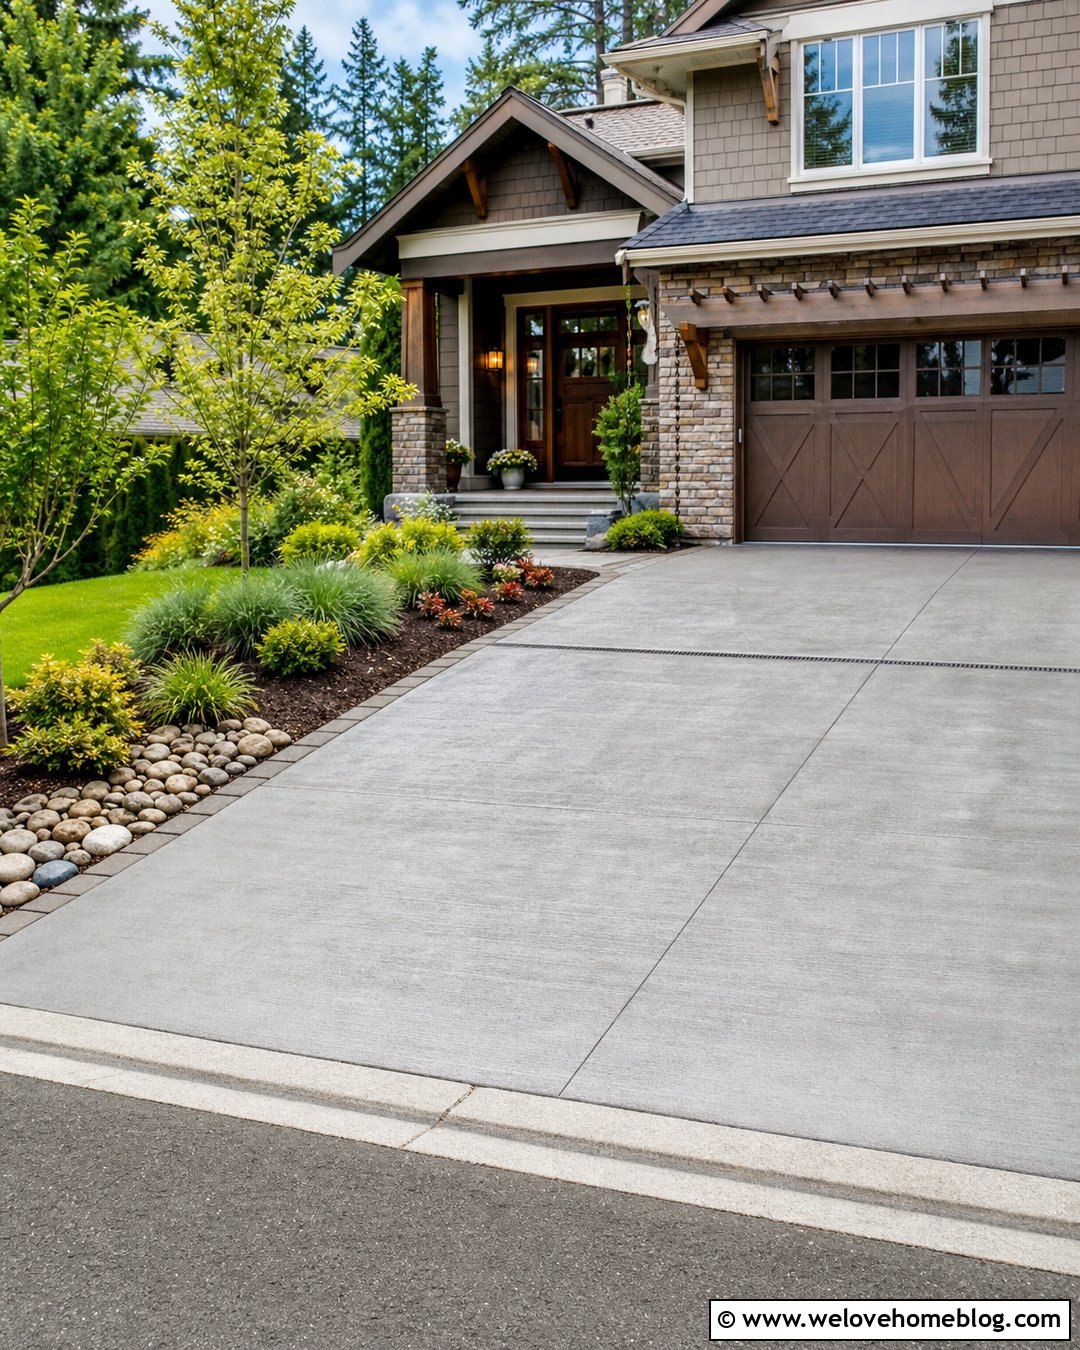
Does water sit along the garage, flow through cracks, or wash soil from the driveway edges? Repairing the concrete without controlling that water can lead to recurring settlement and surface damage. Extend downspouts to a safe discharge point, reshape adjacent soil so it slopes away from the slab, and fill eroded shoulders with properly compacted material. A channel drain may be appropriate where runoff crosses the driveway or collects near the garage. Keep drain outlets open and confirm that improvements do not send water onto neighboring property or public sidewalks. Once the moisture source is controlled, repair cracks, voids, and undermined edges using the suitable method. Major grading or drainage changes should be designed carefully because local rules may regulate stormwater discharge and work near the street. ()
16. Repair Concrete Driveway Tree Root Damage
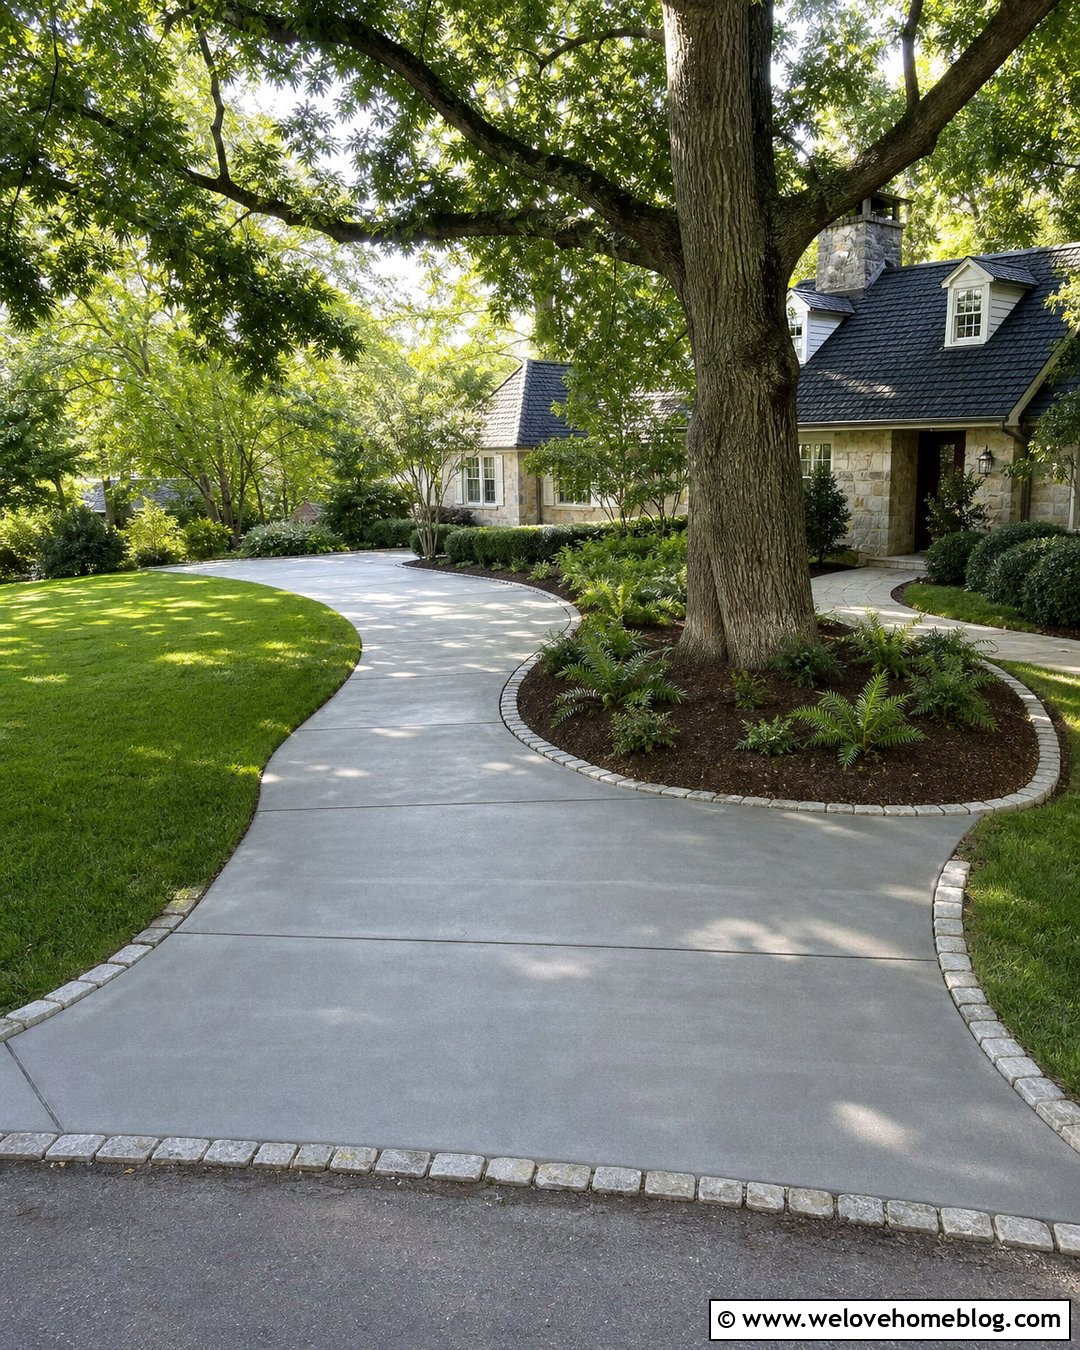
Raised panels near mature trees need more than a surface patch. Roots may lift the slab, while soil changes around the root zone can create additional movement. Ask a qualified arborist to evaluate the tree before cutting roots, since removing major roots can destabilize or seriously damage it. Depending on the conditions, the solution may involve replacing a panel, rerouting the driveway edge, creating more planting space, or carefully managing smaller roots. Restore the base and drainage before pouring replacement concrete. A gentle curve, widened landscape bed, or paver transition can make the altered layout look intentional. Grinding a raised edge may reduce a minor trip point, but it does not stop continuing uplift. Extensive displacement near a valuable tree requires coordinated advice from concrete and tree-care professionals. ()
17. Blend Concrete Driveway Repairs With Stain
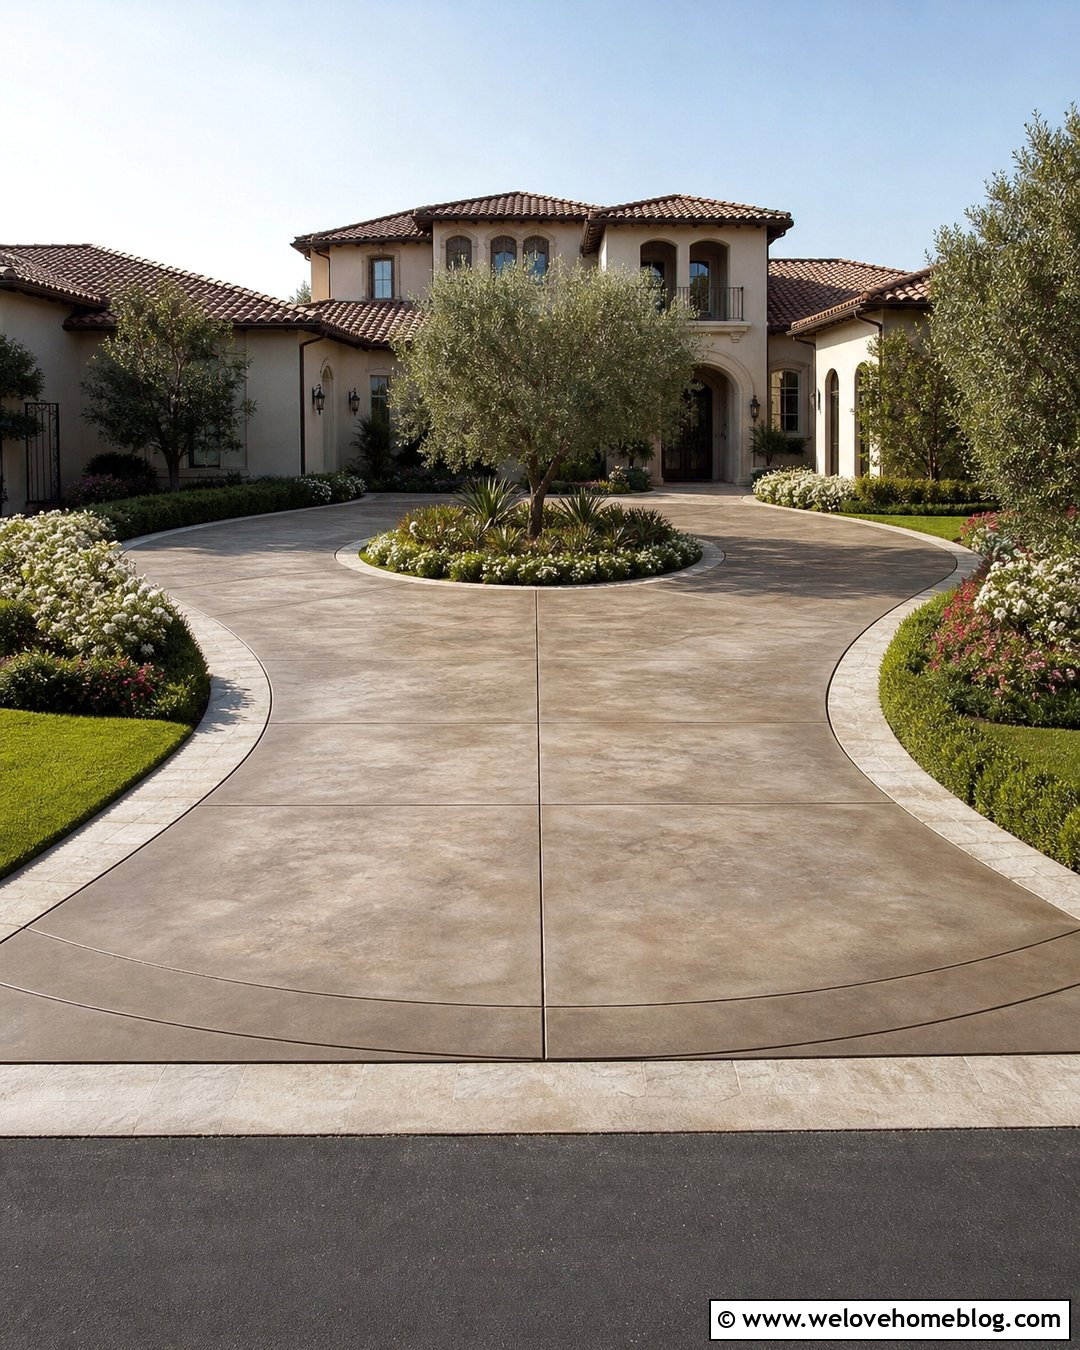
Even strong patches can stand out because fresh repair mortar differs from older concrete. Once all materials have cured, a compatible concrete stain can unify mild color variations and give the driveway a planned finish. Begin with a test area because patches, original concrete, and resurfaced zones may absorb color differently. Clean the entire driveway consistently and remove incompatible sealers or coatings. Apply thin, controlled coats rather than trying to hide mismatches with one heavy application. Mid-tone gray, warm greige, or muted earth colors often create a practical residential look. Staining is cosmetic and should follow structural repair, never replace it. Finish with a driveway-rated sealer only when compatible with both the stain and concrete. Maintain adequate surface traction, particularly on sloped driveways or wet climates. ()
18. Add A Decorative Concrete Overlay
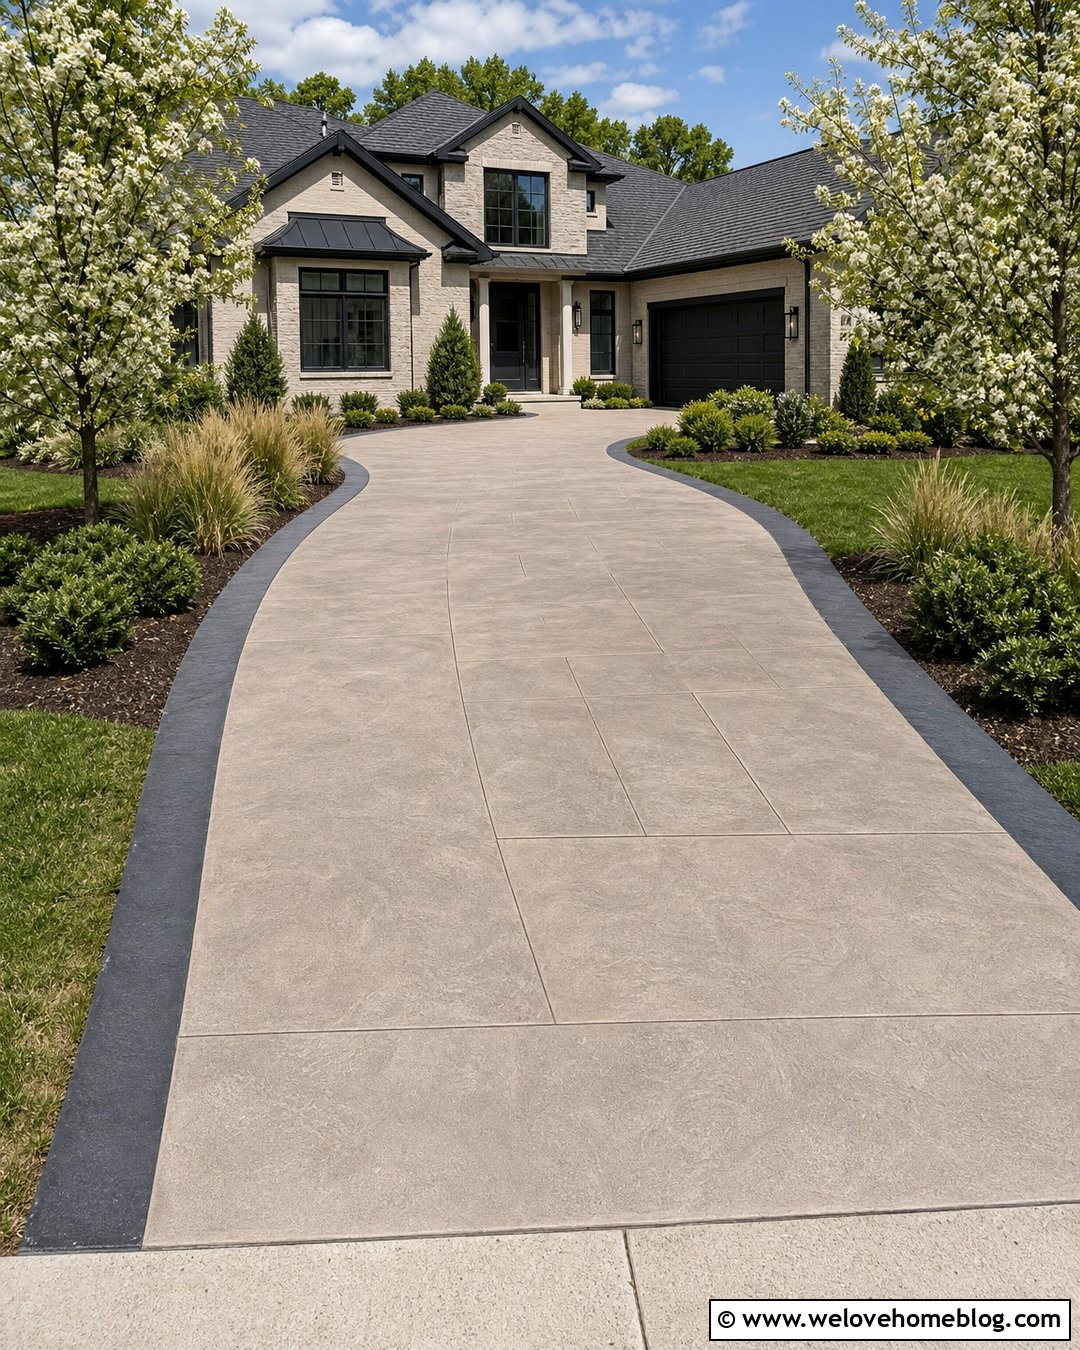
A decorative overlay can turn widespread cosmetic repairs into a cohesive driveway design. It works best over concrete that is stable, properly prepared, and free from serious settlement. After repairing cracks and spalls, apply an exterior overlay system designed for vehicular loads. Options may include a simple broom finish, stone-like texture, restrained scoring, or a subtle border pattern. Keep the design compatible with the home and avoid overly deep textures that collect dirt or interfere with snow removal. Existing joints and active cracks must be addressed correctly because movement can transfer through the new surface. Choose light or medium colors that remain comfortable in sunny areas and provide visible contrast with walkways. Professional installation is advisable for patterned, colored, or large-scale overlay projects. ()
19. Seal A Repaired Concrete Driveway
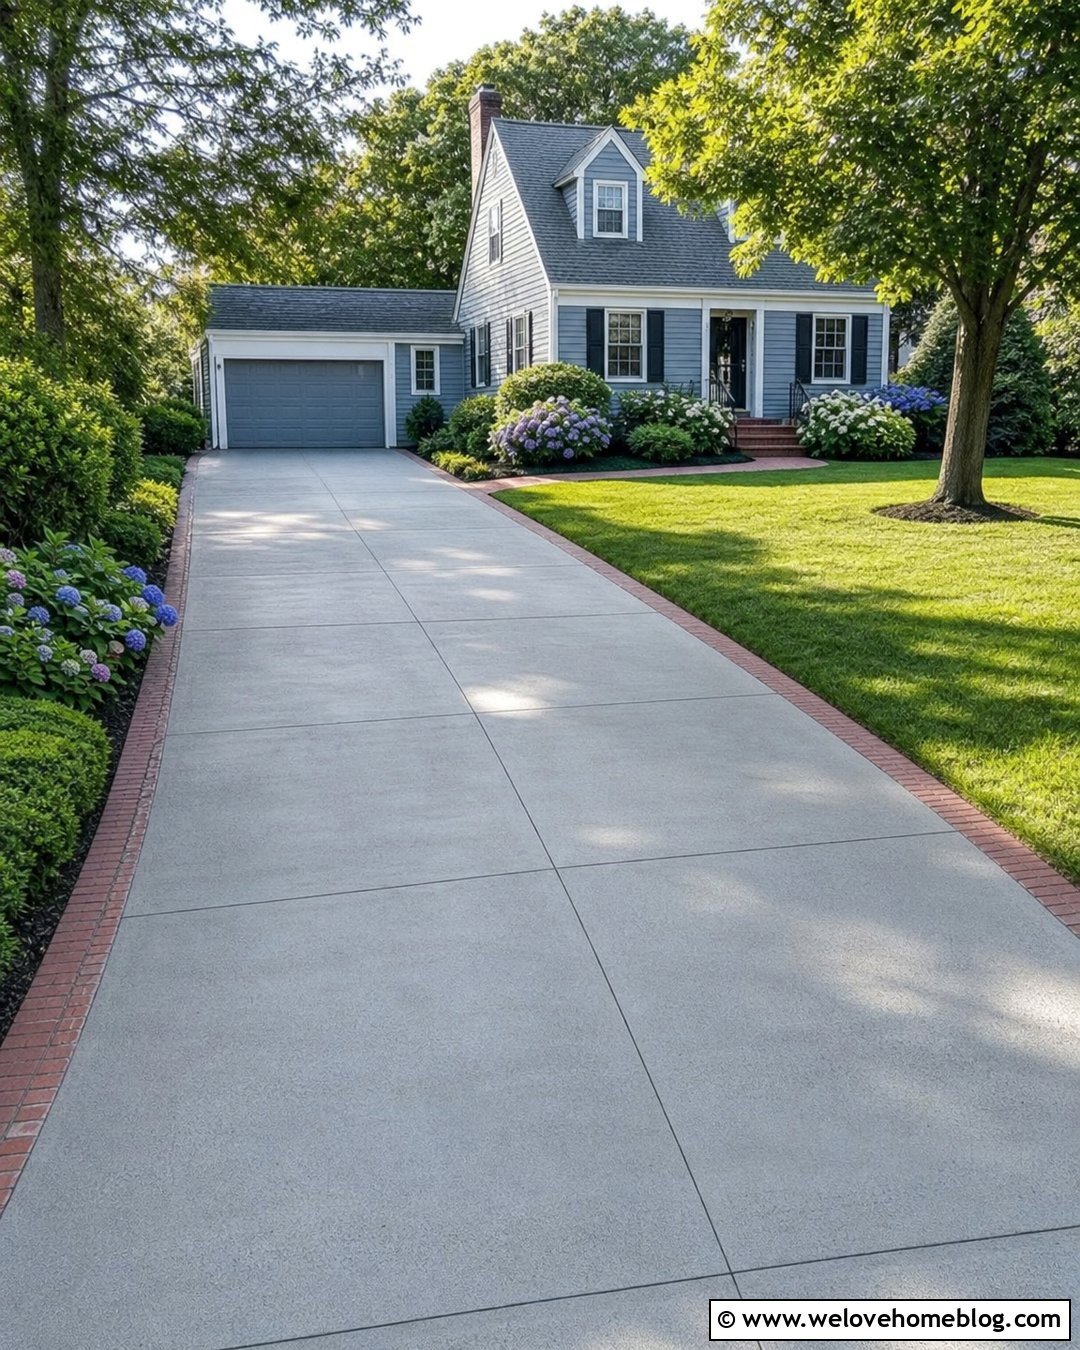
After repairs and curing are complete, a compatible penetrating or film-forming sealer can help limit water and contaminant absorption. Confirm that the crack filler, patch, stain, or overlay allows sealing and follow every waiting-period requirement. Wash the driveway, remove residue, and let it reach the moisture condition specified by the manufacturer. Apply thin, even coats with the recommended sprayer or roller. Heavy application can create blotches, bubbling, or a slippery finish. Choose an exterior driveway product suitable for freeze-thaw exposure and vehicle traffic in your region. If traction is a concern, use an approved nonslip additive or a penetrating product that does not create a glossy film. Sealing cannot hold unstable slabs together, but it can support a broader maintenance plan for sound concrete. ()


20. Replace A Failed Concrete Driveway
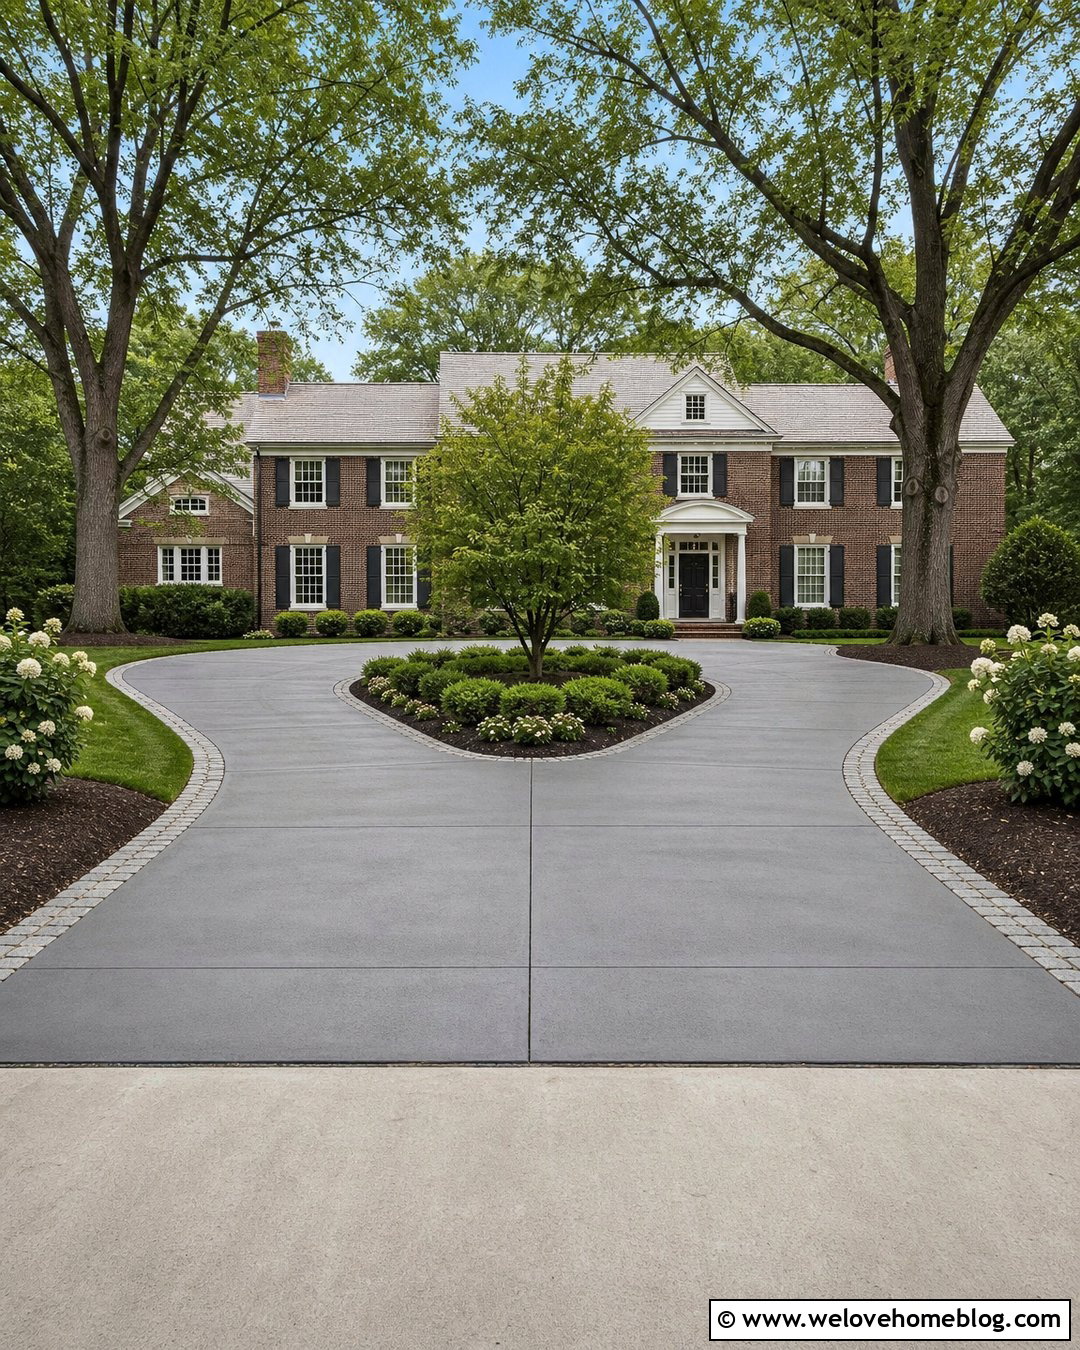
Sometimes replacement is the most responsible repair decision. Consider it when the driveway has extensive interconnected cracking, major elevation changes, widespread base failure, severe fragmentation, or repeated patches that keep breaking. Replacement allows the contractor to remove weak concrete, inspect the soil, improve drainage, rebuild the aggregate base, and install correctly sloped slabs with planned joints. You can also update the layout with wider parking space, a safer walkway connection, or a reinforced apron. Obtain detailed quotes that explain demolition, disposal, base preparation, slab thickness, reinforcement, concrete specifications, joints, curing, and warranties. Local permits or right-of-way rules may apply near the sidewalk and street. Replacing only failed panels can remain an option when most of the driveway is structurally sound. ()
Conclusion:
The best concrete repair begins with identifying why the damage happened. A clean filler can improve a stable crack, while a sunken or raised panel needs a solution for the underlying soil, roots, or drainage. Match the repair material to the width, depth, and movement of the damaged area. Preserve functional joints, follow curing instructions, and avoid placing decorative coatings over weak concrete. Small DIY repairs can refresh an otherwise sound surface, but widespread cracking, major displacement, and recurring settlement deserve professional attention. Use these 20 How To Repair Concrete Driveway Ideas to compare realistic options, restore curb appeal, reduce water entry, and decide when targeted repair, resurfacing, panel replacement, or full reconstruction offers the best value.

Related posts:




Leave a Reply