
Driveway pillars can define an entrance, improve curb appeal, support lighting, and prepare a property for a future gate. The best results begin below ground with a stable footing, a reinforced core, weather-resistant masonry, and a cap that directs rain away. Before digging, contact 811 to mark underground utilities and check local requirements for permits, setbacks, sightlines, and driveway access. () Gate-supporting pillars also require more structural planning than decorative columns because hinges create repeated lateral forces. Whether you prefer brick, natural stone, stucco, or concrete block, the entire entrance should complement the driveway and house. The complete looks below provide practical inspiration through 20 How To Build Driveway Pillars Ideas.

1. How To Build Brick Driveway Pillars
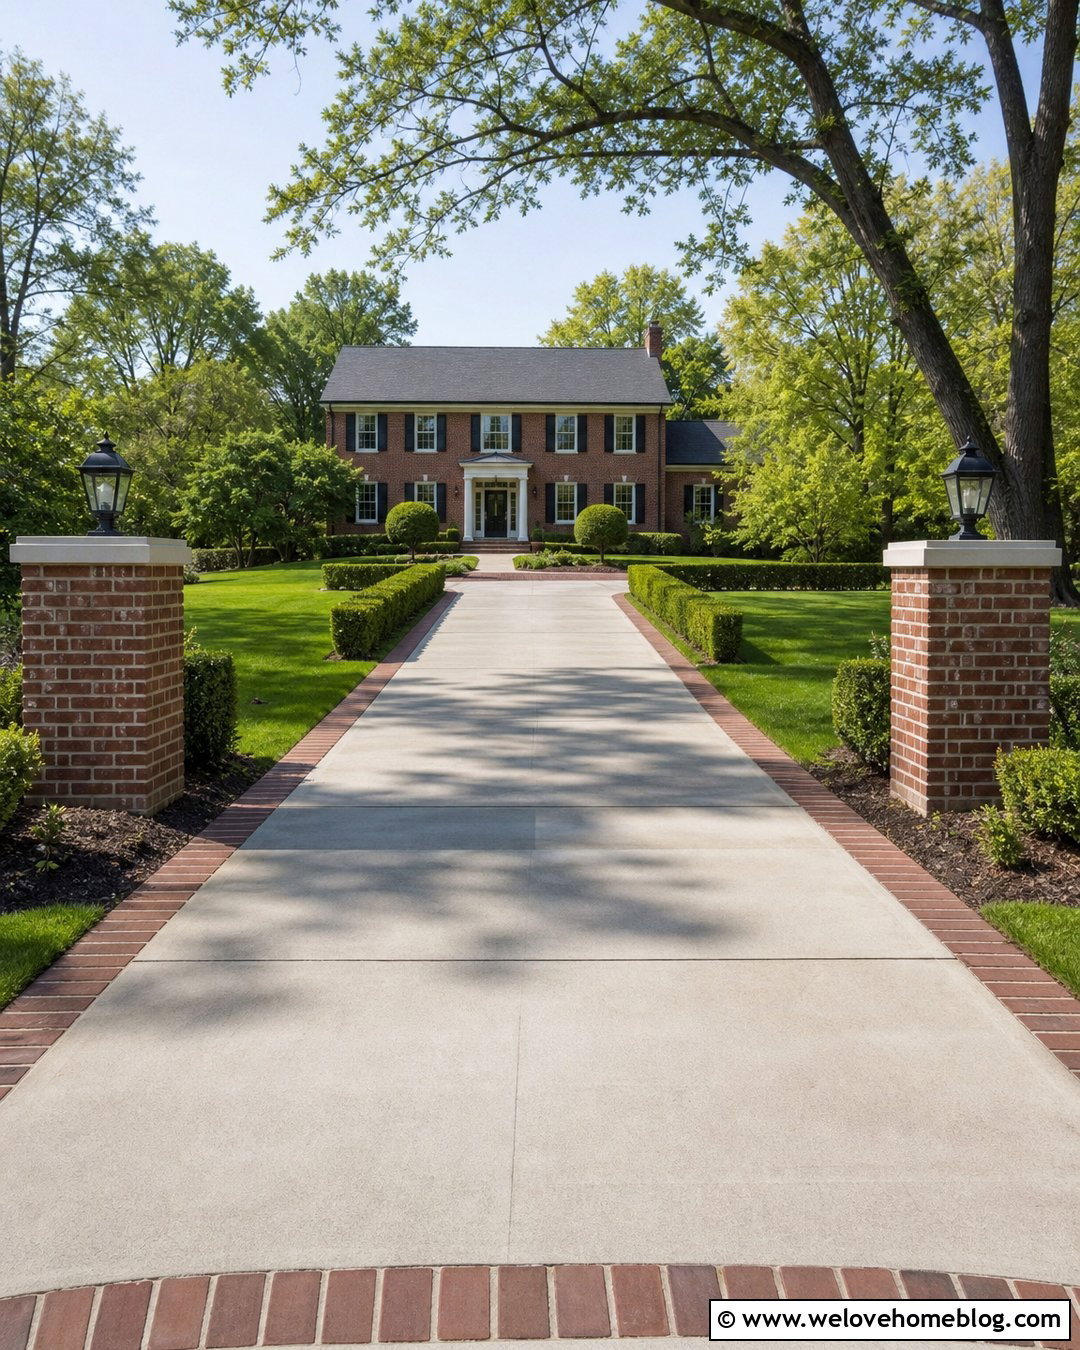
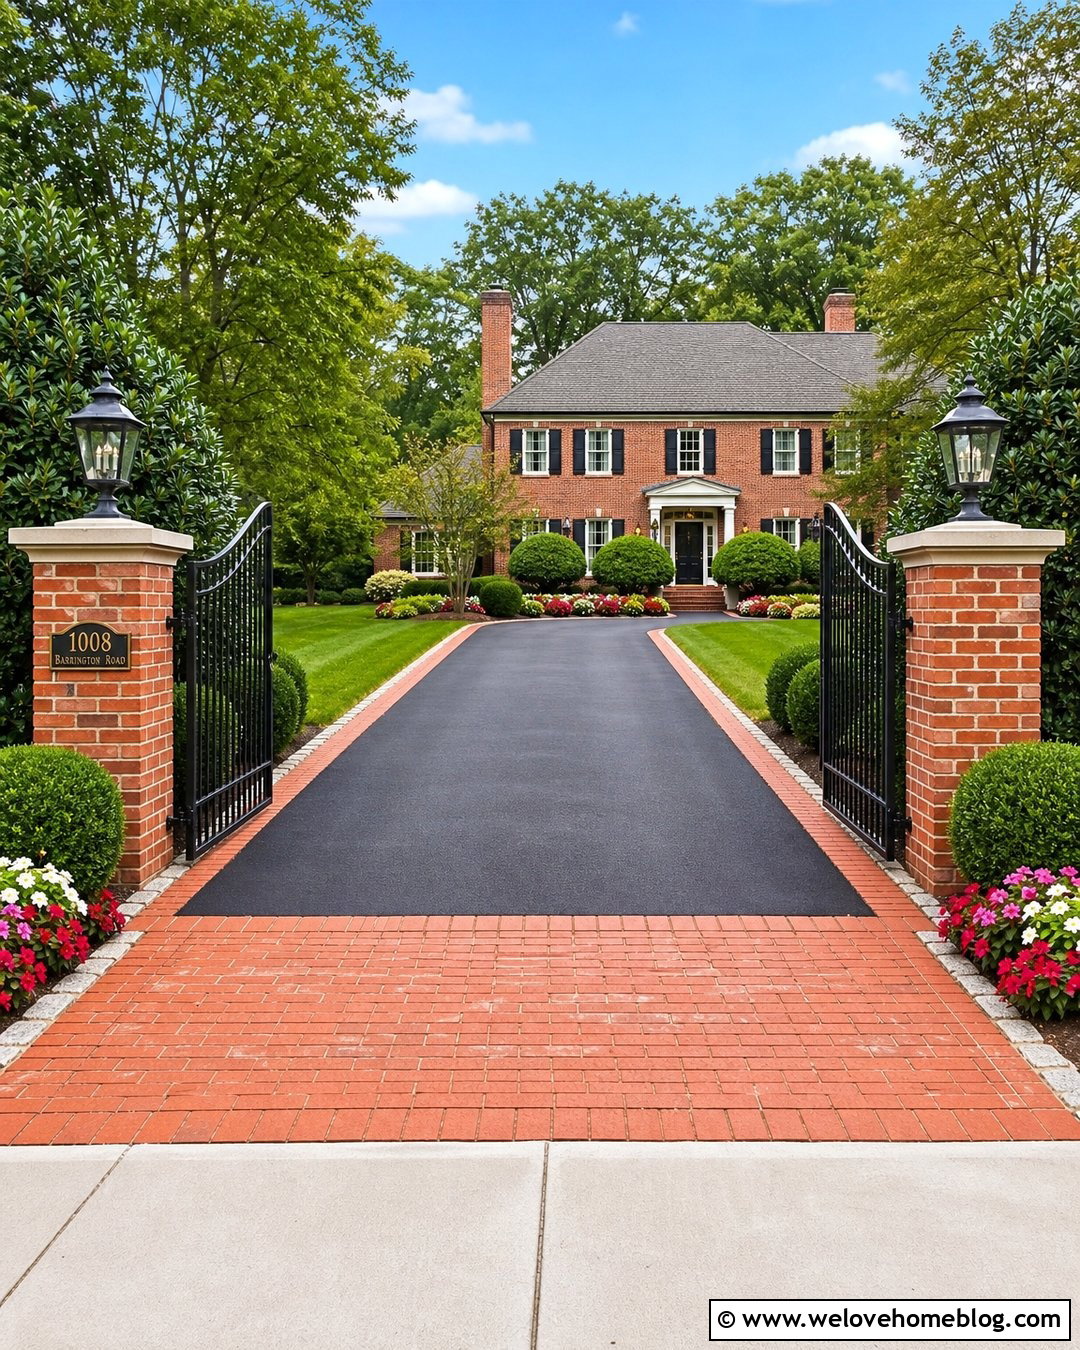
Red brick pillars create a natural match for a straight concrete driveway and a traditional Colonial home. Begin by marking two equal locations beyond the driveway edges, leaving enough clearance for vehicles, trailers, and snow removal equipment. Pour reinforced concrete footings sized for the soil, climate, pillar weight, and any planned gate. Masonry pillars require adequate footings, while the first brick courses must remain level, square, and carefully aligned. () Build each pillar around a reinforced block or concrete core rather than relying on a hollow brick shell. Use weather-resistant mortar, tool the joints neatly, and check for plumb as every course rises. Finish with precast concrete caps and matching lanterns to create a balanced, polished entrance.
2. How To Build Stone Veneer Driveway Pillars
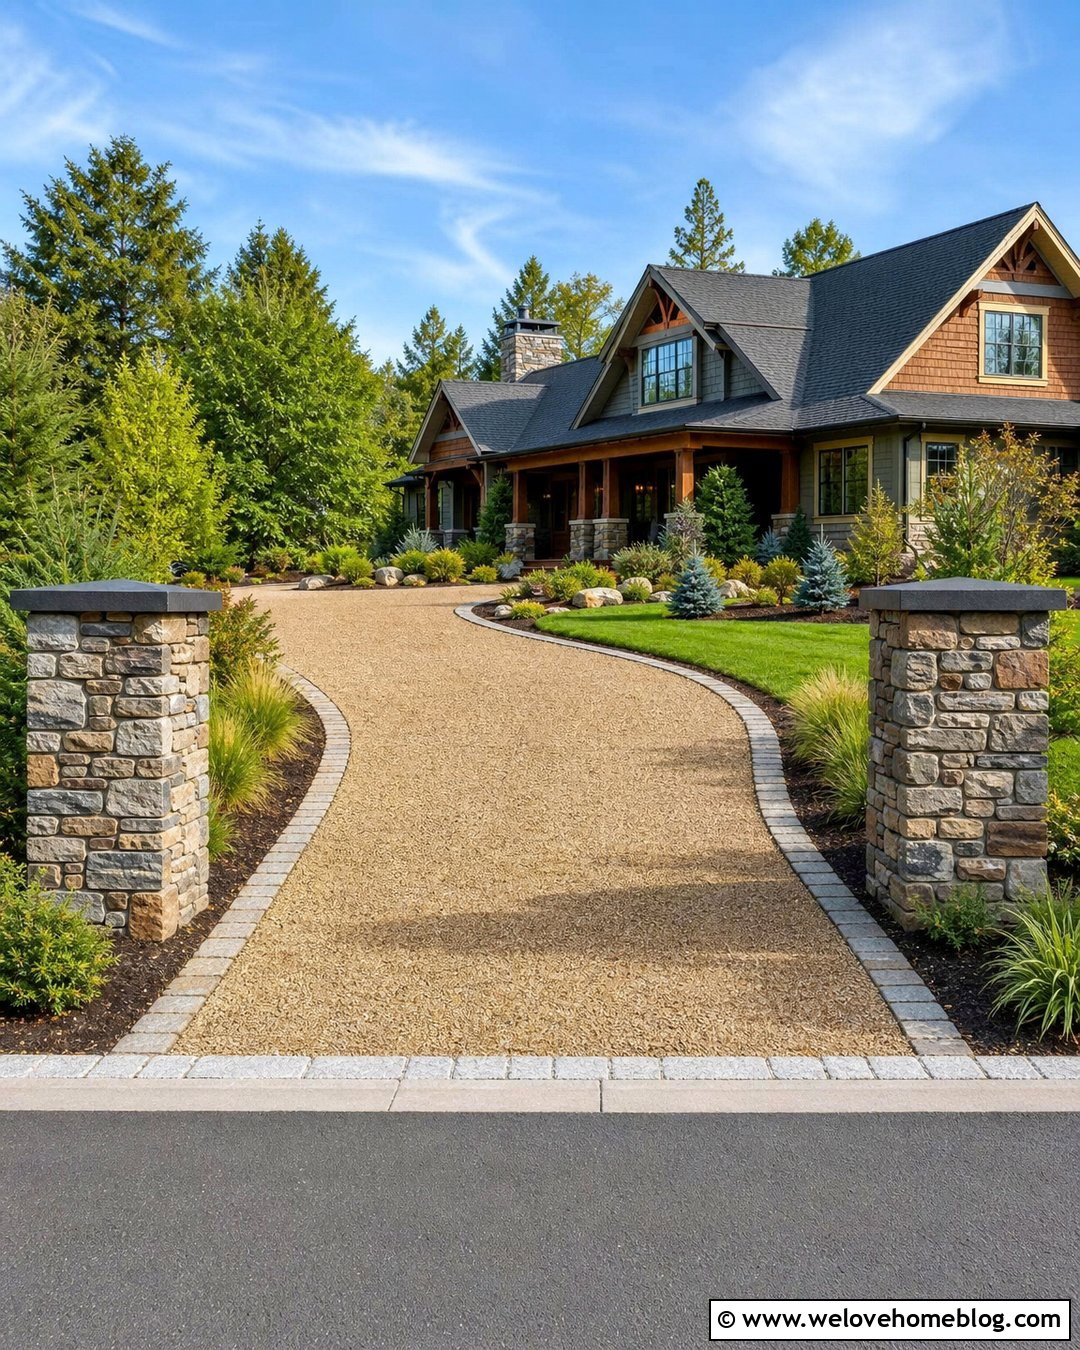
Stone veneer delivers the appearance of substantial masonry without requiring every visible stone to carry the structure. This complete entrance works especially well with a curved pea gravel driveway, cobblestone edging, and a Craftsman house. Start with reinforced concrete footings and build square structural cores from concrete masonry units. Keep both cores identical by checking their height, width, level, and diagonal measurements. Install the selected veneer system according to its manufacturer’s requirements, including the correct mortar, lath, ties, drainage details, and surface preparation. Arrange corner pieces first, then blend larger and smaller stones across each face. A slightly overhanging cap helps shed water away from the veneer. Add low evergreen beds around the bases without piling soil or mulch against the masonry.
3. How To Build Stucco Driveway Pillars
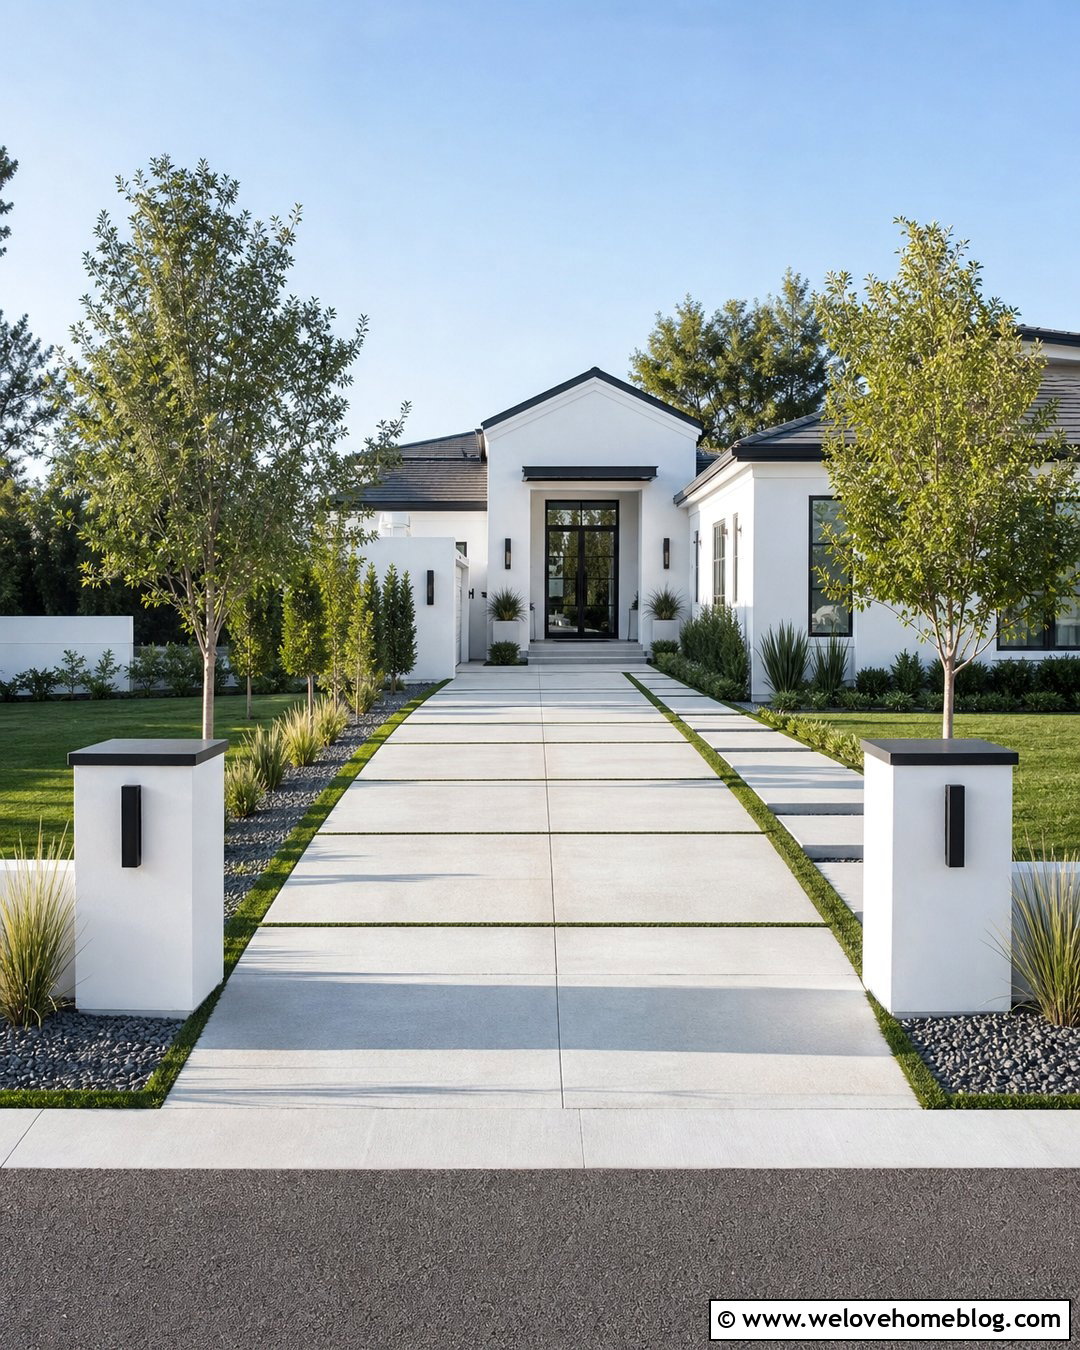
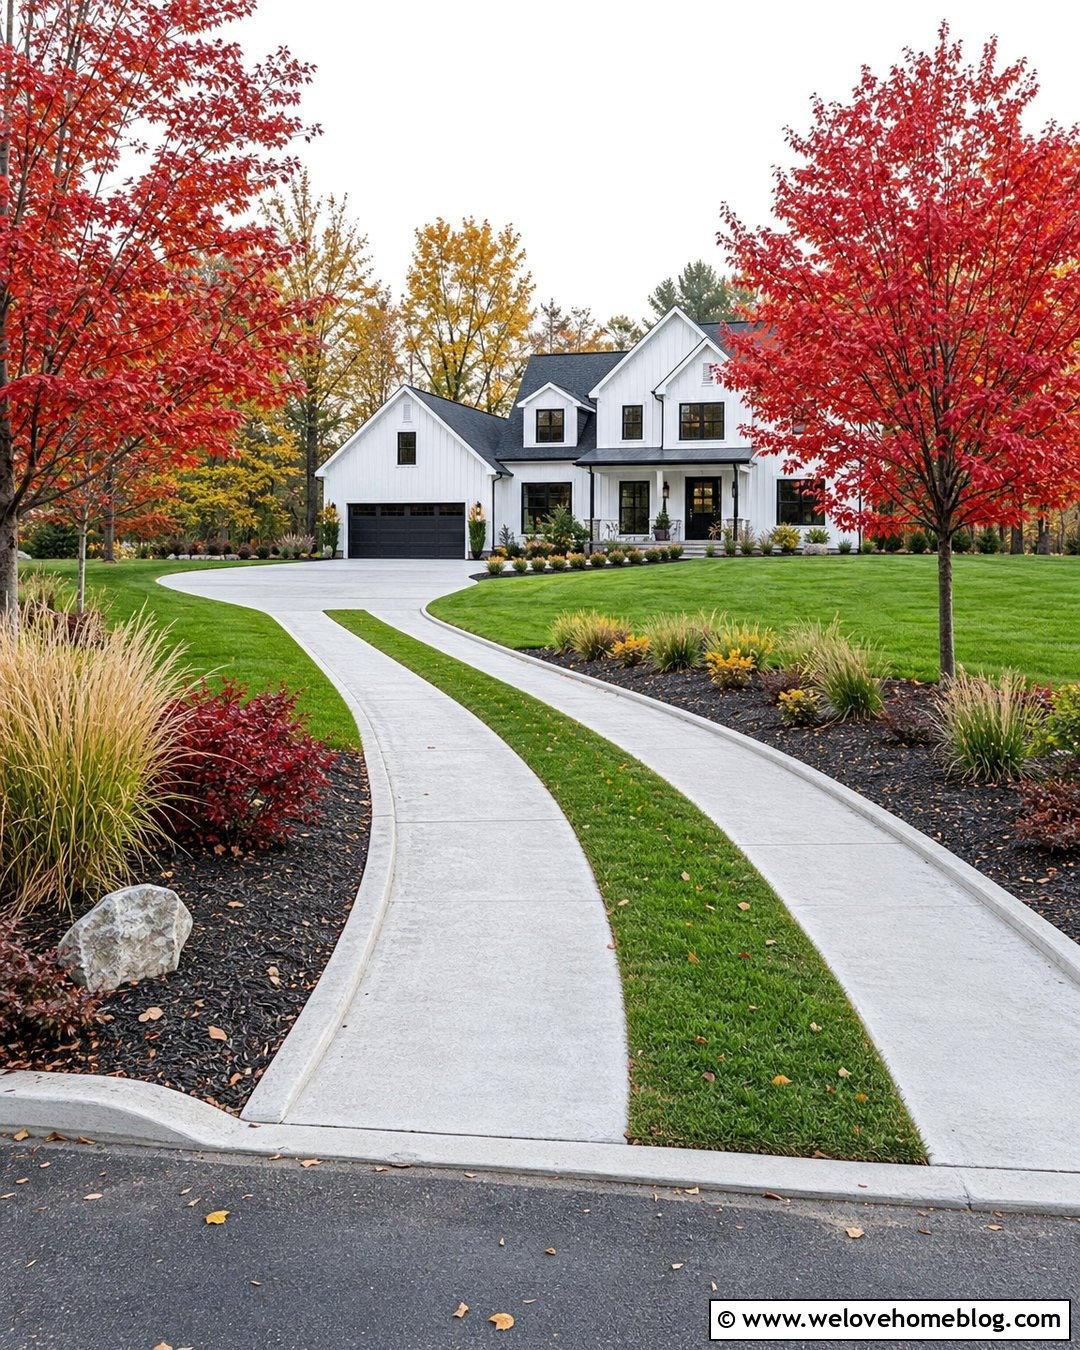
Clean stucco pillars suit a modern house with a straight gray poured concrete driveway and narrow grass strips. After confirming the entrance width, construct reinforced footings and concrete block cores that can withstand local wind and soil conditions. Run electrical conduit through the cores before closing them if you want lights, cameras, an intercom, or future gate controls. Apply the required masonry preparation, reinforcement, base coats, and finish coat as a complete compatible stucco system. Select a warm white or pale greige finish that coordinates with the home rather than using an unrelated color. Protect the top with broad concrete or metal caps that slope slightly for drainage. Finish the entrance with restrained ornamental grasses and linear planting beds so the pillars feel integrated with the modern driveway.
4. How To Build Stacked Stone Driveway Pillars
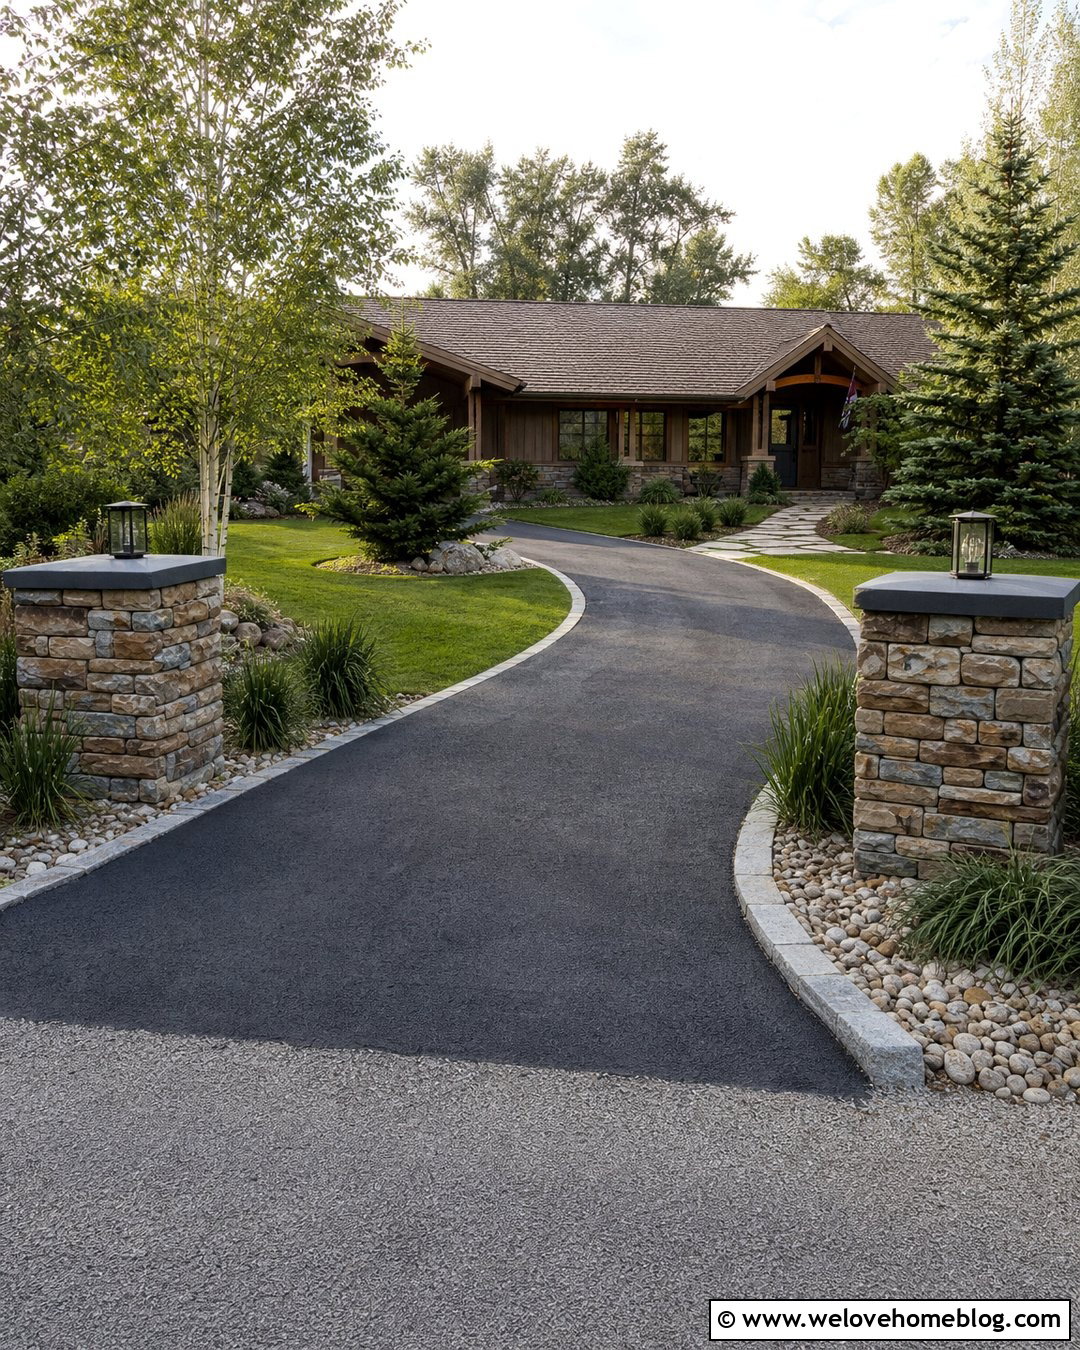
Stacked stone pillars can soften a curved black asphalt driveway leading toward a rustic ranch house. Their rugged texture looks convincing when the stones vary naturally in length, depth, and tone. Build reinforced concrete foundations first, followed by structurally sound masonry cores. Dry-lay several veneer pieces on the ground to plan the color distribution and prevent noticeable clusters. Start at the corners and work inward, maintaining the joint type recommended for the chosen stone system. Avoid long vertical seams that make the pillar look like separate panels. Dark bluestone caps provide a strong transition to black asphalt and protect the masonry below. Frame each base with river rock, compact shrubs, and native grasses, but preserve open sightlines where drivers enter the road.
5. How To Build Cobblestone Driveway Pillars
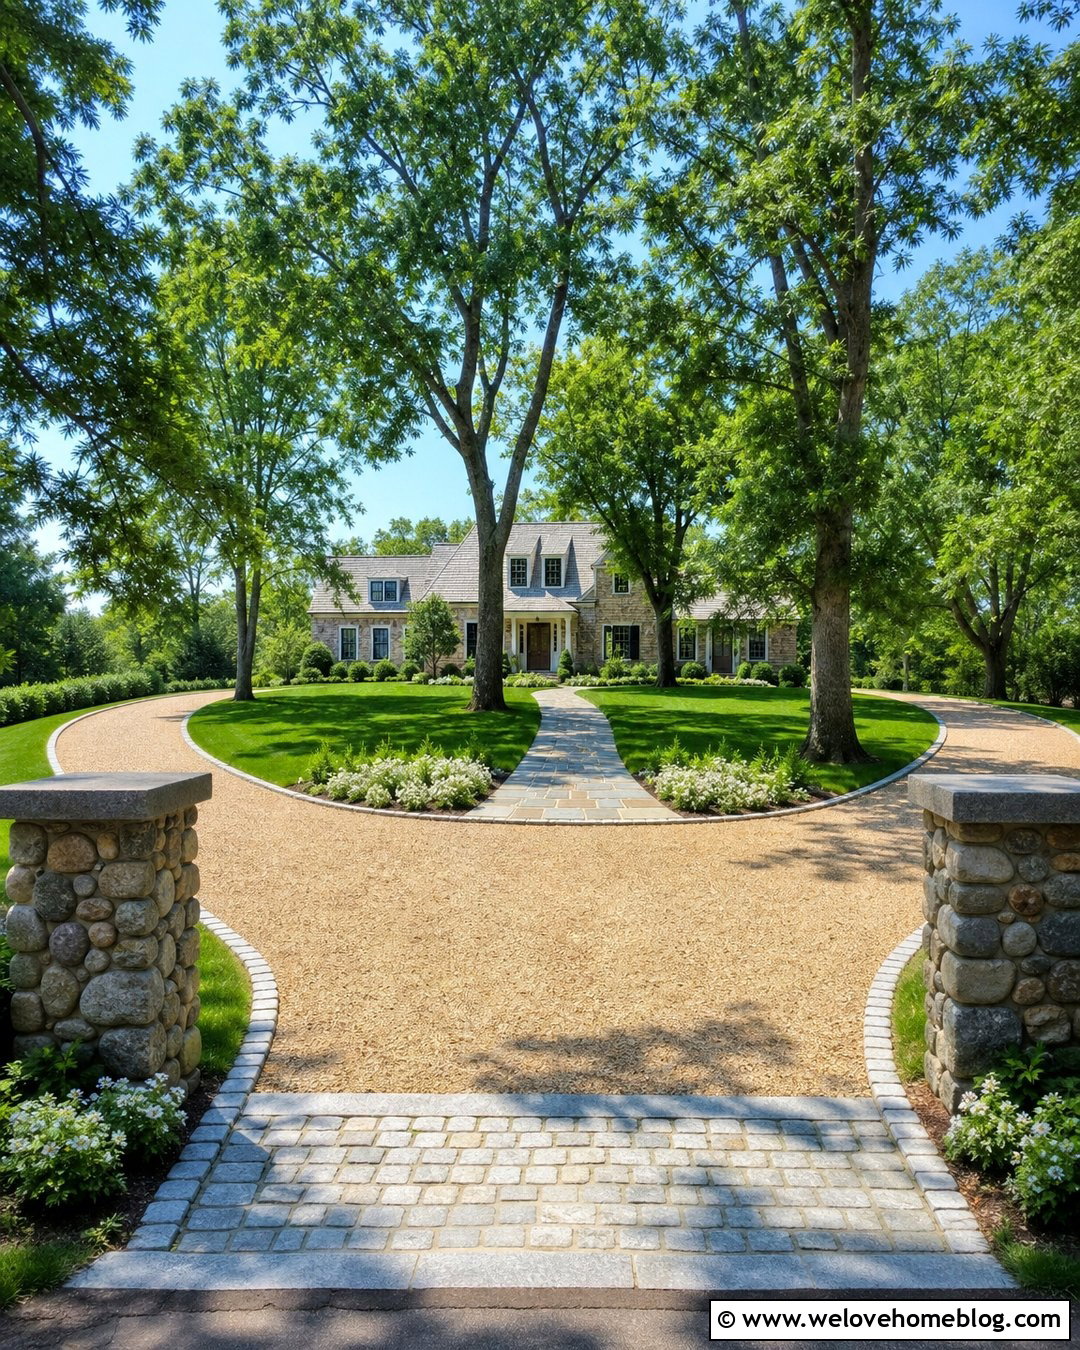
Cobblestone pillars make a strong entrance for a horseshoe driveway surfaced with tan gravel and bordered by granite setts. Because rounded stones create an irregular face, begin with carefully sized reinforced cores rather than trying to stack loose cobbles as unsupported columns. Sort the stones by size, depth, and color before installation. Use larger pieces around the lower courses and corners to establish visual weight. Fill deep spaces properly while keeping the visible mortar joints consistent. Repeatedly check each face for plumb because uneven stones can disguise a leaning core. Wide thermal-bluestone caps give the rough masonry a crisp finish. Pair the pillars with a simple lawn opening and low flowering ground cover. This keeps the textured cobblestone as the main entrance feature instead of creating visual clutter.
6. How To Build Low Driveway Pillars With Lights
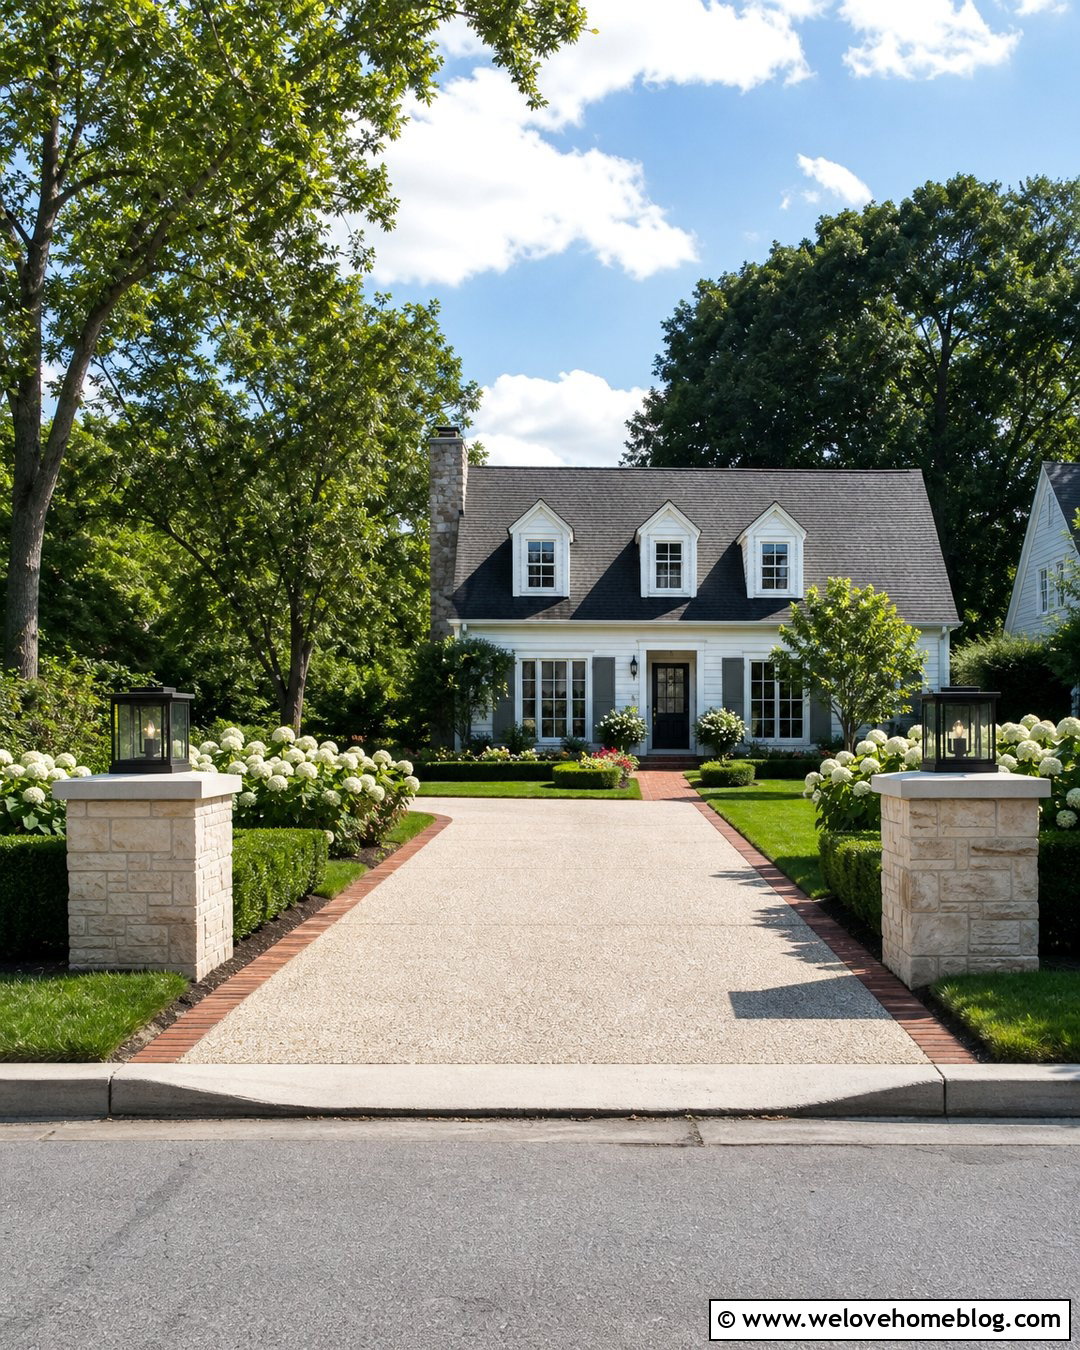
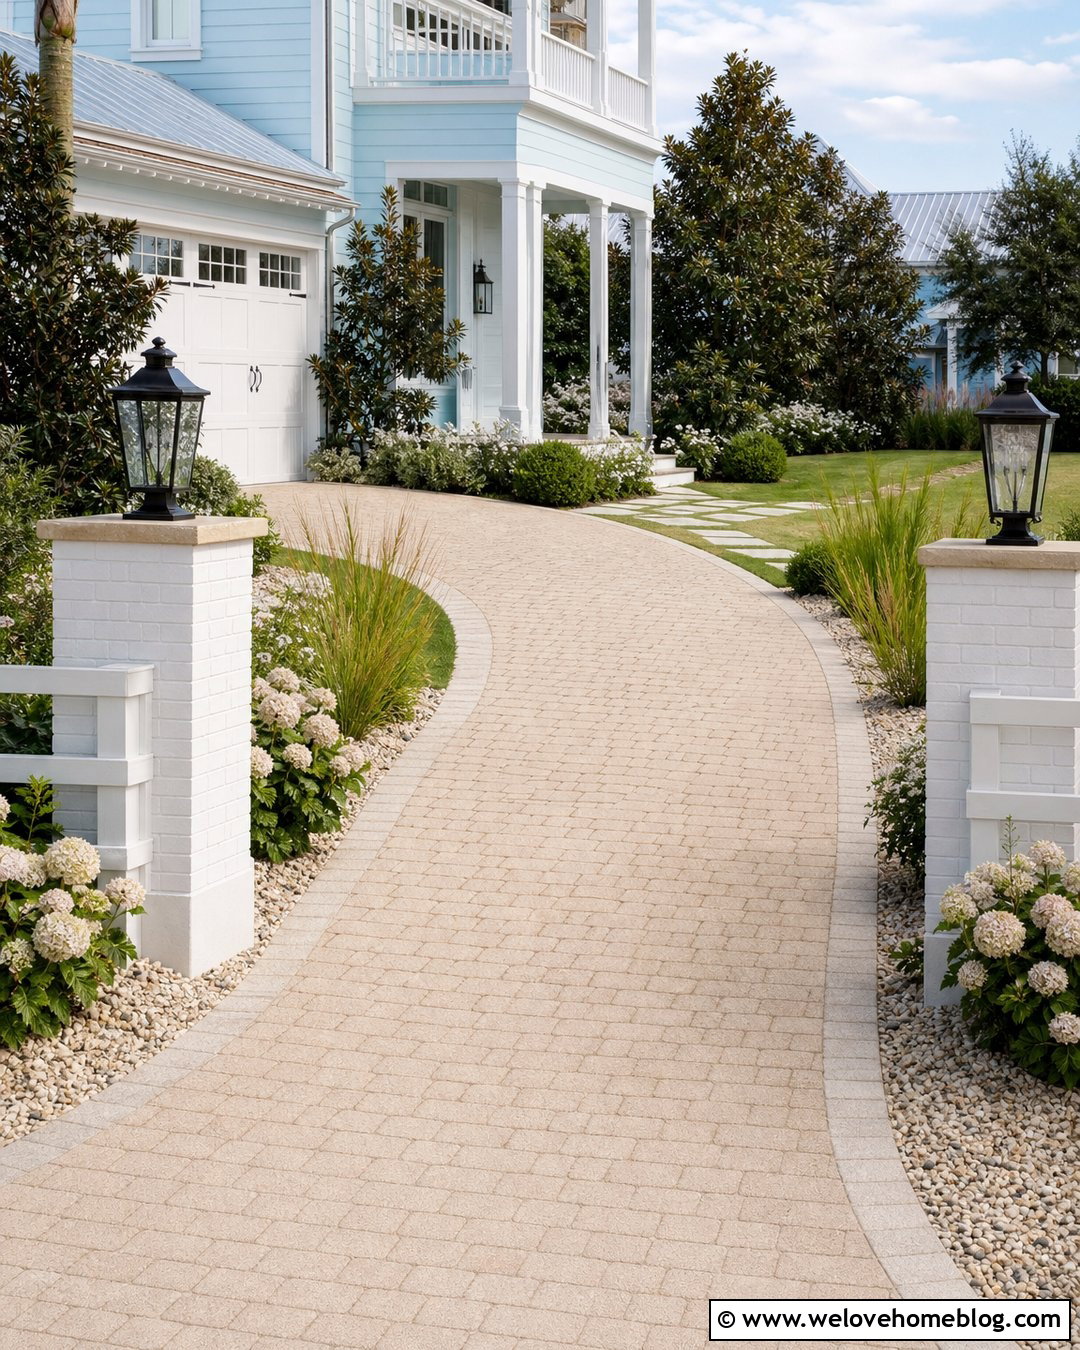
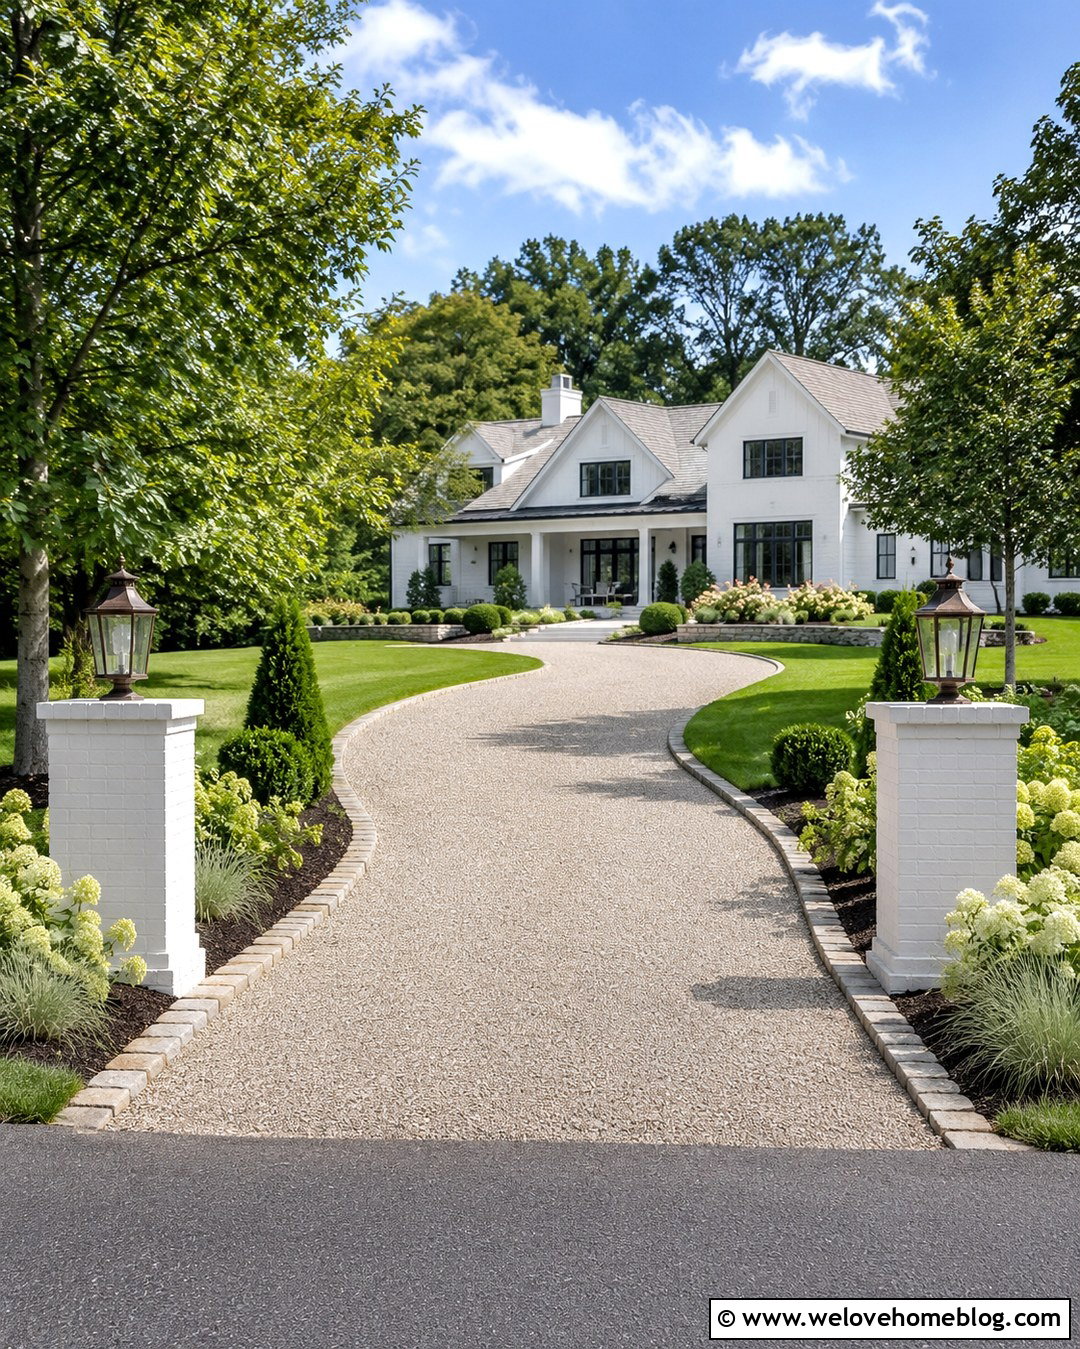
Low pillars are useful when you want to mark the entrance without blocking views along a busy road. Pair them with an exposed aggregate concrete driveway, brick borders, and a one-story Cape Cod home. Build the footings and reinforced masonry cores to suit the finished weight and local frost conditions. Before adding the exterior finish, install outdoor-rated conduit for low-voltage or line-voltage lighting. Electrical work should follow local code and may require a licensed electrician. Keep junctions accessible instead of permanently burying connections inside solid masonry. Finish the pillars with light limestone veneer and broad caps sized for square lanterns. Matching fixtures create symmetry, while hydrangeas and clipped boxwoods connect the entrance to the home. Place plants far enough away to allow masonry maintenance and unobstructed light.
7. How To Build Tall Driveway Gate Pillars

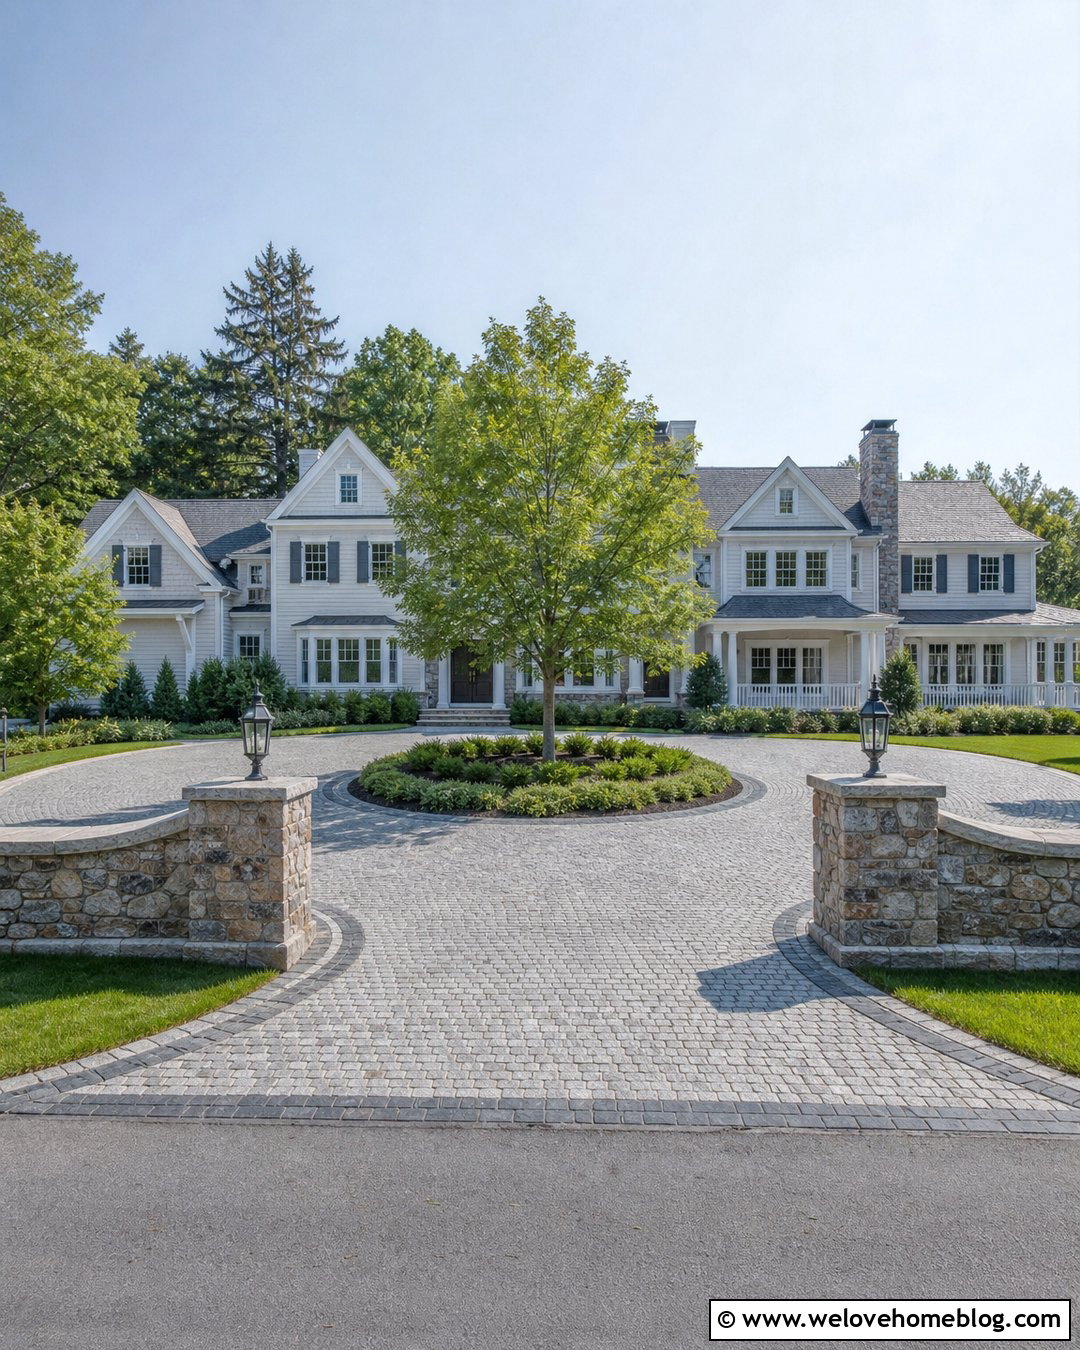
Tall pillars supporting a wrought iron gate need structural design, not just decorative masonry. The footing, reinforcement, internal post, hinge hardware, and pillar proportions must work together under the gate’s weight and repeated movement. Begin by selecting the gate before building the pillars so its width, clearance, hinge locations, and automation needs guide the entrance plan. Use engineered concrete foundations and reinforced cores appropriate for local soil, wind, frost, and seismic conditions. Do not attach a heavy gate only to thin veneer or hollow masonry. Coordinate embedded plates, internal steel, or approved anchors with the gate installer before the core is filled. Finish the pillars in buff limestone beside a paved circular driveway. Recessed landscaping and open metalwork will maintain visibility while creating a secure formal entrance.
8. How To Build Wood Driveway Pillars
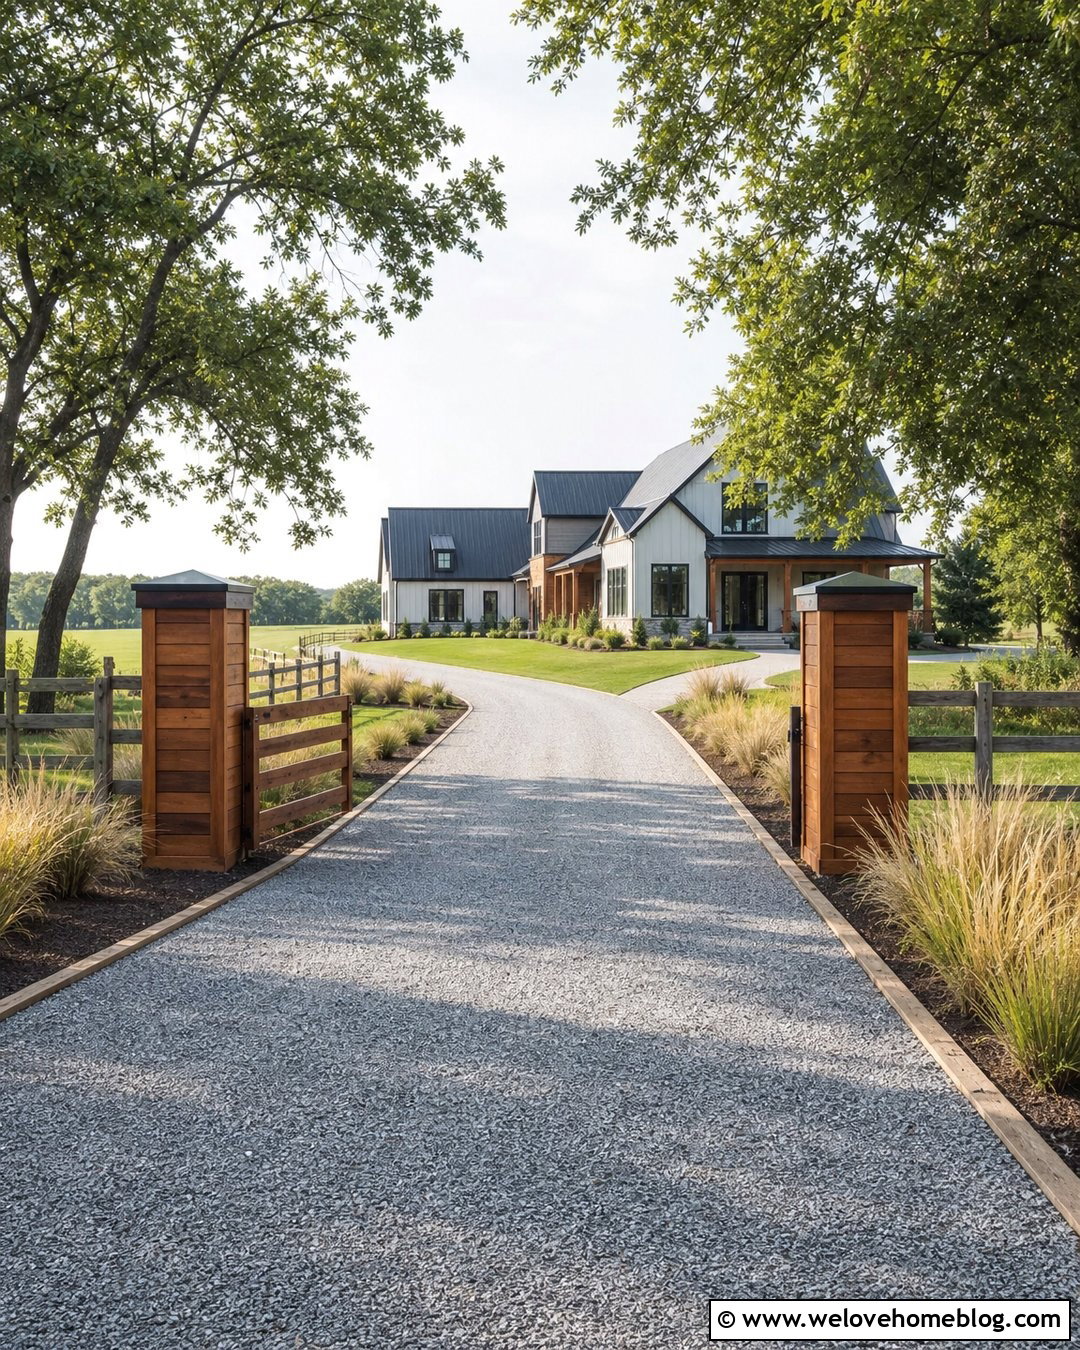
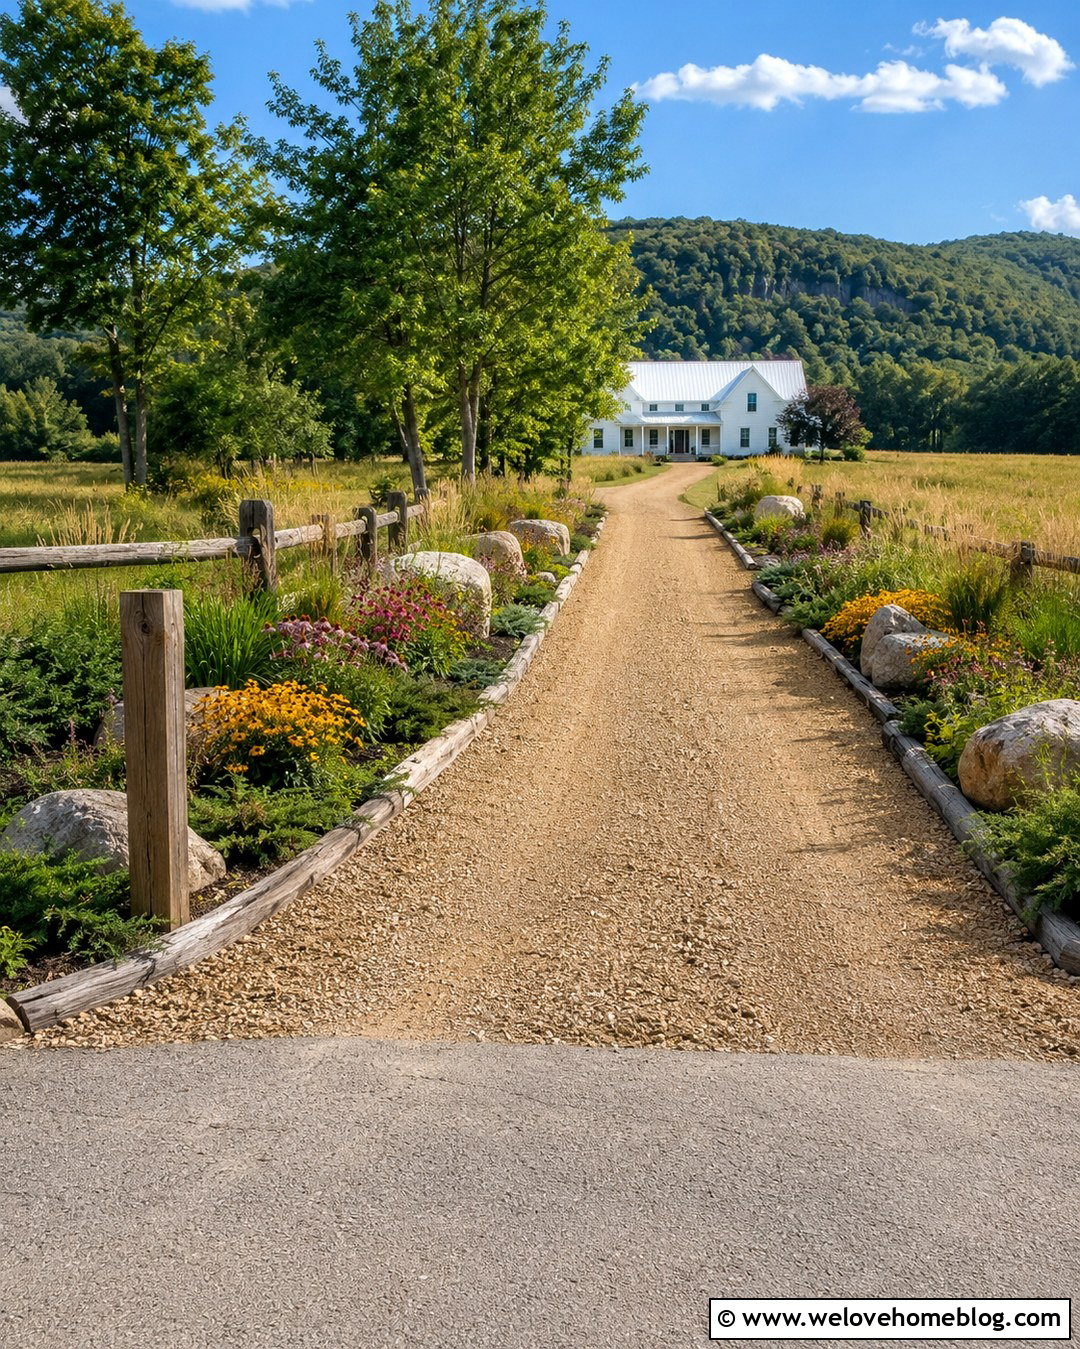
Wood pillars bring warmth to a country driveway, especially when paired with crushed granite, timber edging, and a modern farmhouse. Use structural exterior-rated posts sized for the intended fence or gate load. Instead of burying decorative wood directly in wet soil, connect the posts to properly designed concrete foundations with approved corrosion-resistant bases. Raised post-base connections can reduce prolonged moisture exposure at the post ends. () Wrap the structural posts with cedar boards to create wider, more substantial pillars, leaving appropriate ventilation and drainage details. Add simple metal caps or sloped wood tops that prevent standing water. A natural stain highlights the grain, while a clear protective finish simplifies future maintenance. Complete the look with prairie grasses, split-rail fencing, and a wide gravel approach.
9. How To Build Driveway Pillars With A Mailbox
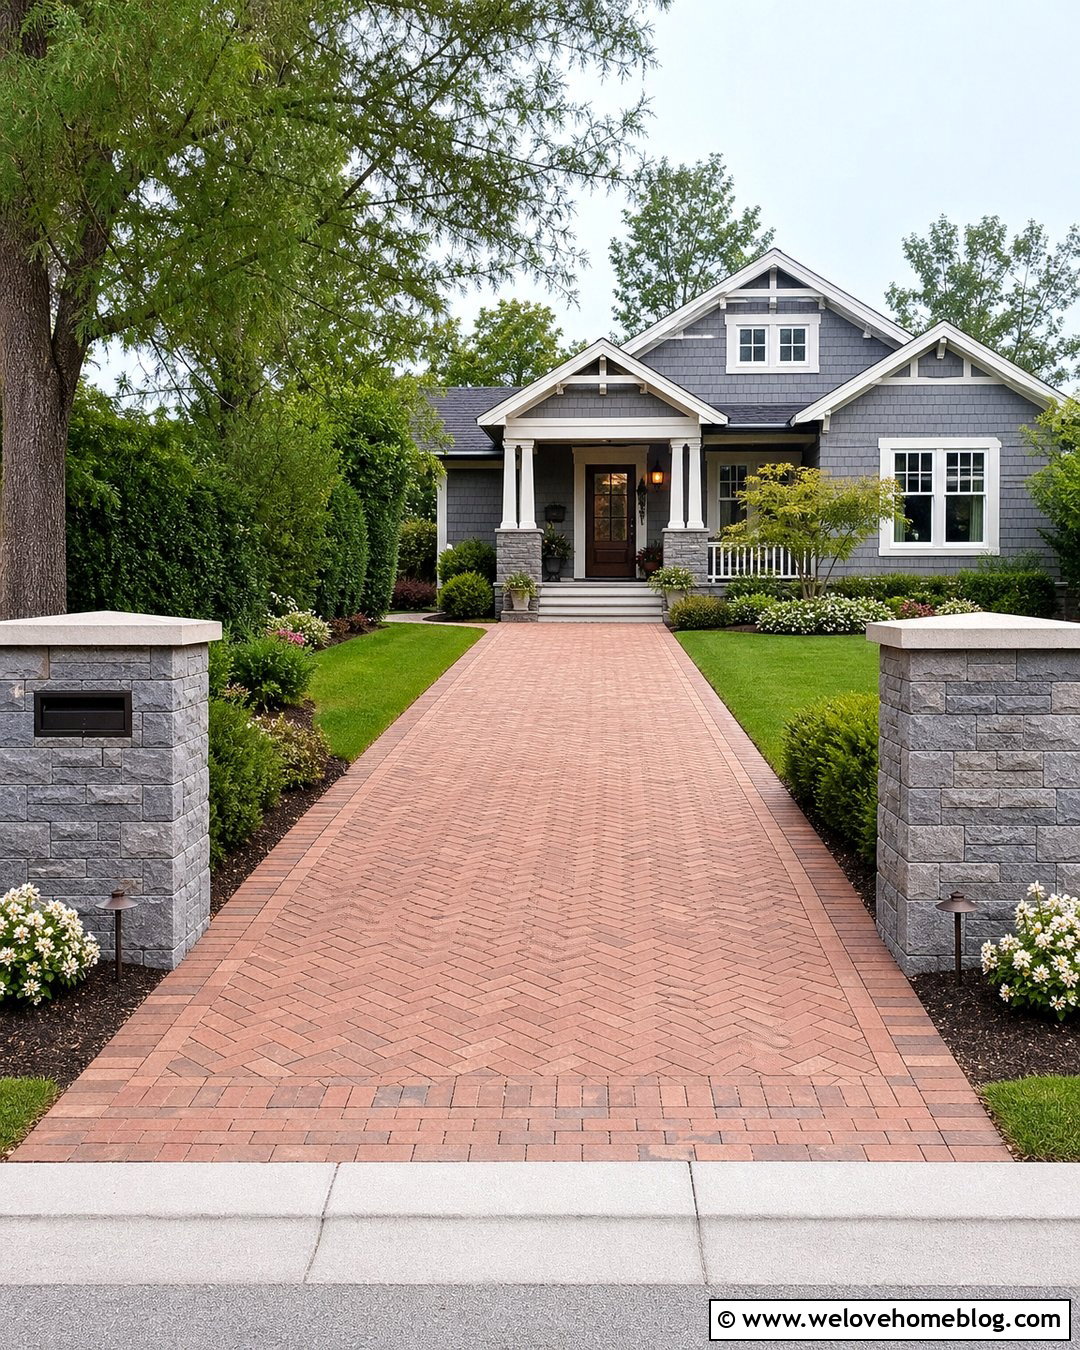
An entrance pillar can hold a mailbox while a matching pillar balances the opposite side of the driveway. This asymmetrical arrangement suits a straight clay brick paver driveway leading to a Craftsman bungalow. First confirm mailbox placement rules, sightlines, setbacks, and road-clearance requirements with the relevant local authority or delivery service. Build reinforced masonry cores on suitable concrete footings. Plan the mailbox opening, rear access, drainage, and replaceable mounting method before laying the visible brick or stone. Avoid creating a cavity where water can collect inside the pillar. Use matching manufactured stone veneer on both columns, even if only one contains the mailbox. Add identical concrete caps and low landscape lighting. Keep address numbers or a separate sign easy to see without allowing the mailbox pillar to overwhelm the entrance.
10. How To Build Driveway Pillars With Wing Walls
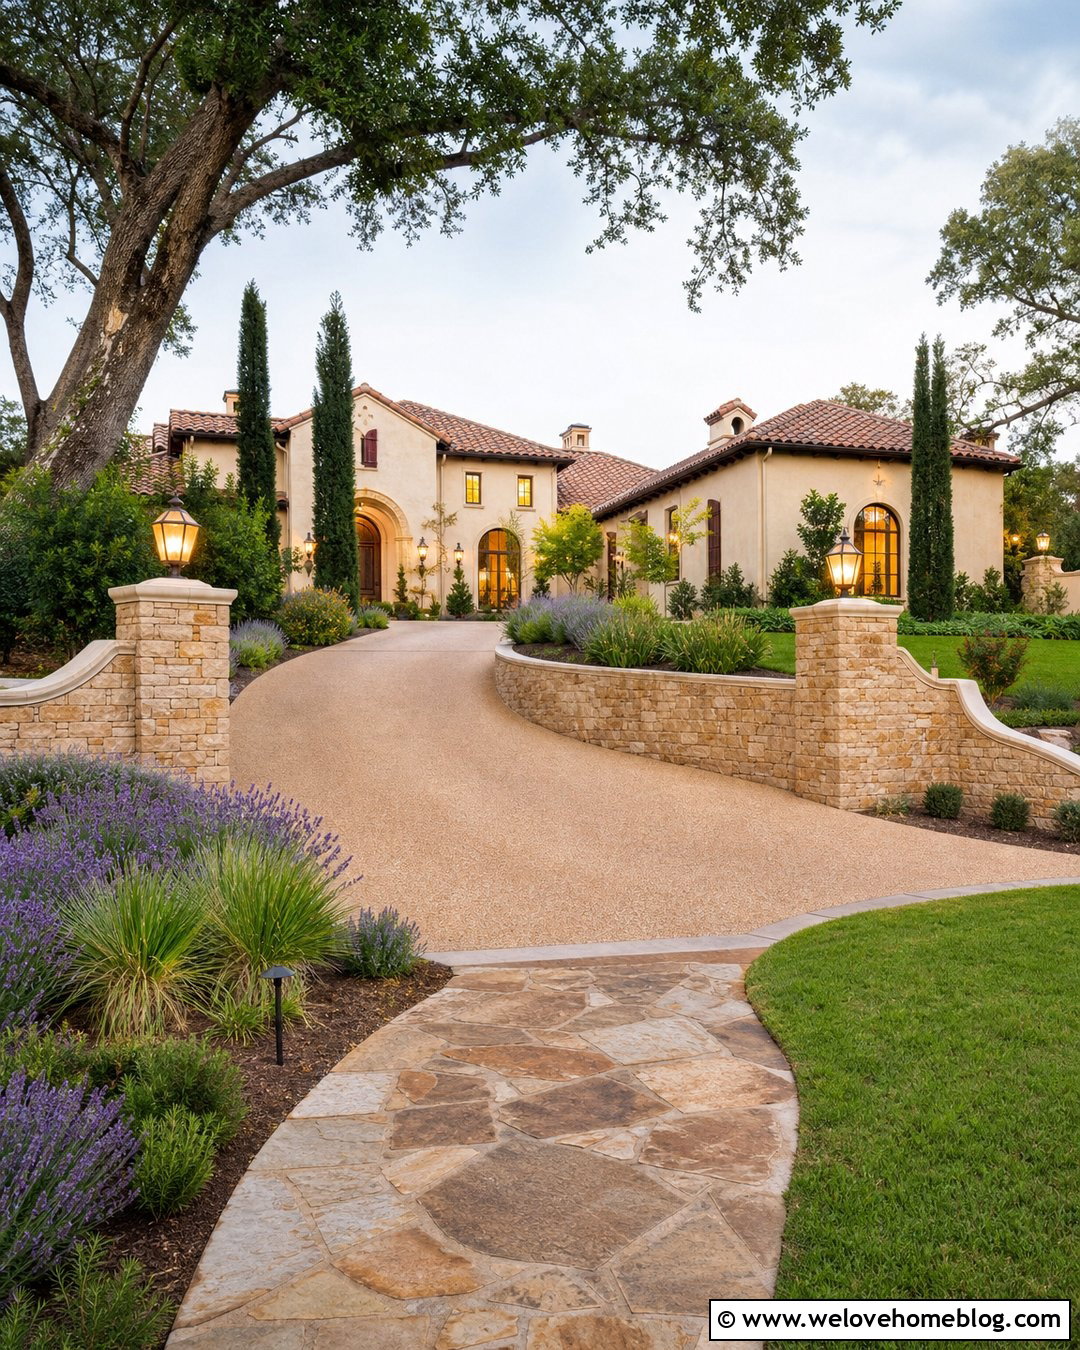
Short wing walls connect driveway pillars to the surrounding landscape and make the entrance feel more established. Use this layout beside a sweeping resin-bound gravel driveway leading to a Mediterranean-style stucco house. Plan the pillars and walls as one coordinated structure, including separate or continuous footings as specified for local conditions. Construct reinforced block cores, then step the walls down gradually as they move away from the driveway. Install movement joints where required rather than assuming a long masonry assembly will remain crack-free. Cover the surfaces with warm sandstone veneer and finish the tops with sloped coping stones. Curved planting beds filled with lavender, rosemary, ornamental grasses, and compact evergreens soften the masonry. Keep the walls outside the vehicle turning path and preserve clear visibility toward pedestrians and approaching traffic.
11. How To Build Driveway Pillars On A Slope
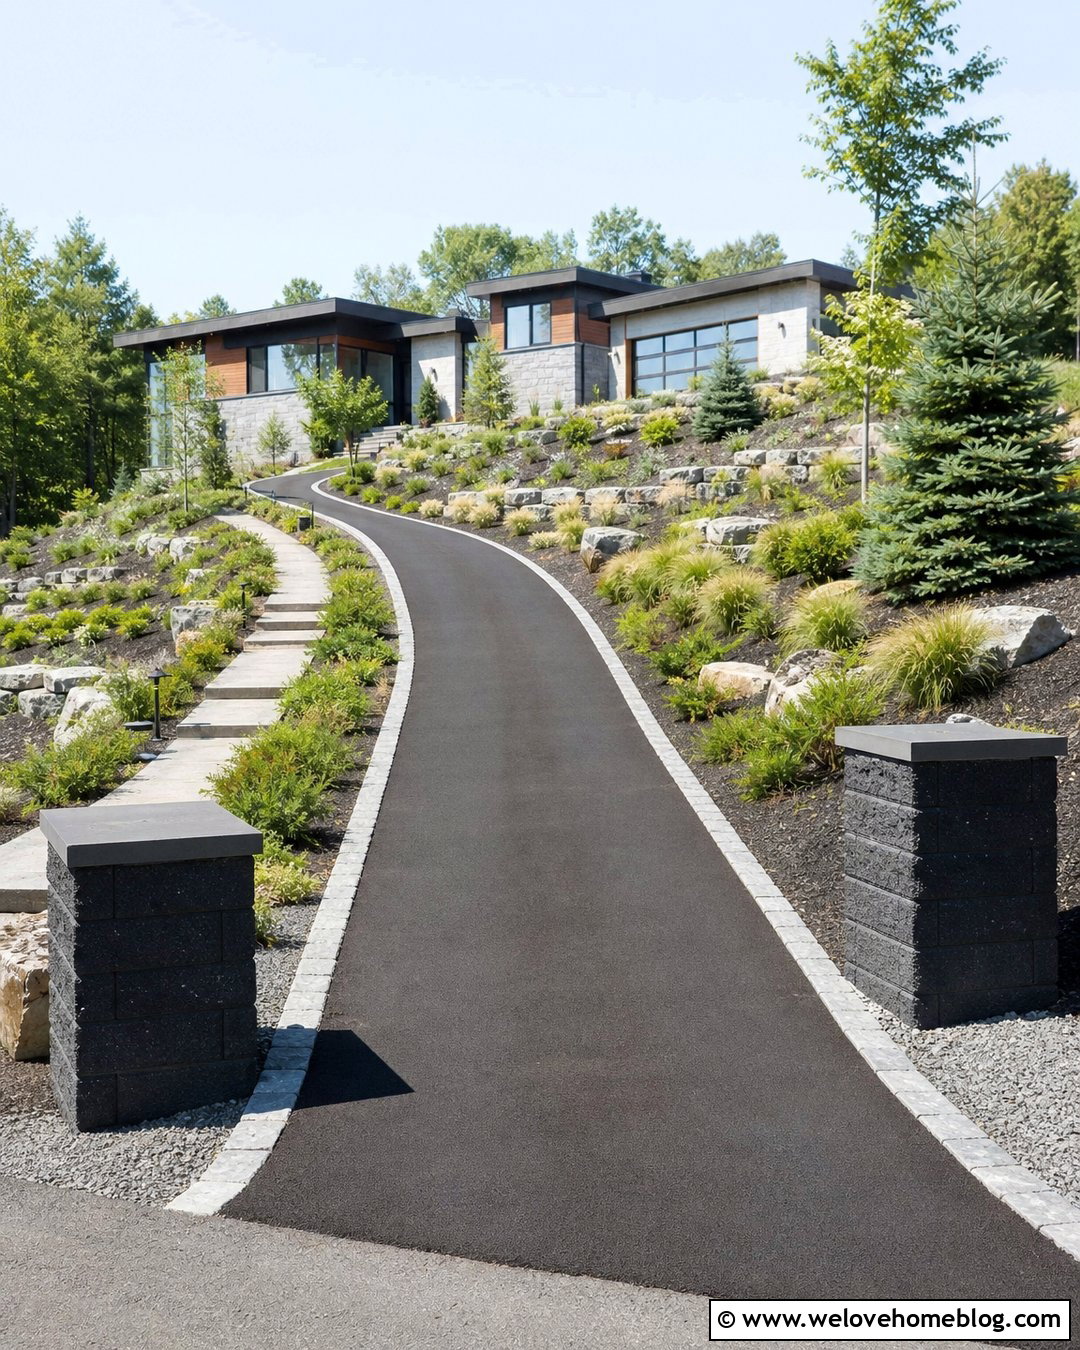
A sloping entrance requires careful layout because two pillar bases may sit at different elevations. Pair the pillars with a gently rising asphalt driveway, granite curbs, and a hillside contemporary home. Establish the driveway grade, drainage direction, and finished ground elevations before excavating. Each footing should bear on stable soil and follow locally required depth and reinforcement details. Do not simply place one shallow footing on loose fill to make its pillar appear level with the other. The visible pillars may match in total top elevation, or they can follow the slope intentionally, depending on the gate and house. Use charcoal split-face concrete block with smooth caps for a clean transition. Add terraced planting beds and erosion-resistant ground cover while keeping runoff from flowing directly against the pillar foundations.
12. How To Build Concrete Driveway Pillars
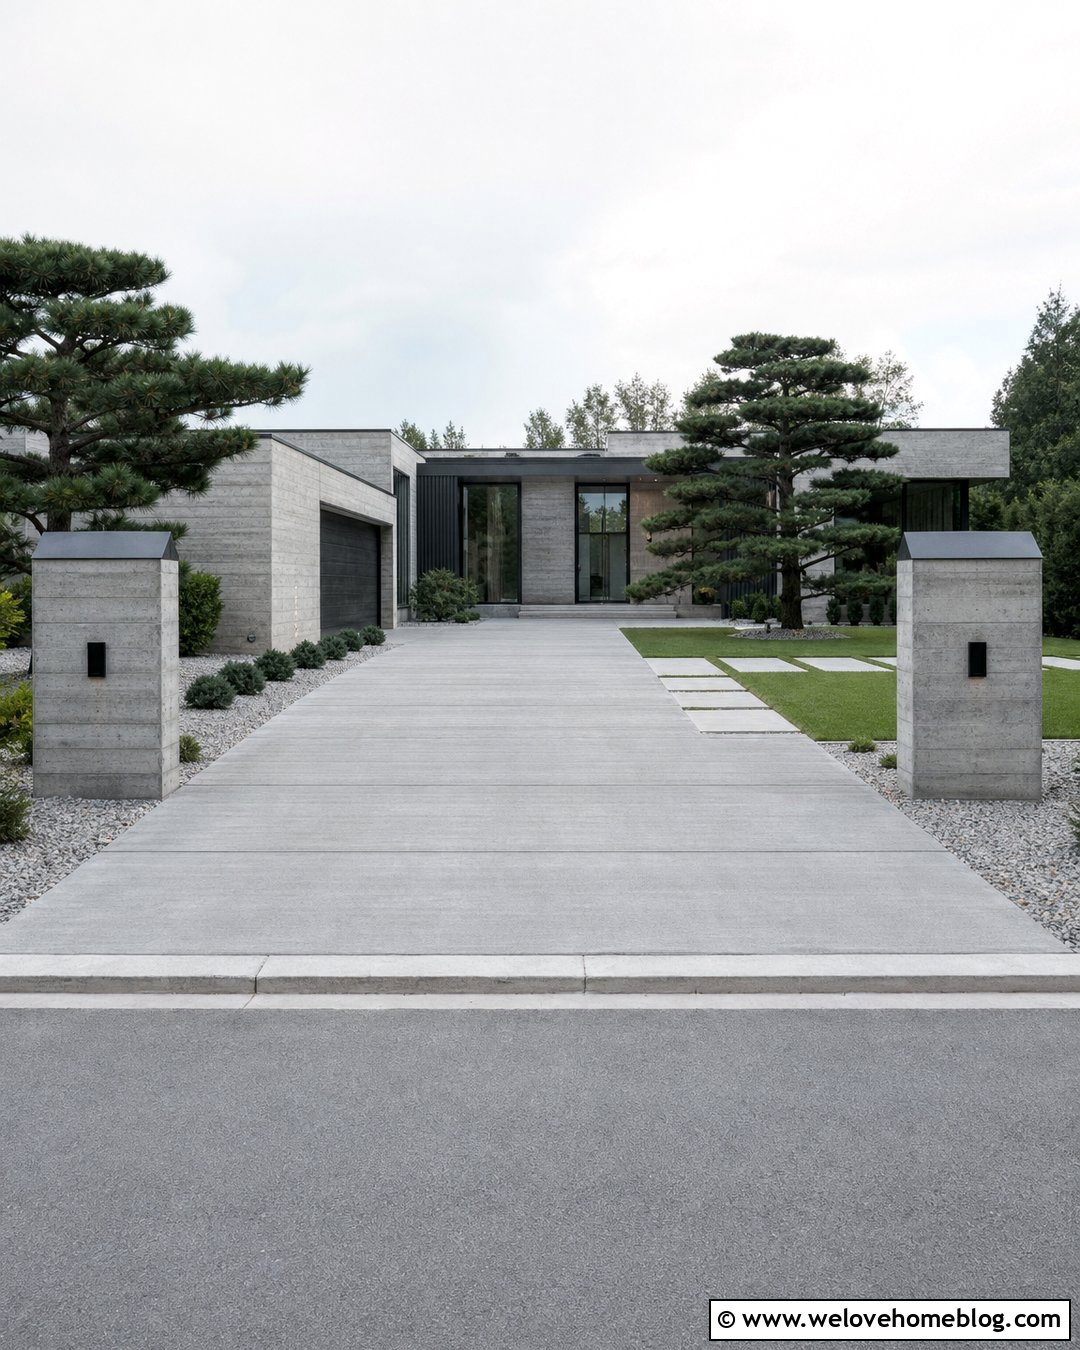
Poured concrete pillars produce a bold, minimal entrance for a modern home with a wide broom-finished concrete driveway. Start with engineered reinforced footings and plan how vertical reinforcement will connect the foundation to each pillar. Build strong, square forms with bracing that can resist wet concrete pressure without bowing. Include conduit, attachment points, and sleeves before the pour because drilling later can damage the finish or conflict with reinforcement. Place and consolidate the concrete carefully to reduce voids, then follow appropriate curing and form-removal practices. Choose smooth architectural concrete or a subtle board-formed texture. Slightly sloped tops or fitted metal caps prevent water from lingering. Surround the pillars with gravel mulch, sculptural evergreens, and simple concrete walkways. The restrained palette allows the form and driveway geometry to create the curb appeal.
13. How To Build Fieldstone Driveway Pillars
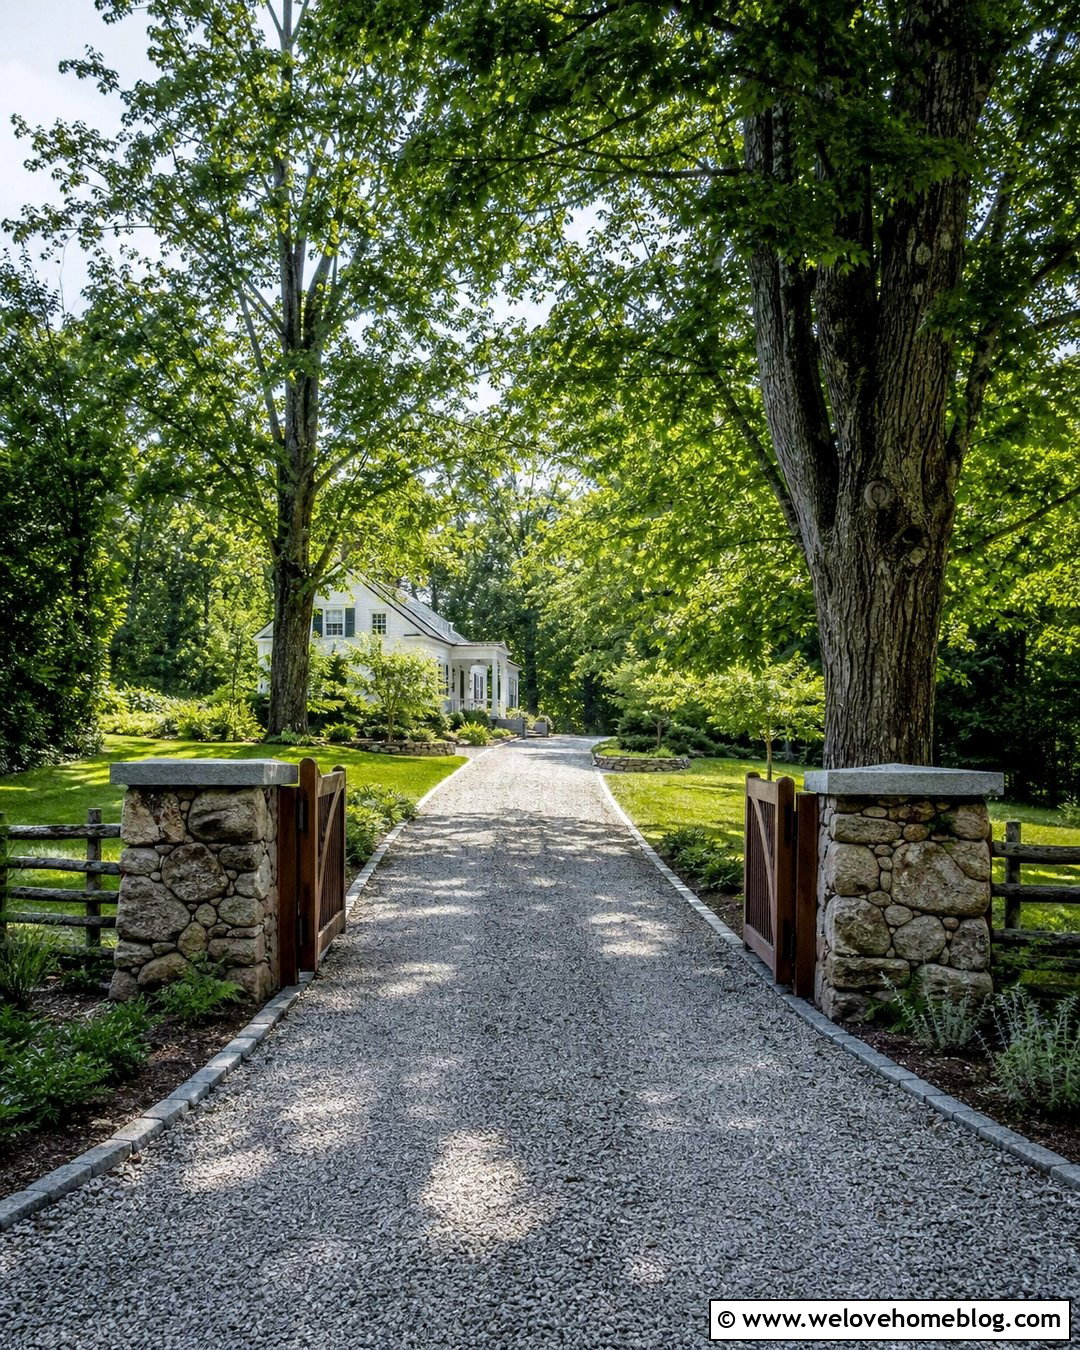
Fieldstone pillars feel at home beside a long gravel driveway, split-rail fencing, mature maples, and a traditional farmhouse. Begin with wide, reinforced foundations designed for the considerable weight of masonry. Build stable inner cores, then sort the fieldstone into corner pieces, face stones, and smaller infill pieces. Natural stone varies in depth, so plan each course before applying mortar. Create balanced faces without forcing every joint into a perfectly straight line. The finished pillars should look handcrafted but remain plumb and structurally sound. Large granite slabs make durable caps and echo the gray tones in the crushed-stone driveway. Add a simple stained wood gate only when the cores and gate attachments are designed for it. Native ferns and low shrubs can soften the bases without trapping moisture against the stonework.
14. How To Build White Brick Driveway Pillars

White brick pillars brighten a suburban entrance and work beautifully with a straight black asphalt driveway edged in matching brick. Use genuine light-colored masonry or a properly specified exterior masonry coating rather than an unsuitable interior paint. Begin with reinforced concrete footings and structural masonry cores. Lay the brick with consistent joints, checking the corners and faces frequently for level, square, and plumb. Select a mortar color that complements the brick and hides minor outdoor staining. Concave, V-shaped, and weathered joints generally offer better weather resistance than deeply raked decorative joints. () Finish the pillars with pale cast-stone caps and black lanterns. A neat lawn, white flowering shrubs, and a brick walkway will connect the entrance to a Colonial or Georgian-style home without making the overall palette feel too busy.
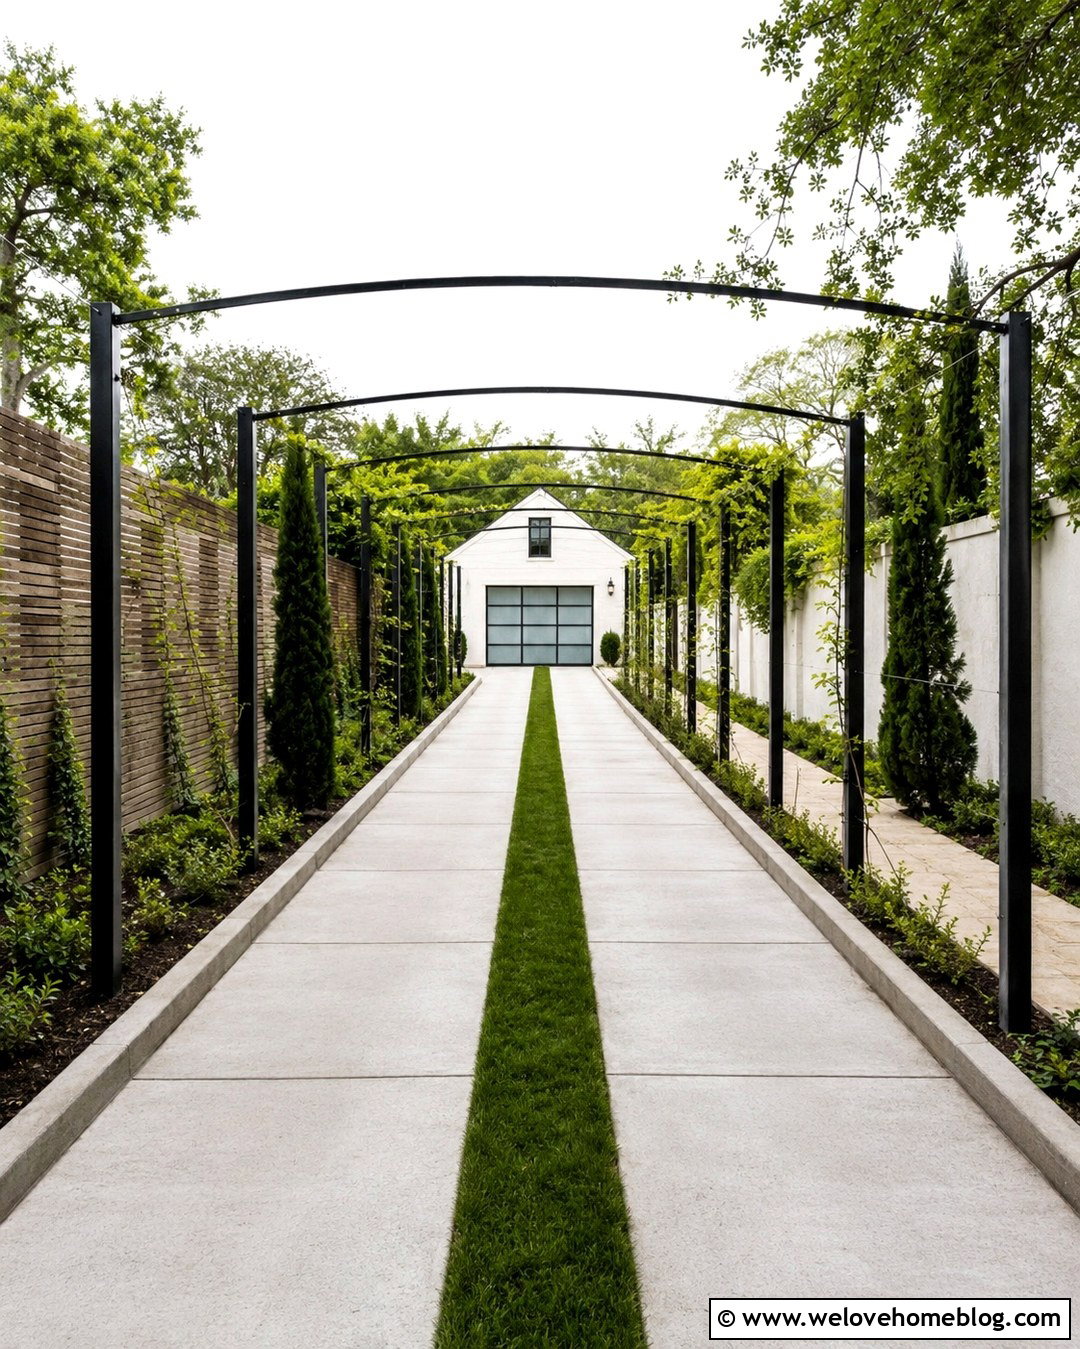
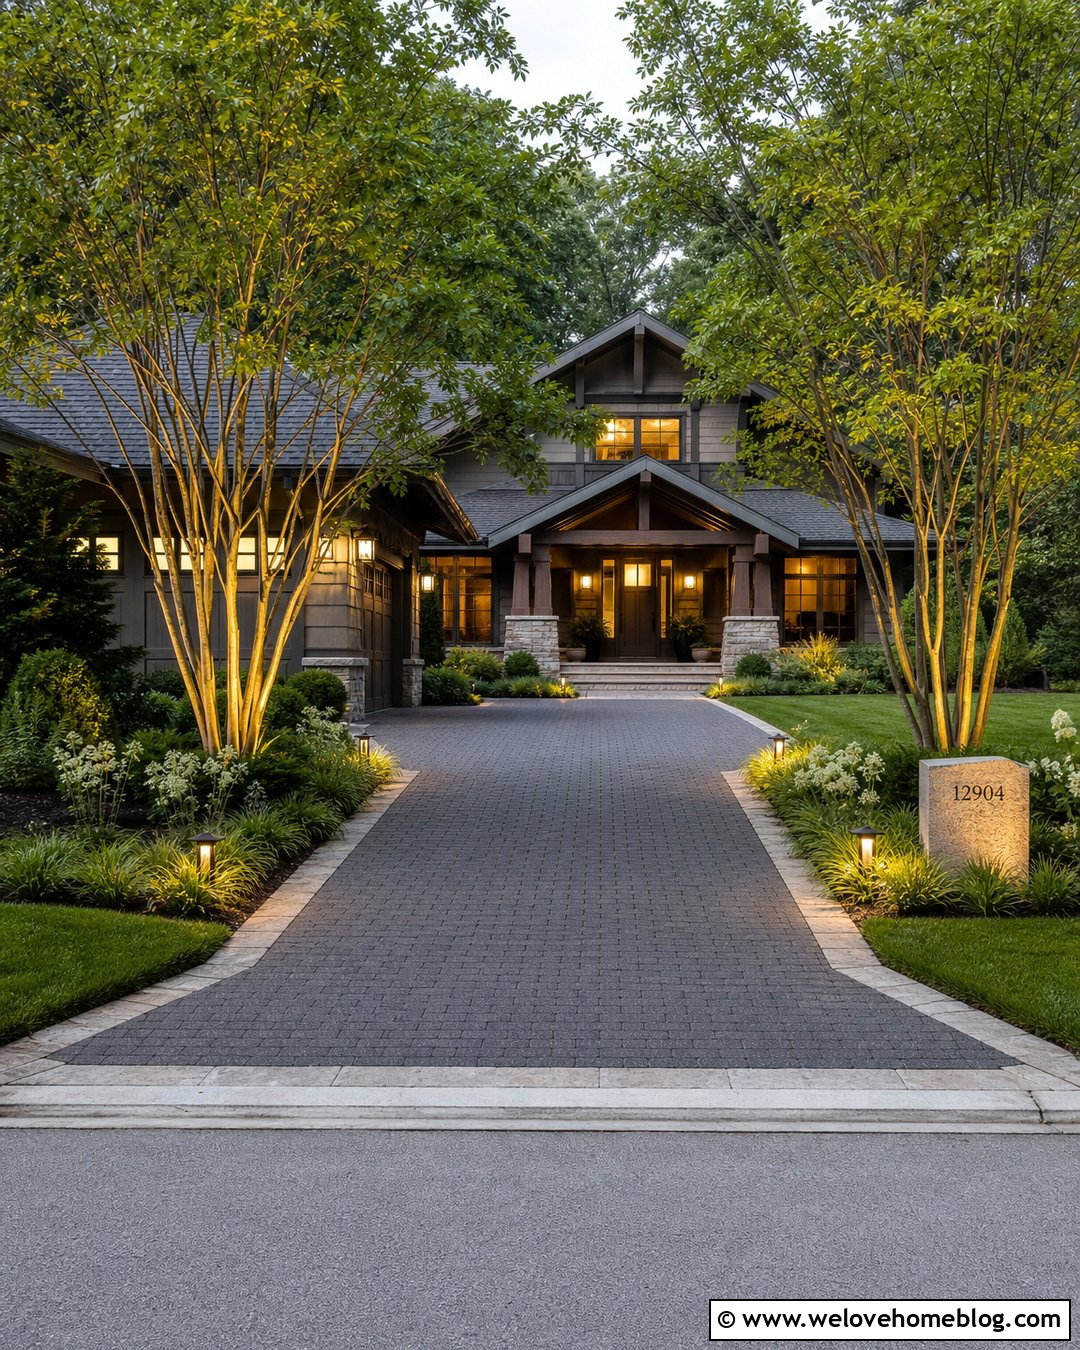
15. How To Build Modern Block Driveway Pillars
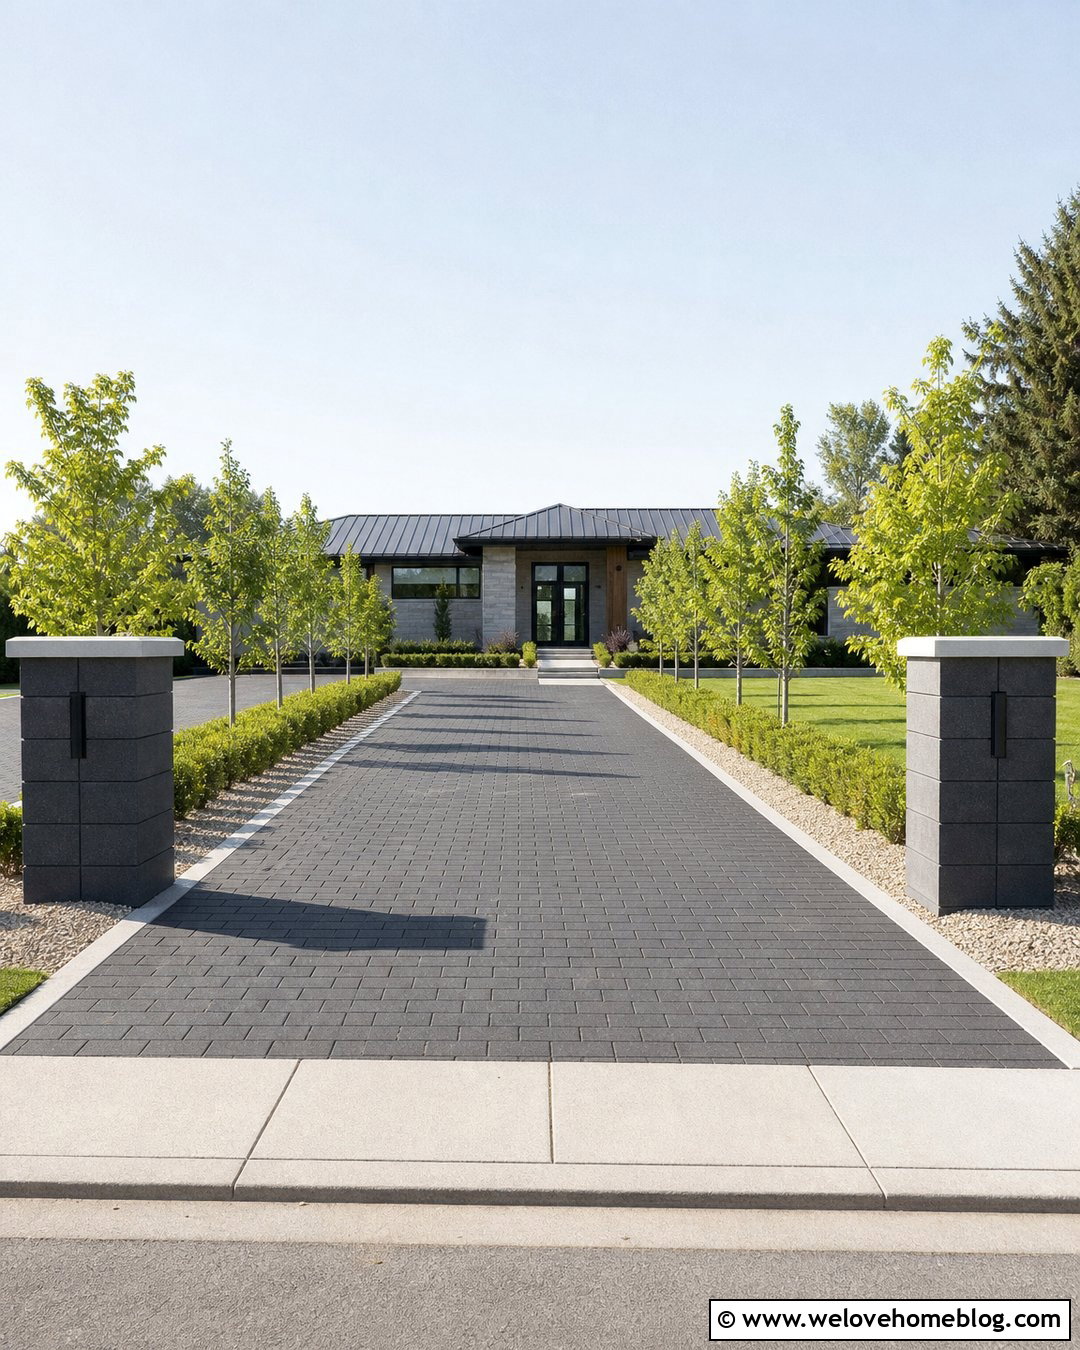
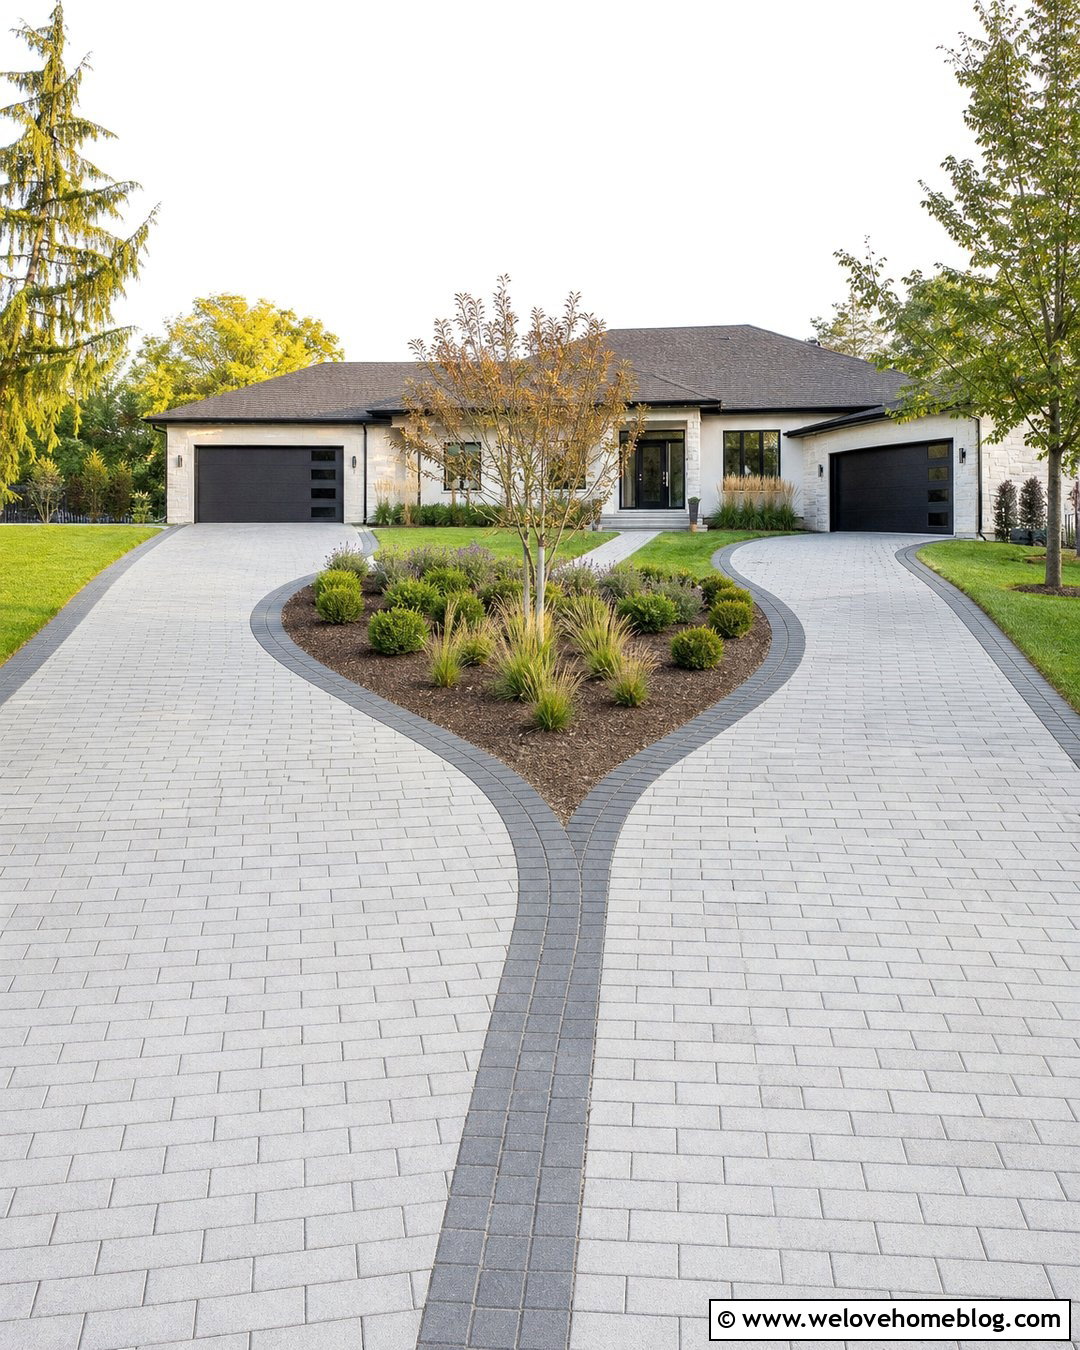
Large-format concrete blocks create modern pillars with fewer visible joints and strong geometric lines. This design suits a charcoal permeable paver driveway leading to a low-profile contemporary house. Choose a pillar block system intended for freestanding columns and follow its installation requirements for foundation preparation, reinforcement, core filling, adhesive, and cap placement. Product guidance should be treated as a starting point, while site conditions and professional design determine the final construction method. () Center each course carefully so the joints remain consistent on all four faces. Alternate units or use compatible corner pieces where required by the system. Add flat concrete caps and slim black wall lights. Linear hedges, pale gravel beds, and ornamental trees frame the entrance while preserving the simple block pattern and strong driveway lines.
16. How To Build Limestone Driveway Pillars
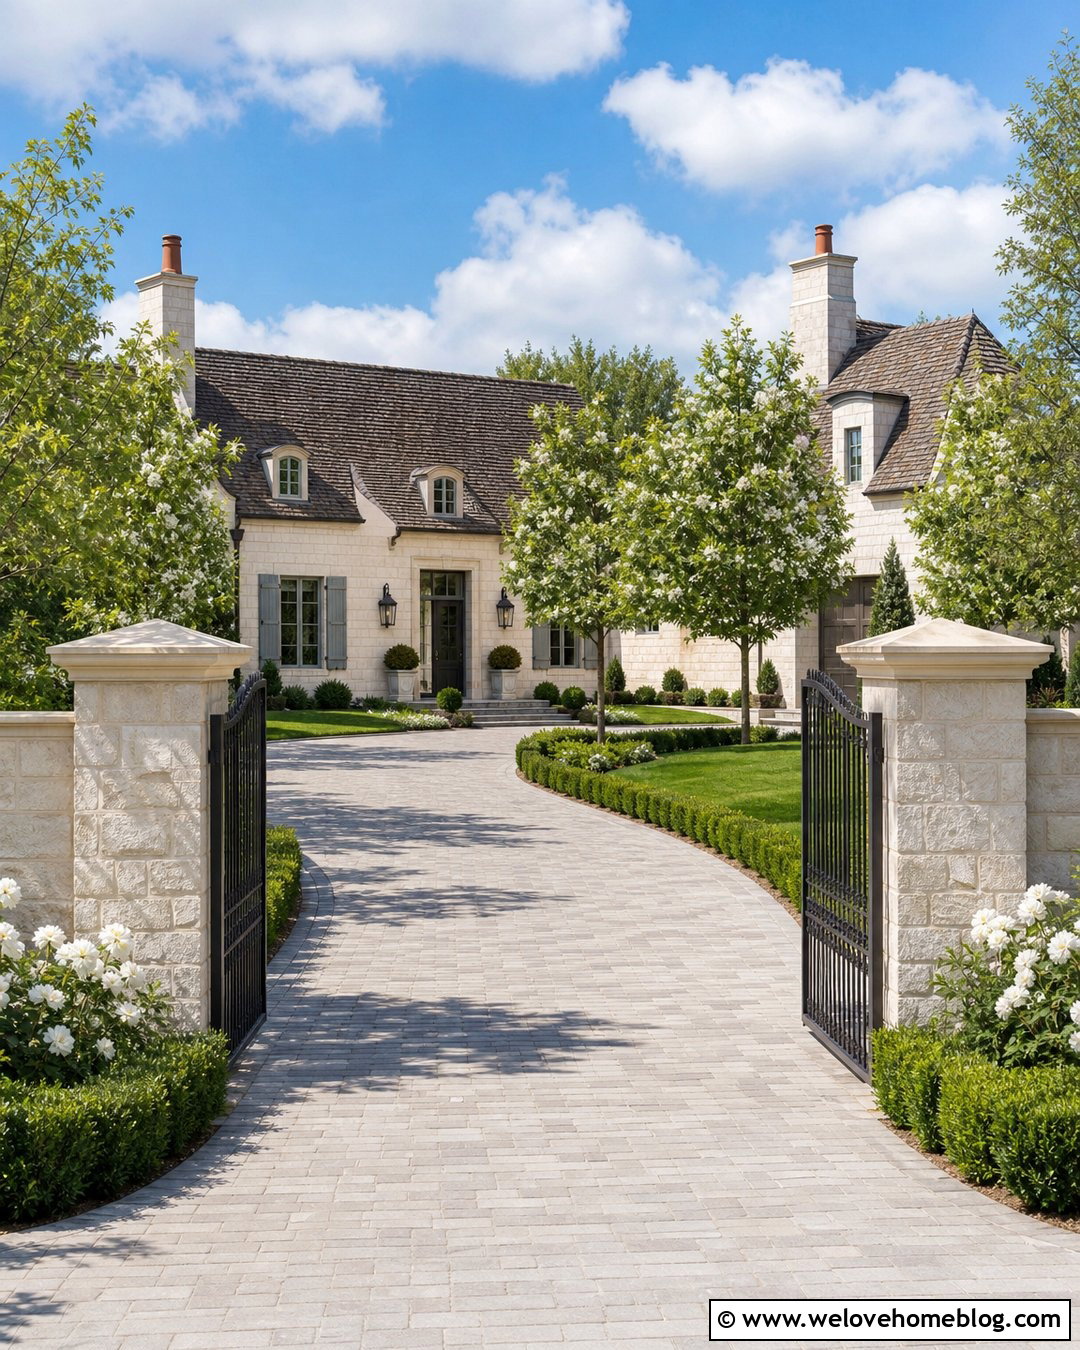
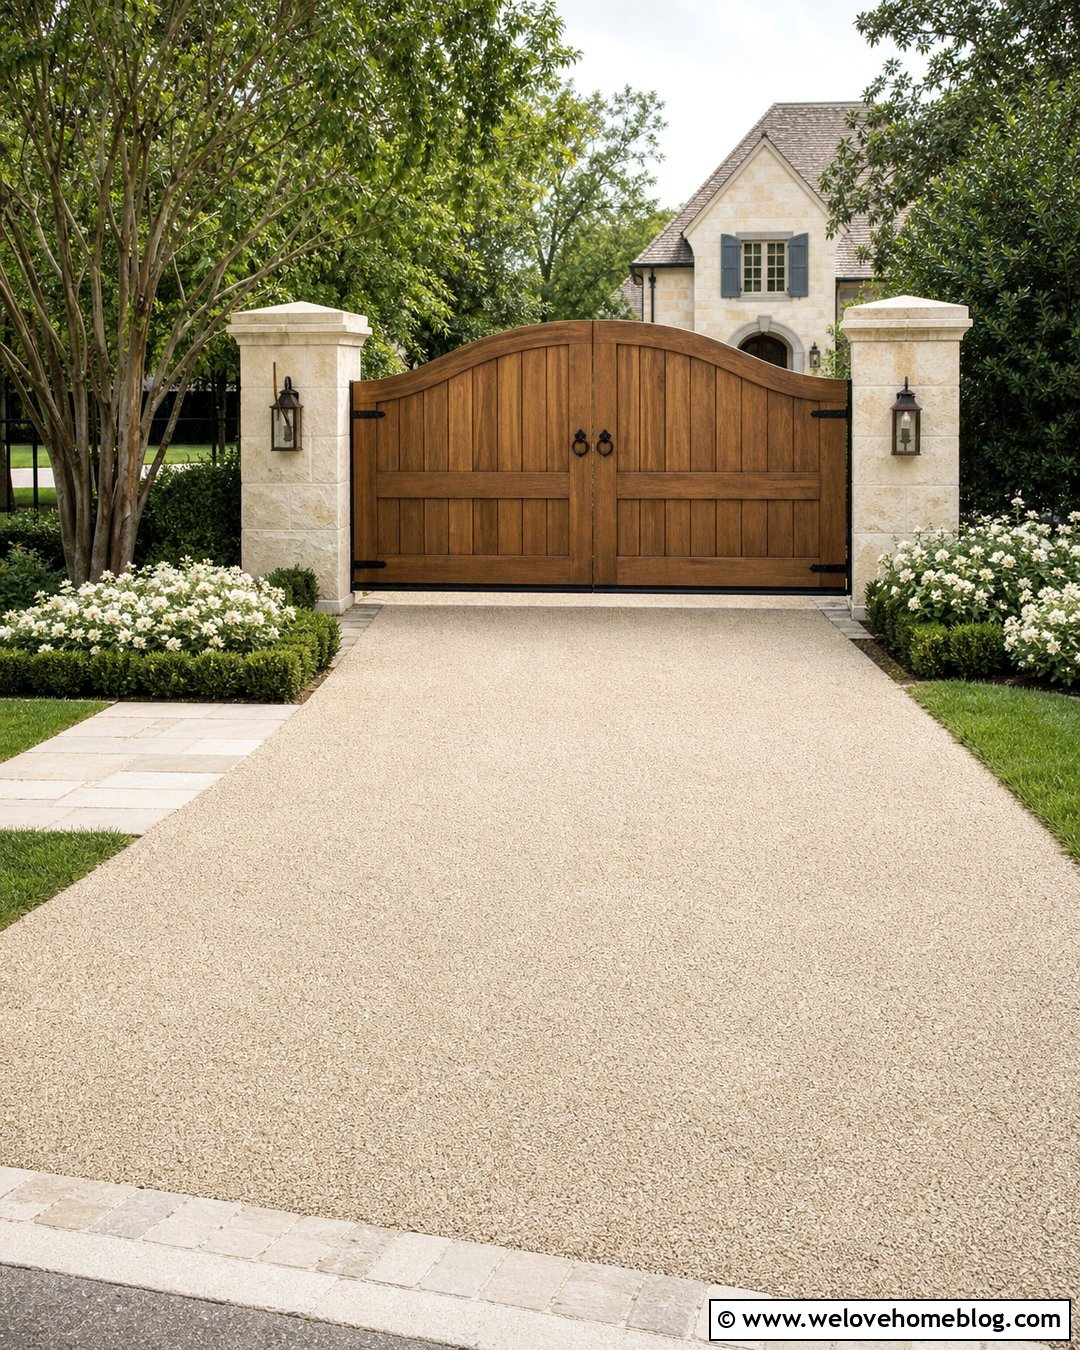
Cream limestone pillars bring a refined finish to a light gray paver driveway and a French country house. Because some limestone can absorb moisture and develop staining, select an exterior-grade product suitable for the local climate. Construct reinforced masonry cores on appropriately designed footings, then establish a precise layout for the veneer or full-depth stone. Blend pieces from multiple pallets to distribute natural color variation. Keep mortar smears off the visible faces and use cleaning methods approved by the stone supplier. Install broad limestone caps with an overhang and drip detail so rain moves away from the pillar sides. Pair the entrance with a softly curved driveway, low boxwood borders, white roses, and a bluestone walkway. A dark metal gate can add contrast when the pillars are structurally prepared to support it.
17. How To Build Budget Driveway Pillars
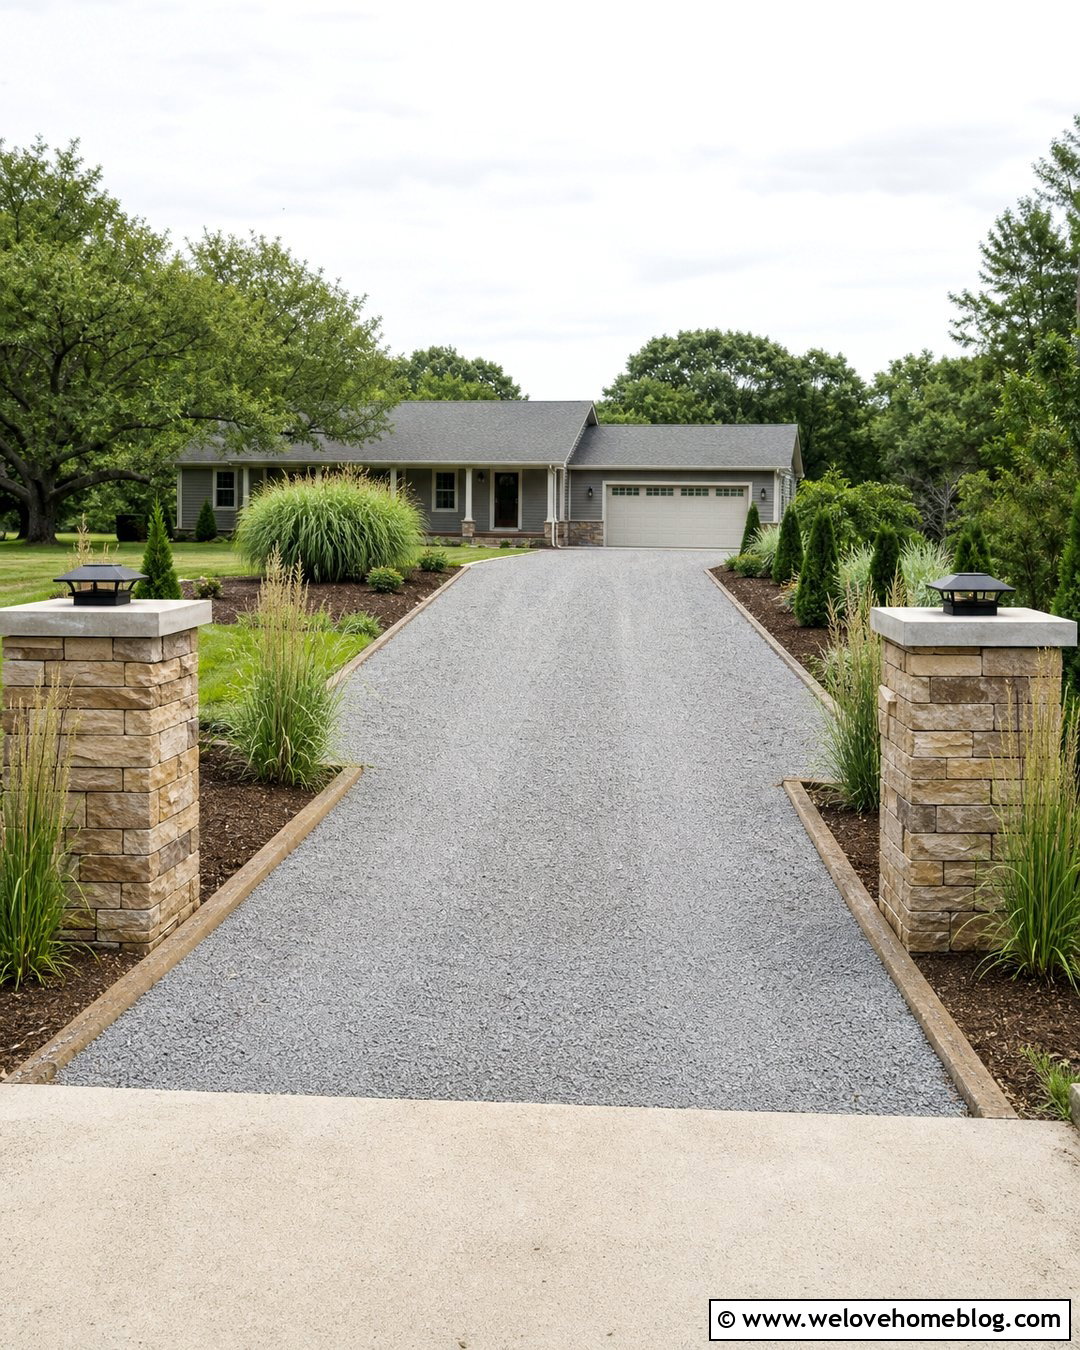
Affordable driveway pillars can still look permanent when money is focused on the foundation and core rather than expensive full-depth stone. Start with properly sized concrete footings and simple concrete block cores beside a compacted gray gravel driveway. Check the first course carefully because every later course follows its alignment. Concrete block construction requires consistent mortar beds and regular checks for level and plumb. () Cover the cured cores with budget-friendly manufactured stone veneer or exterior stucco in a color that coordinates with the house. Standard precast caps are usually more economical than custom-cut stone. Use solar cap lights if running electrical service is not practical, but choose fixtures that fit securely. Mulch beds, ornamental grasses, and inexpensive evergreen shrubs can complete the entrance without adding complicated masonry details or extensive hardscaping.
18. How To Build Driveway Pillars With Planters
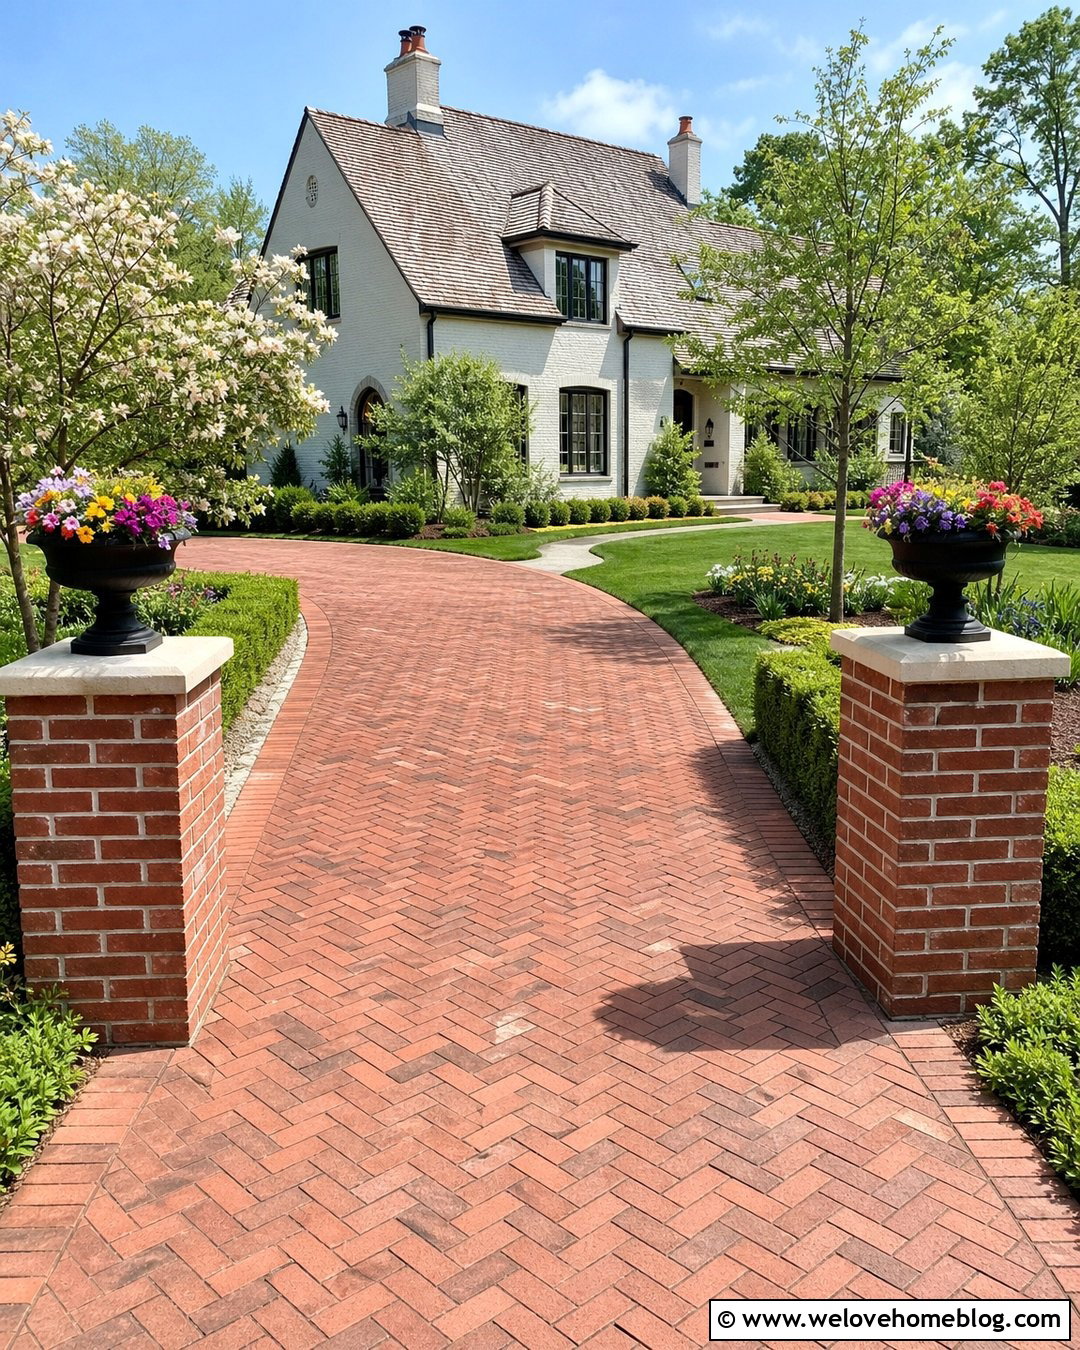
Planter-topped pillars add seasonal color to a brick driveway entrance, but the planting containers should not allow moisture to soak into the structural core. Build reinforced masonry pillars on proper footings, then install separate removable planters or purpose-designed waterproof planter boxes above protective caps. Avoid treating an unlined hollow pillar as a flowerpot. Choose shallow arrangements that will not become top-heavy during strong winds. Red clay brick pillars, limestone cap surrounds, and black urn-style inserts work well beside a herringbone brick paver driveway and a traditional cottage. Fill the nearby beds with boxwoods and flowering perennials to repeat the colors above. Provide irrigation by hand or through carefully planned tubing. Keep drainage water directed away from mortar joints, electrical fixtures, gate equipment, and the driveway surface.
19. How To Build Driveway Pillars With Solar Lights
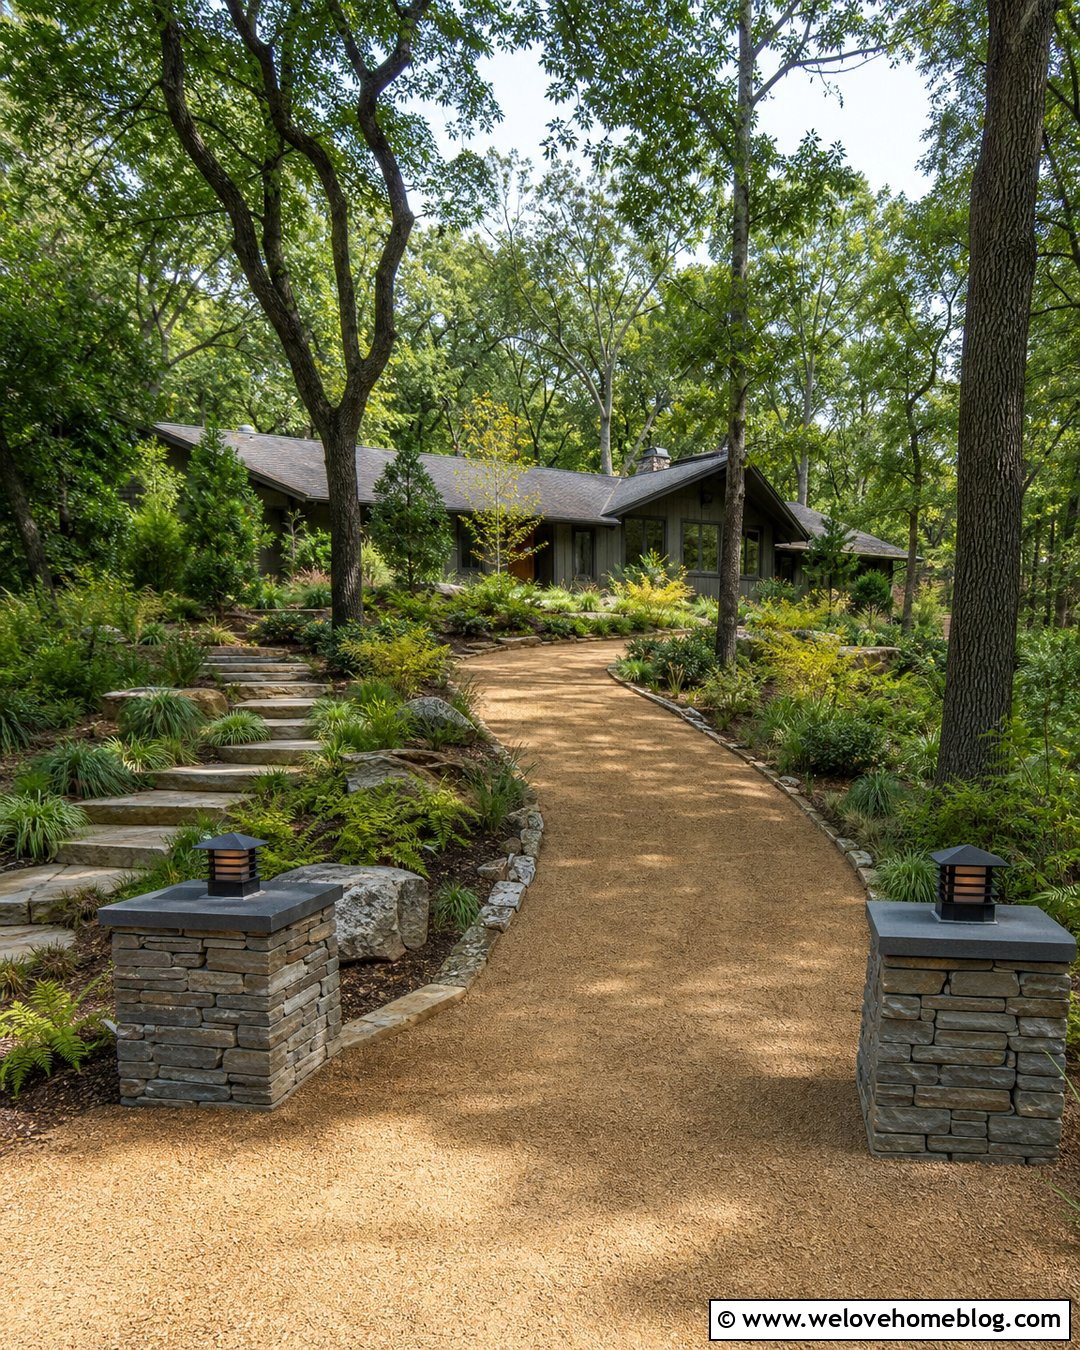
Solar-lit pillars provide a straightforward way to define an entrance where electrical trenching would be disruptive. Pair gray ledgestone pillars with a curved decomposed granite driveway leading to a woodland ranch home. Construct reinforced cores and secure caps before selecting the lights. Choose fixtures designed for exterior pillar mounting and confirm that the cap dimensions provide enough attachment area. Position the solar panels where trees, roofs, and the pillars themselves will not create heavy shade. Use concealed mechanical fasteners when recommended rather than depending entirely on surface adhesive. Keep both fixtures at the same orientation and height for a balanced appearance. Ferns, native grasses, and low boulders can connect the stonework to the wooded setting. Regularly clean the solar panels and inspect the mounting points after severe weather.
20. How To Build Driveway Pillars For A Future Gate
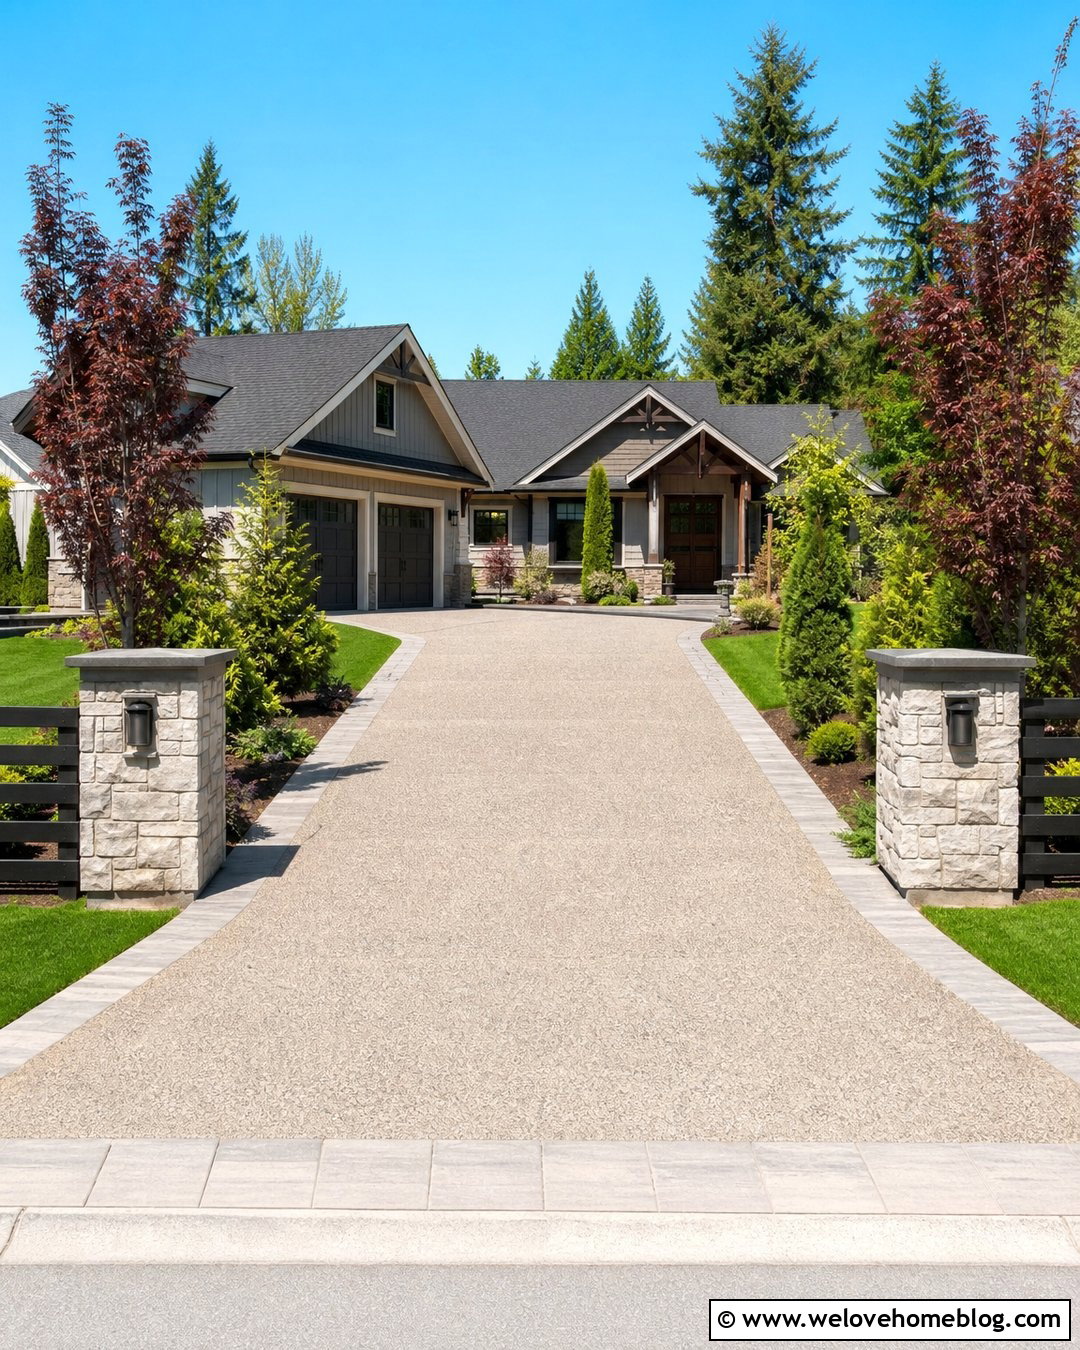
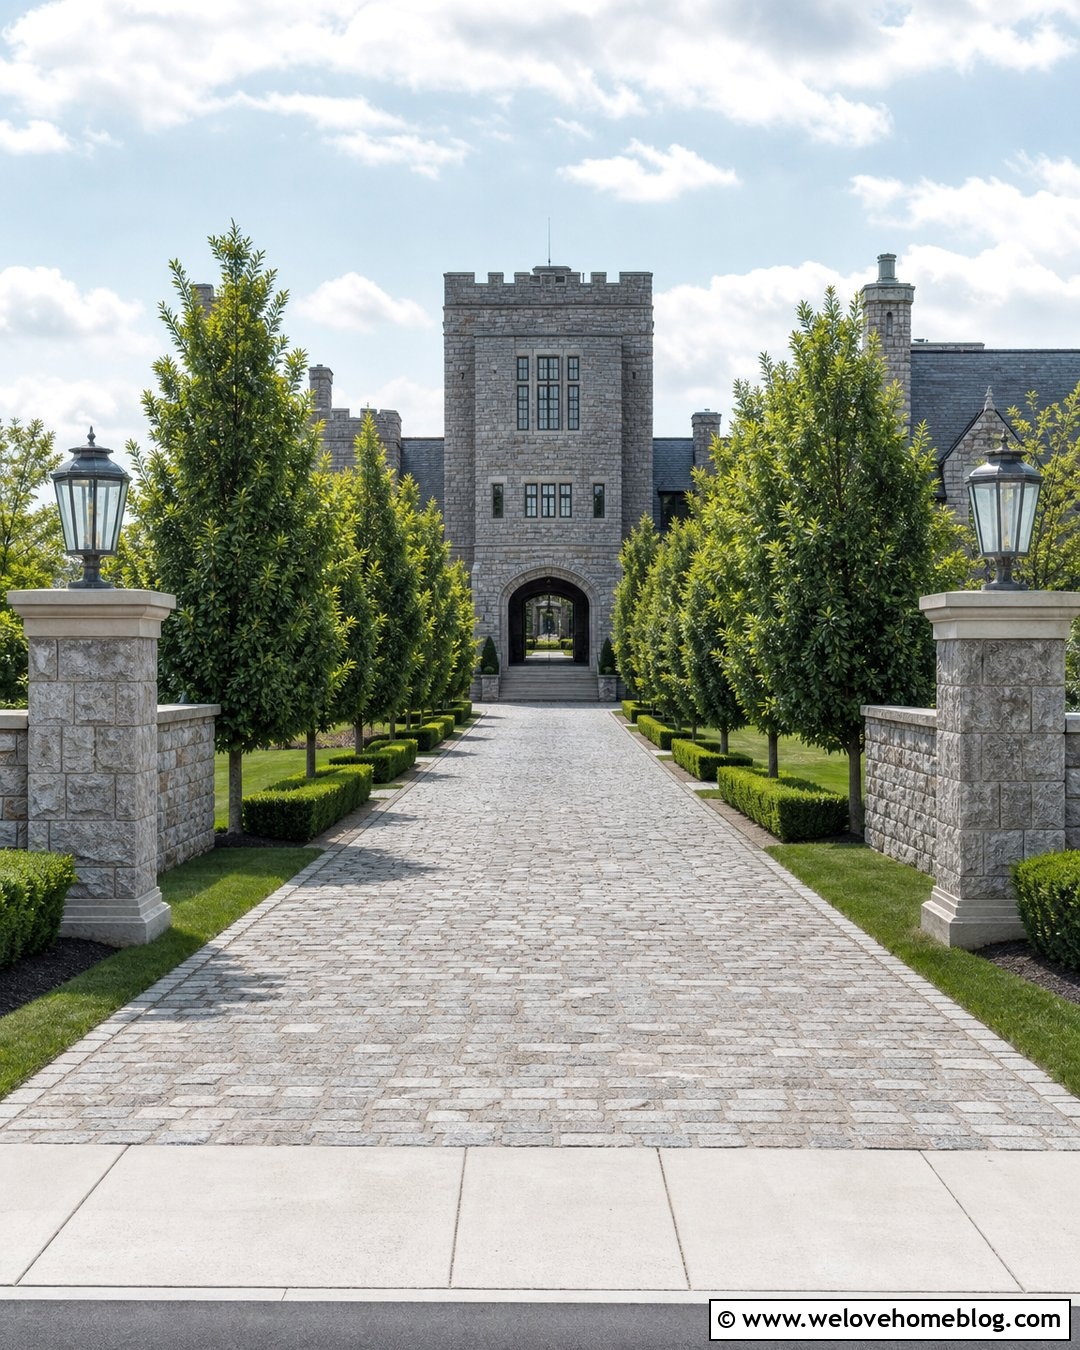
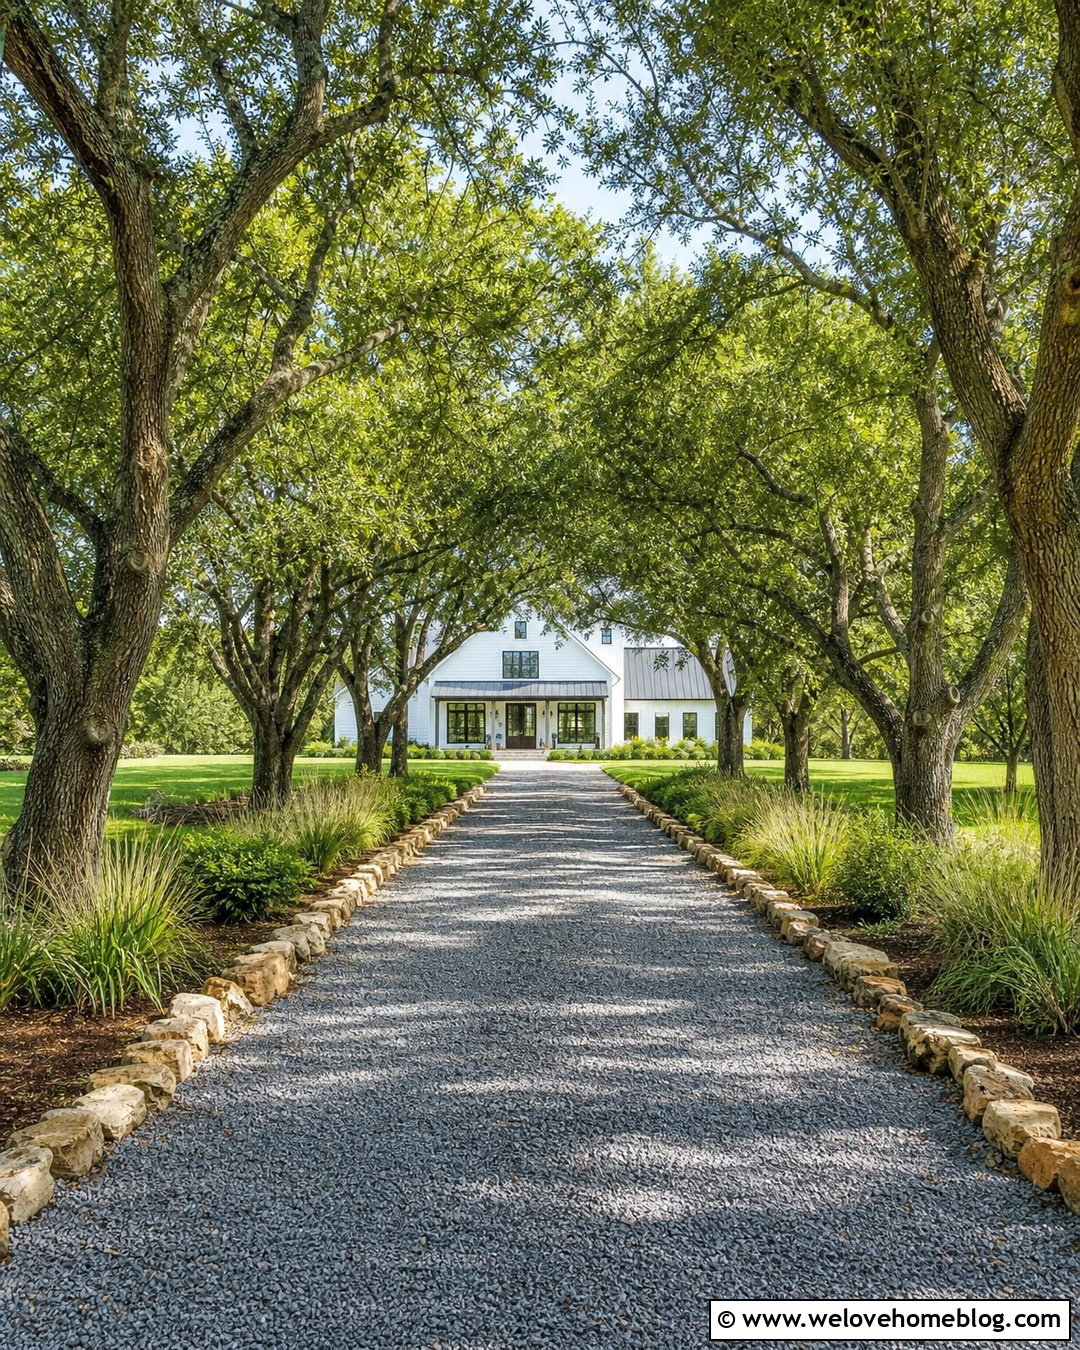
Future-ready pillars let you improve the entrance now without rebuilding everything when a gate is added later. Select the proposed gate type, weight, swing direction, width, and automation system during the initial planning stage. Design the reinforced footings, structural cores, hinge supports, and attachment points around those loads. Include empty conduit for power, low-voltage controls, safety devices, communication wiring, and lighting before filling the cores or paving nearby areas. Cap and label accessible conduit ends without displaying visible wording in the finished landscape. Use natural stone veneer pillars beside a broad exposed aggregate driveway and a contemporary Craftsman home. Until the gate arrives, connect the entrance to low fence wings or landscaping. Coordinate final engineering and hardware with qualified gate, masonry, and electrical professionals instead of modifying decorative veneer later.
Conclusion:
Successful driveway pillars combine attractive materials with careful planning below the finished surface. Start by checking utilities, local rules, entrance clearance, drainage, soil conditions, and any future gate requirements. Then choose a reinforced core, footing, exterior finish, cap, lighting, and landscaping that work together as one complete design. Brick can complement a traditional house, while stone, stucco, concrete, and modern block offer very different curb-appeal results. Decorative columns may be approachable for experienced DIYers, but load-bearing gate pillars usually need professional structural and installation guidance. Use these 20 How To Build Driveway Pillars Ideas to create an entrance that looks proportional, functions safely, and remains easy to maintain through changing seasons.

Related posts:
Leave a Reply